These Easy Caramel Apple Pudding Cups are the perfect fall treat! With layers of creamy vanilla pudding, sweet apples, and rich caramel, they bring all the cozy vibes to your table.
Honestly, who can resist a delicious dessert that looks as good as it tastes? I love making these cups when friends come over—everyone always wants seconds! 😋
Key Ingredients & Substitutions
Apples: I recommend using Granny Smith for their tartness or Fuji for sweetness. If you can’t find these, any firm apple works, like Honeycrisp or Gala. Just choose your favorite, and remember that different apples will change the flavor balance.
Brown Sugar: This adds a nice depth of flavor. If you’re out, you can substitute with white sugar and a bit of molasses (about 1 teaspoon of molasses per tablespoon of sugar) to mimic that rich taste.
Cinnamon and Nutmeg: These spices are essential for that warm, fall flavor. If you don’t have nutmeg, you can skip it or use allspice for a similar taste. Freshly grated spices often provide a better flavor punch!
Canned Vanilla Pudding: If you want to make it from scratch, a simple mix of milk, sugar, cornstarch, and vanilla extract is all you need. However, store-bought saves time if you’re in a hurry.
Caramel Sauce: Store-bought caramel is perfectly fine! You can also use chocolate sauce if you prefer a different twist. Homemade caramel is great too, but it requires more effort.
How Do You Caramelize Apples Perfectly?
Caramelizing apples is the key to enhancing their natural sugars. Start by melting the butter in a skillet over medium heat, then add your apples, sugar, and spices. Remember, low and slow brings out the best flavor!
- Cook until the apples are tender, stirring occasionally for even cooking, about 5-7 minutes.
- Let them cool a little before layering them in the cups to keep your pudding from getting warm and runny.
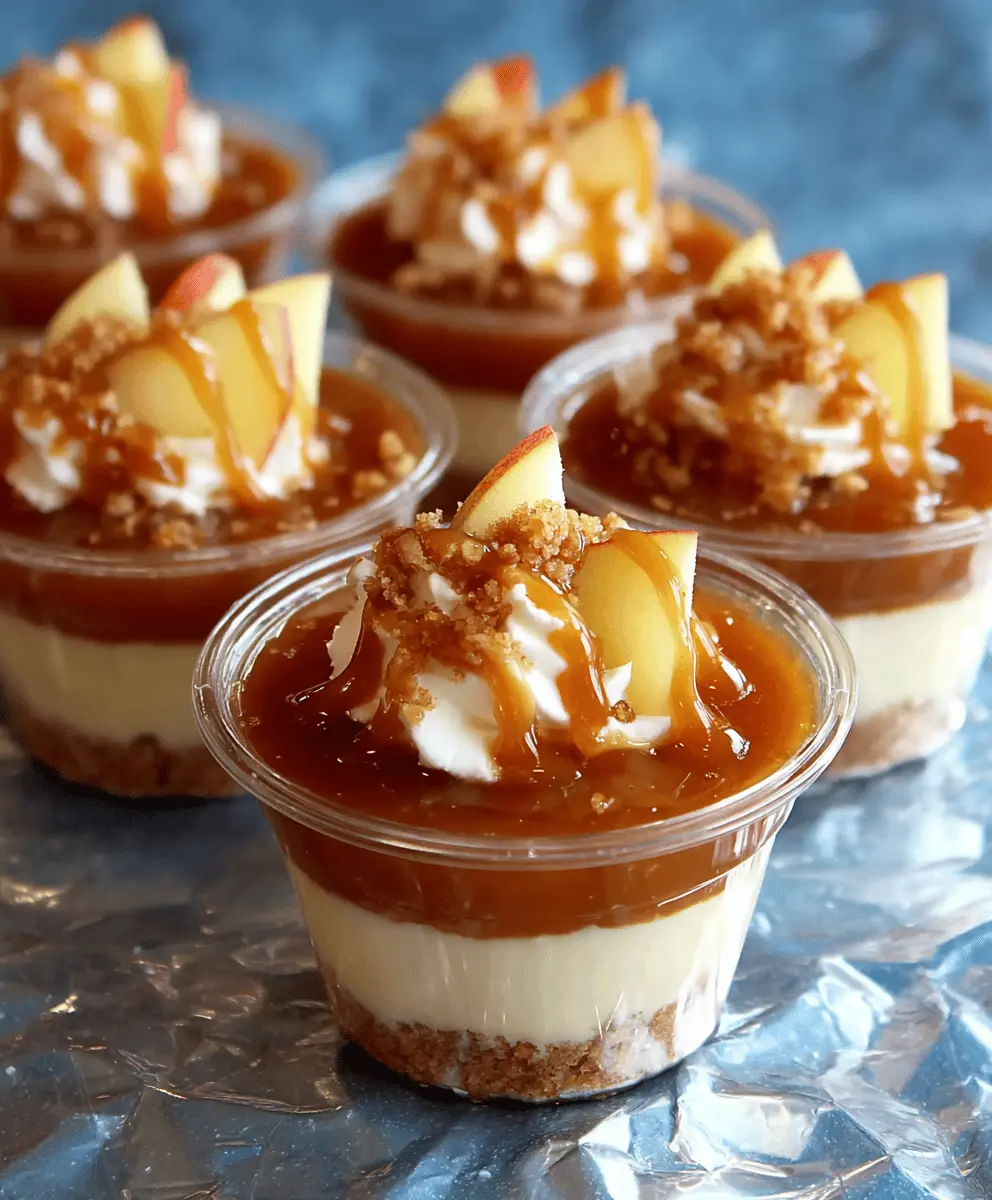
Easy Caramel Apple Pudding Cups for Fall
Ingredients You’ll Need:
For the Apple Filling:
- 2 large apples (such as Granny Smith or Fuji), peeled, cored, and diced
- 1 tablespoon unsalted butter
- 2 tablespoons brown sugar
- 1 teaspoon ground cinnamon
- 1/4 teaspoon ground nutmeg
For the Pudding Layers:
- 2 cups vanilla pudding (store-bought or homemade)
- 1/2 cup caramel sauce (plus extra for drizzling)
- 1/2 cup crushed graham crackers or cinnamon graham cracker crumbs
For Topping (Optional):
- Whipped cream
- Chopped pecans or walnuts
How Much Time Will You Need?
This delicious dessert takes about 15 minutes of prep time and 30 minutes to chill in the refrigerator. So, in just about 45 minutes, you will have a delightful treat ready for your fall gathering!
Step-by-Step Instructions:
1. Cook the Apples:
Start by melting the butter in a medium skillet over medium heat. Add the diced apples, brown sugar, cinnamon, and nutmeg. Cook while stirring occasionally until the apples become tender and start to caramelize—this should take about 5-7 minutes. Once done, remove from heat and let them cool slightly.
2. Prepare the Pudding:
If you’re using store-bought vanilla pudding, prepare it according to the package instructions. If you’re opting for homemade pudding, get it ready and allow it to chill until set. This will give it a lovely, creamy texture!
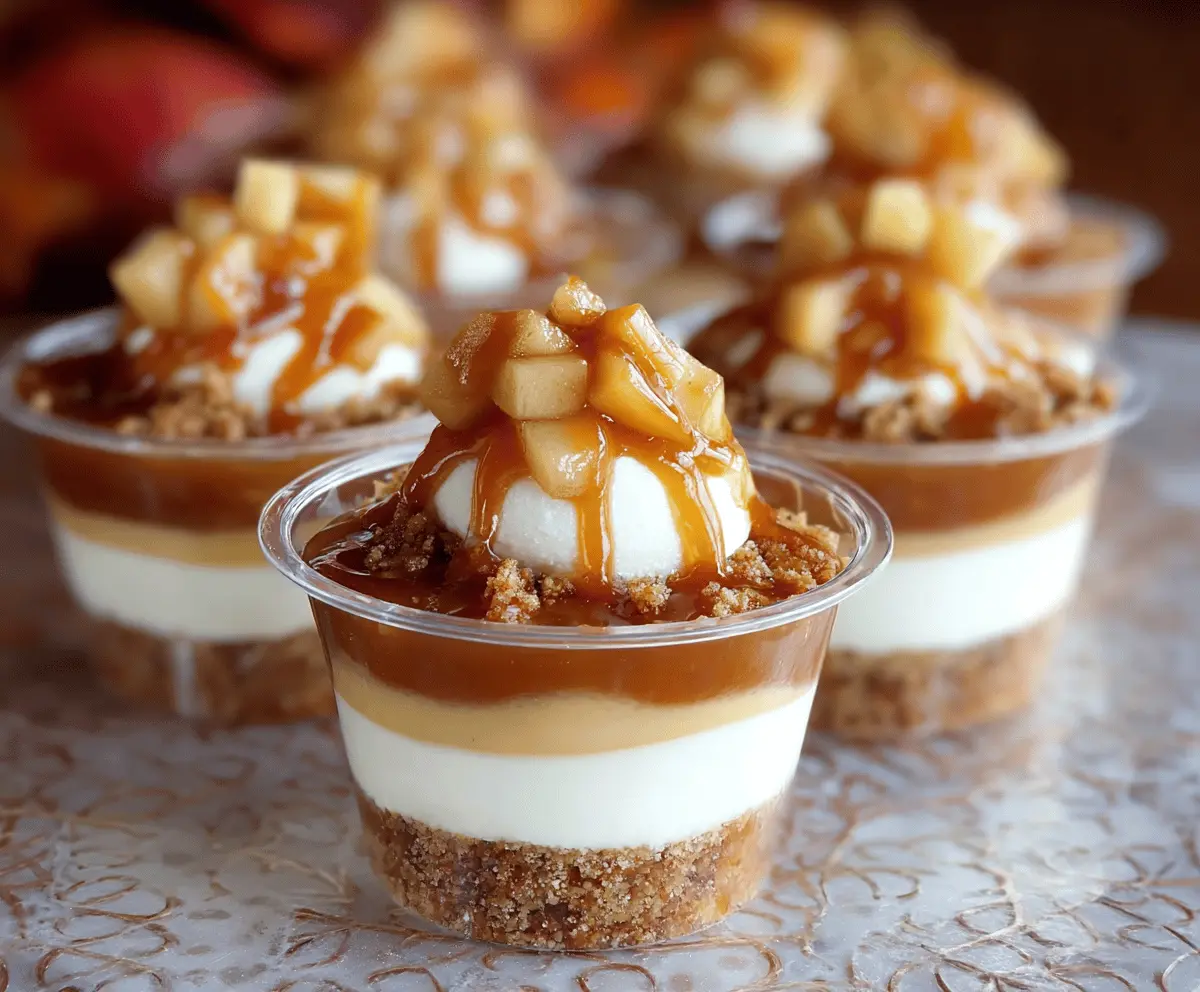
3. Layer the Cups:
Now it’s time to assemble! Start by spooning a layer of vanilla pudding into the bottom of each serving cup or small jar. Make sure to spread it out evenly to create a nice base.
4. Add Caramelized Apples:
Next, carefully add a layer of the caramelized apples on top of the pudding. Don’t be shy; this is where the cozy fall flavors start to shine!
5. Drizzle Caramel Sauce:
Drizzle caramel sauce over the apples for extra sweetness. Feel free to be generous—it’s a treat after all!
6. Sprinkle Graham Crackers:
To add a lovely crunch, sprinkle some crushed graham crackers or cinnamon graham cracker crumbs on top. This becomes a delightful textural contrast with the soft pudding and apples!
7. Optional Layers:
If you have tall cups, repeat the layering process for another delicious layer! Finish the top layer with a touch more caramel sauce to really make it shine.
8. Top It Off:
For a final touch, optionally top with whipped cream and a sprinkle of chopped nuts if desired. This adds another layer of creamy goodness and a little crunch.
9. Chill Before Serving:
Cover the cups and chill them in the refrigerator for at least 30 minutes before serving. This allows all the flavors to meld beautifully together.
10. Serve and Enjoy!
Once chilled, serve the cups cold and enjoy your delightful, cozy caramel apple pudding cups! Perfect for celebrating fall with friends and family!
FAQ for Easy Caramel Apple Pudding Cups
Can I Use Different Types of Apples?
Absolutely! While Granny Smith and Fuji are great options, any firm apple will work. Honeycrisp, Gala, or even Braeburn can add a nice sweetness or tartness—feel free to choose your favorite!
How to Store Leftovers?
Store any leftover pudding cups in an airtight container in the refrigerator for up to 2 days. Just remember that the graham crackers may get a bit soggy, so you might want to add those fresh before serving if you’re making them ahead!
Can I Make This Recipe Gluten-Free?
Yes, you can! Simply use gluten-free graham crackers or substitute with crushed nuts for added crunch. Ensure that your caramel sauce is also gluten-free if that’s a concern!
Is There a Way to Make These Ahead of Time?
Definitely! You can prepare the caramelized apples and vanilla pudding a day in advance. Just layer them in the cups and chill them right before serving. They’ll make for a quick and easy dessert when you have guests!