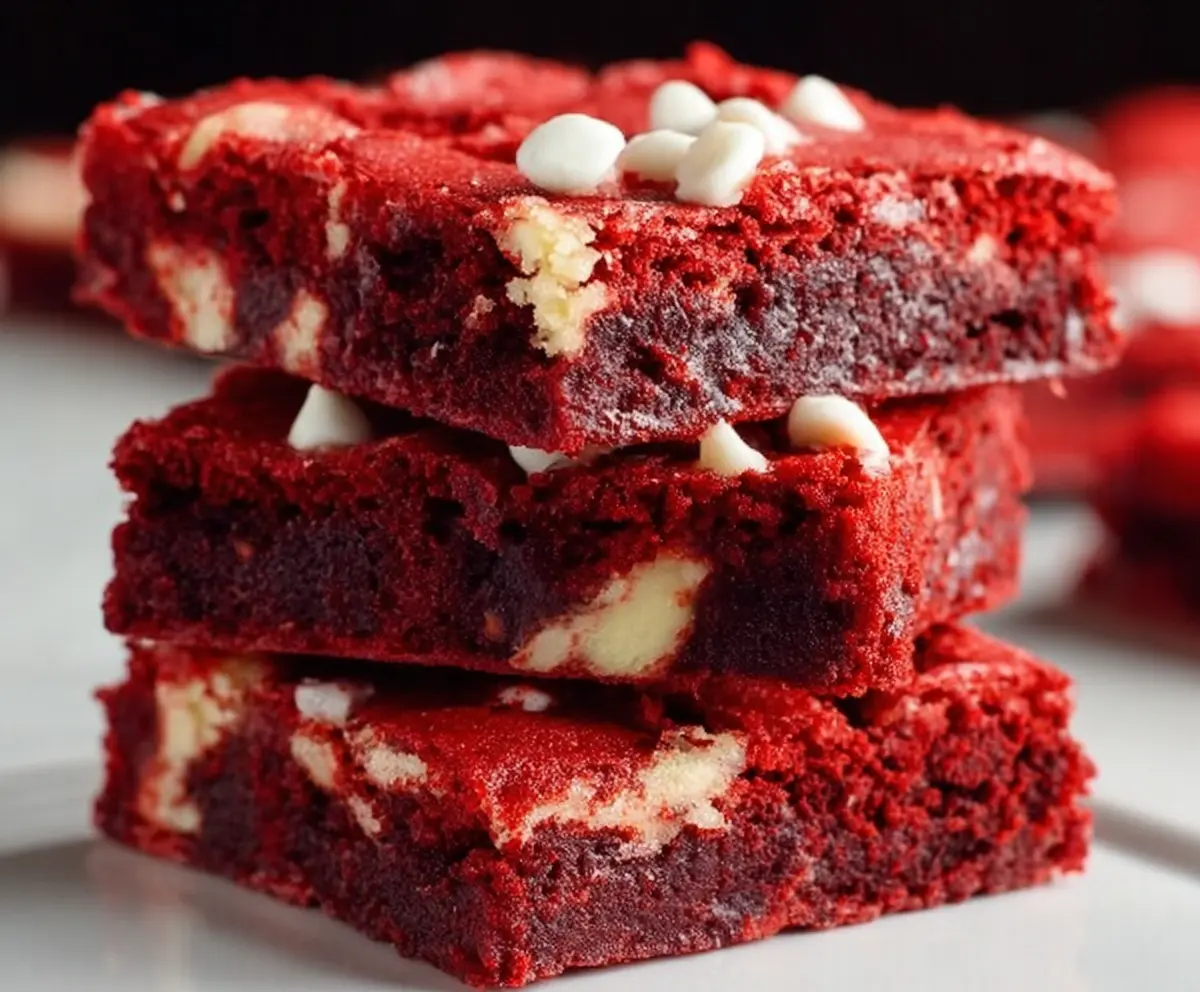
These Red Velvet Brownies are a fun twist on the classic treat! With a rich, velvety texture and a hint of chocolate, they are sure to please everyone.
The best part? They look as good as they taste, with their bright red color and cream cheese frosting! Perfect for sharing or keeping all to yourself. 😄
I love serving these brownies warm with a scoop of vanilla ice cream on top. It’s like a little party in every bite! You won’t want to stop at just one!
Key Ingredients & Substitutions
Unsalted Butter: Butter gives these brownies a rich flavor. If you only have salted butter, just reduce the salt in the recipe slightly. Coconut oil is a great dairy-free alternative!
Cocoa Powder: Regular unsweetened cocoa works best. You could use Dutch-processed cocoa for a richer taste, but avoid sweetened cocoa blends.
Granulated Sugar: Regular sugar is key for sweetness. If you’re looking for a healthier option, use coconut sugar or a sugar alternative, but keep in mind this might change the color and texture slightly.
Buttermilk: This adds moisture and a slight tanginess. If you don’t have buttermilk, mix 1/2 cup of milk with 1/2 tablespoon of vinegar or lemon juice and let it sit for 5 minutes.
Red Food Coloring: Liquid or gel food coloring works well. For a natural alternative, consider using beet juice, but it may alter the taste and color slightly.
How Do You Achieve the Perfect Red Velvet Color?
The secret to getting that stunning red color lies in the food coloring! Ensure you’re using enough to bring out the signature hue. If you’re going the natural route with beet juice, it might not be as vibrant, but it will still look lovely.
- Mix the food coloring in well to avoid streaks in the batter.
- Don’t be afraid to add a bit more if you want a deeper red color.
What’s the Best Technique for Mixing Brownie Batter?
Mixing your brownie batter just right is essential. Overmixing can lead to tough brownies, while undermixing can leave you with flour pockets. Here’s how to do it:
- When you add the dry ingredients, mix until just combined. A few lumps are okay!
- Be gentle when folding in the white chocolate chips to keep the batter light and airy.
These will help ensure your Red Velvet Brownies come out beautifully delicious every time! Enjoy baking! 🌟
Red Velvet Brownies
Ingredients You’ll Need:
- 1 cup (2 sticks) unsalted butter
- 2 tablespoons unsweetened cocoa powder
- 2 cups granulated sugar
- 3 large eggs
- 1 teaspoon vanilla extract
- 2 1/4 cups all-purpose flour
- 1 teaspoon baking powder
- 1/2 teaspoon salt
- 2 tablespoons red food coloring
- 1/2 cup buttermilk
- 1 cup white chocolate chips (or chunks)
Time Needed:
This recipe will take you about 15 minutes to prepare, and you’ll need to bake the brownies for 30-35 minutes. After baking, let them cool completely before serving. So, total time from start to finish is around 1 hour.
Step-by-Step Instructions:
1. Preheat the Oven and Prepare the Pan:
Begin by preheating your oven to 350°F (175°C). Grease and flour a 9×13 inch baking pan, or you can line it with parchment paper to make removing the brownies easier later.
2. Melt the Butter:
In a medium saucepan, melt the butter over low heat. Once it’s melted, remove it from the heat and stir in the cocoa powder until the mixture is smooth and well combined.
3. Mix with Sugar:
Transfer the melted butter and cocoa mixture to a large mixing bowl. Add the granulated sugar and stir until it’s fully combined.
4. Add Eggs and Vanilla:
Crack in the eggs one at a time, mixing well after each addition. Then, stir in the vanilla extract to add a lovely flavor.
5. Combine Dry Ingredients:
In a separate bowl, whisk together the flour, baking powder, and salt. This helps to evenly distribute the leavening agent and salt throughout the flour.
6. Mix It All Together:
Now it’s time to combine everything! Alternately add the dry ingredients and the buttermilk to the butter mixture. Start with the dry ingredients and end with them, mixing just until combined. Be careful not to overmix!
7. Add the Red Food Coloring:
Stir in the red food coloring until the batter is a bright, vibrant red. This is what makes these brownies special!
8. Fold in the White Chocolate Chips:
Gently fold in the white chocolate chips (or chunks) so that they’re evenly distributed throughout the batter.
9. Pour into the Pan:
Pour the brownie batter into the prepared baking pan and spread it evenly. Get it nice and smooth for even baking!
10. Bake the Brownies:
Place the pan in the oven and bake for 30-35 minutes. Check for doneness by inserting a toothpick in the center; it should come out with moist crumbs but not wet batter.
11. Cool and Cut:
Once baked, let the brownies cool completely in the pan on a wire rack. This step is important for cutting them into neat squares.
12. Serve:
Once cool, you can optionally dust the brownies with powdered sugar or frost them with cream cheese frosting for an extra special treat!
Enjoy your rich, moist, and vibrant Red Velvet Brownies with bursts of white chocolate sweetness! They make a delightful dessert for any occasion!
Can I Use Regular Milk Instead of Buttermilk?
Yes! If you don’t have buttermilk on hand, you can easily make a substitute. Mix 1/2 cup of regular milk with 1/2 tablespoon of vinegar or lemon juice and let it sit for about 5 minutes. This will mimic the acidity and thickness of buttermilk.
What if I Don’t Have Eggs?
If you need an egg substitute, try using 1/4 cup of unsweetened applesauce or mashed banana for each egg. This will help keep the brownies moist and provide a bit of sweetness!
How Do I Store Leftover Brownies?
Store any leftover brownies in an airtight container at room temperature for up to 3 days. For longer storage, you can refrigerate them for about a week or freeze them for up to 3 months. Just make sure to wrap them well to prevent freezer burn!
Can I Swap White Chocolate Chips for Something Else?
Absolutely! If white chocolate isn’t your favorite, you can substitute it with semi-sweet or dark chocolate chips. You could even mix in chopped nuts or other candies for a fun twist!