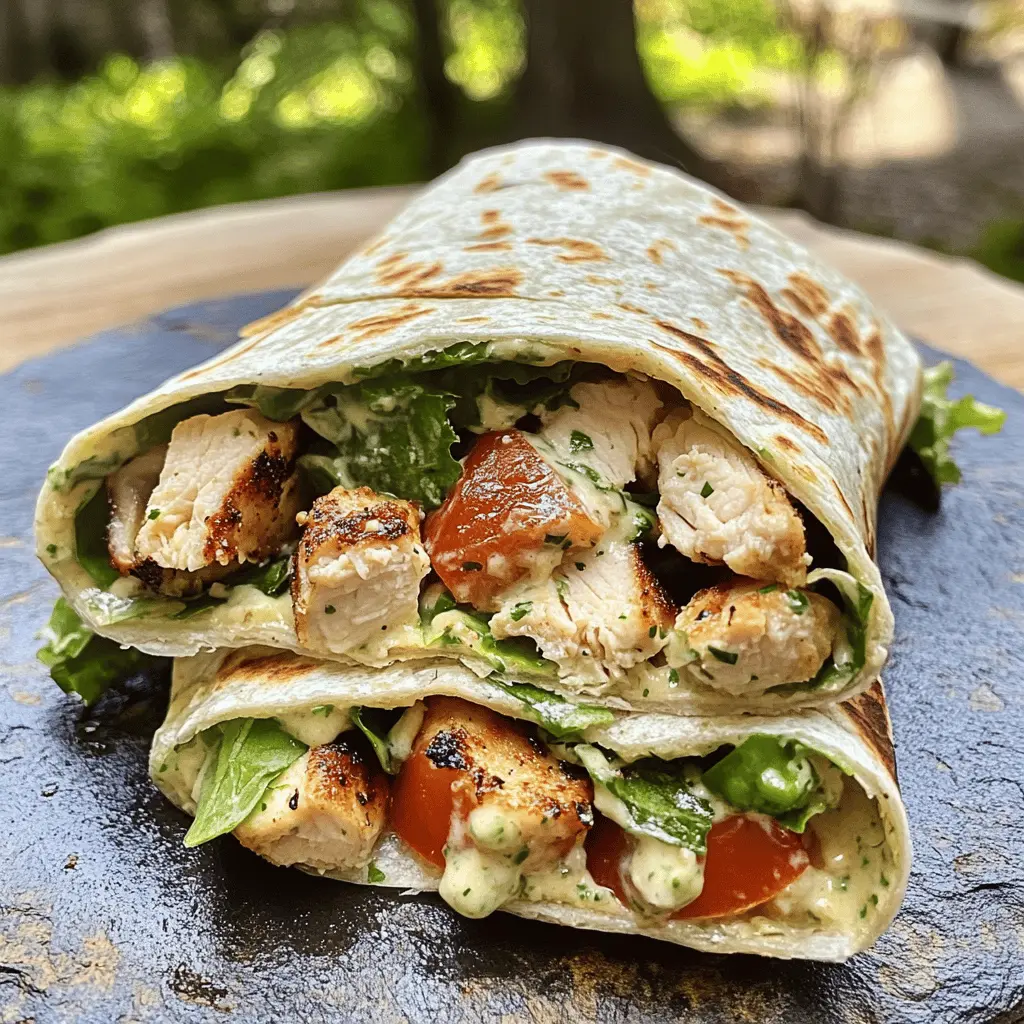
This Grilled Chicken Caesar Wrap is a tasty mix of juicy chicken, crunchy romaine, and creamy Caesar dressing, all snugly wrapped in a soft tortilla. It’s perfect for a quick lunch!
Try this wrap when you’re on the go, or as a fun dinner option. I like to pair it with some fruit for a refreshing side. It’s simple, delicious, and always hits the spot!
Key Ingredients & Substitutions
Chicken Breasts: Boneless and skinless chicken breasts are great for this wrap because they grill nicely. If you’re short on time, rotisserie chicken is a fantastic shortcut. Just shred it and mix it in!
Olive Oil: I recommend using extra virgin olive oil for the best flavor, but any cooking oil like canola or avocado oil can work too. If you’re avoiding oil, you can marinate the chicken in your favorite dressing instead.
Tortillas: While I use large flour tortillas for a classic wrap, whole wheat or spinach tortillas add extra nutrition. Corn tortillas are also a gluten-free option but might be less pliable.
Romaine Lettuce: Romaine is best for crunch, but you could swap in kale or mixed greens if you prefer. Just make sure to chop them well!
Caesar Dressing: If you’re looking for a lighter option, Greek yogurt mixed with some lemon juice and Parmesan can be a healthier alternative. There are also dairy-free dressings available if you’re vegan.
Parmesan Cheese: Instead of Parmesan, any hard cheese can add a nice tang. Pecorino Romano or nutritional yeast for a vegan option works great!
What’s the Best Way to Grill Chicken Without Overcooking It?
Grilling chicken perfectly can be tricky, but I’ve got some tips for you. The key is to keep a close eye on the cooking time and temperature. Here’s how to do it:
- Start by preheating your grill to medium-high. A properly heated grill prevents sticking and ensures even cooking.
- Coating the chicken with oil and seasoning helps keep it moist. Don’t skip this step!
- Grill the chicken for about 6-7 minutes per side. You can use a meat thermometer to check for doneness—165°F is the magic number.
- After grilling, let the chicken rest for a few minutes before slicing. This keeps it juicy inside!
How to Make Grilled Chicken Caesar Wrap
Ingredients You’ll Need:
For the Chicken:
- 2 boneless, skinless chicken breasts
- 1 tablespoon olive oil
- Salt and pepper to taste
- 1 teaspoon garlic powder
- 1 teaspoon Italian seasoning
For the Wrap:
- 4 large flour tortillas or wraps
- 2 cups romaine lettuce, chopped
- ½ cup cherry tomatoes, halved
- ½ cup Caesar dressing
- ½ cup shredded Parmesan cheese
- Croutons (optional, for added crunch)
- Additional Caesar dressing for drizzling (optional)
How Much Time Will You Need?
This delicious Grilled Chicken Caesar Wrap takes about 20 minutes to prepare and cook. You’ll need around 10 minutes to prep the ingredients and about 10 minutes to cook the chicken and assemble the wraps. It’s a quick and tasty meal perfect for lunch or dinner!
Step-by-Step Instructions:
1. Prepare the Chicken:
First, preheat your grill to medium-high heat. While that’s heating up, take a bowl and coat the chicken breasts with olive oil, salt, pepper, garlic powder, and Italian seasoning. Make sure each piece is evenly covered with the spices!
2. Grill the Chicken:
Now, place the seasoned chicken breasts on the grill. Cook them for about 6-7 minutes on each side, or until the chicken is fully cooked and no longer pink in the center. This is important for food safety! Once done, remove the chicken from the grill and let it rest for a few minutes before slicing it into bite-sized pieces.
3. Make the Wrap Filling:
In a large bowl, combine the chopped romaine lettuce, halved cherry tomatoes, sliced grilled chicken, Caesar dressing, and shredded Parmesan cheese. Use a gentle tossing motion to mix everything together, ensuring all the ingredients are evenly coated with the dressing.
4. Assemble the Wraps:
Grab your flour tortillas and lay them out flat. Divide the Caesar salad mixture evenly among the tortillas, making sure not to overfill. If you like some extra crunch, sprinkle in some croutons on top.
5. Roll the Wraps:
Now it’s time to roll! Tightly wrap each tortilla by folding in the sides as you go. Roll them up from the bottom to the top to keep everything secure inside.
6. Optional Grilling:
If you want an extra crispy tortilla, you can place the wraps back on the grill for about 2-3 minutes on each side. This will give them a nice golden layer, and if you added cheese, it’ll melt beautifully!
7. Serve and Enjoy:
Slice the wraps in half if you’d like and serve them immediately with additional Caesar dressing for drizzling on top, if desired. Enjoy your yummy Grilled Chicken Caesar Wrap!

Can I Use a Different Type of Chicken?
Absolutely! You can substitute the chicken breasts with thighs for a juicier option. If you’re looking for a quicker prep, shredded rotisserie chicken also works well. Just add it to the salad mixture without grilling!
What If I Don’t Have Flour Tortillas?
No problem! You can use whole wheat tortillas, lettuce leaves for a low-carb option, or even pita pockets. Just make sure to adjust the filling amount based on the type of wrap you choose!
How to Store Leftover Wraps?
Store any leftovers in an airtight container in the fridge. It’s best to keep the wraps unassembled if possible to maintain crispiness. They’ll last for up to 2 days. To enjoy them later, just assemble and grill as mentioned in the recipe!
Can I Add More Vegetables to the Wrap?
Definitely! Feel free to include diced cucumbers, bell peppers, or avocados for added flavor and nutrition. Just make sure they are cut small enough to fit in the wrap and not make it too bulky.