The butter starts quiet, then little brown flecks collect at the bottom of the saucepan and a nutty smell rises as you stir. That’s the moment these brown butter chocolate chip cookies get their toasty flavor, but it happens fast enough that I keep my eyes on the pan instead of reaching for anything else.
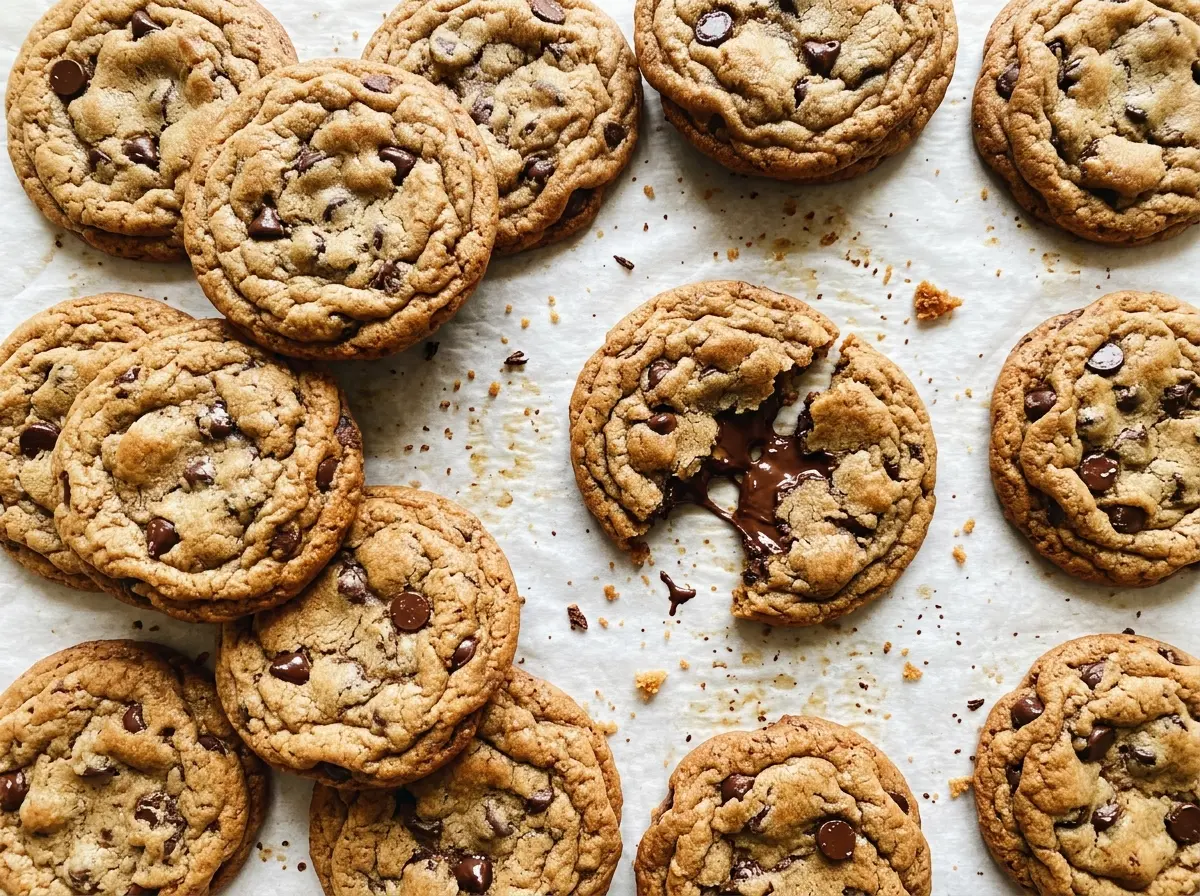
I add water to the browned butter before it cools, then let the mixture come down to warm before whisking in the egg. That small pause helps the dough come together without scrambling the egg in hot butter. Chilling gives the dough time to firm up, so the cookies bake into golden-edged rounds with soft centers and plenty of semisweet chocolate.
Kitchen Note
Let the butter mixture cool until it’s warm, not hot, before the egg goes in. If it still feels hot against the side of the bowl, give it a few more minutes.
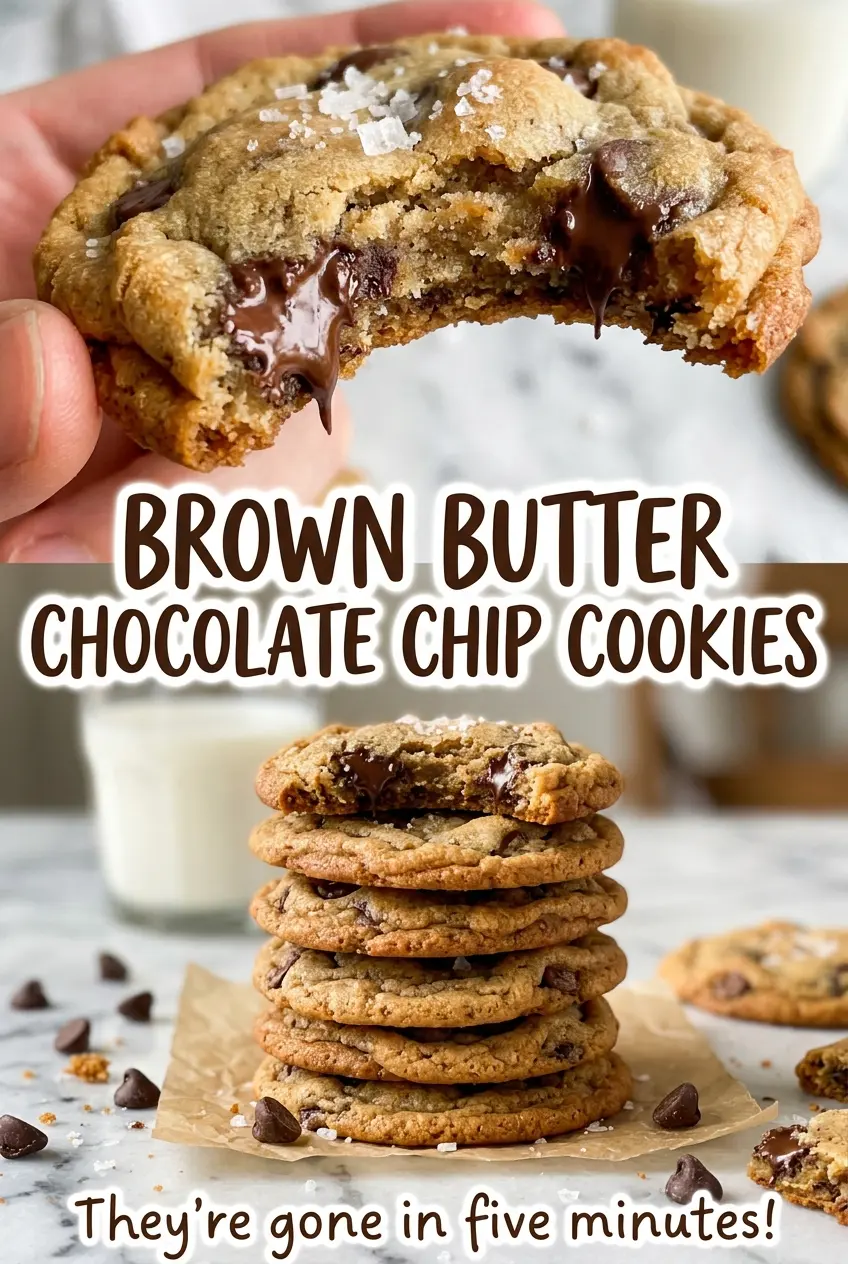
Save these brown butter chocolate chip cookies for a bake day when you want golden edges, soft centers, and a rich toasted-butter note.
Why Brown Butter Needs Water Before It Goes Into Cookie Dough
Butter is mostly fat, but it also contains water and milk solids. As the butter browns, some of its water evaporates while the milk solids toast and turn golden. If you used that reduced butter without restoring moisture, the dough’s balance would change, and the cookies could bake up drier than intended.
Stirring water into the browned butter brings back some of that lost moisture. Add it carefully: water meeting hot butter can sputter. Then transfer the mixture to a bowl and let it cool before mixing the dough. You’re looking for golden-brown flecks and a nutty aroma, not dark solids or a scorched smell. The browned bits are where the toasted flavor comes from, so keep stirring often and stay close as the butter cooks.
This is also why the butter has to be browned before the sugars go in. Once the sugars are whisked into the butter, those toasted solids are distributed through the dough, giving every cookie a deeper, caramel-like note without adding another flavoring.
What the Butter, Sugars, and Extra Yolk Each Bring
- Unsalted butter — Butter is the base of the toasted flavor, and unsalted butter lets the kosher salt stay at the level intended for this dough. Cut it into tablespoons so it melts evenly and is easier to stir as the milk solids brown.
- Light brown sugar — Its moisture and molasses flavor contribute to a softer, chewier cookie and pair naturally with the nutty butter. Pack it into the measuring cup so the amount is consistent.
- Granulated sugar — Alongside the brown sugar, it keeps the dough from relying on brown sugar alone for sweetness and texture. Keeping both sugars gives the cookies their intended balance.
- Egg and egg yolk — The whole egg binds the dough, while the extra yolk adds richness. Use a large egg; changing the egg size changes the moisture in a cookie dough where the butter has already been browned.
- All-purpose flour — Flour gives the cookies structure. Measure without packing it into the cup, since excess flour can leave the dough stiff and the baked centers less tender.
- Baking soda — This is the leavening in the dough. Whisk it with the flour so it’s spread through the mixture rather than concentrated in one spot.
- Semisweet chocolate chips — Their bittersweet edge balances the sweet dough, and chips hold their shape better than chopped chocolate. Fold them in at the end so they stay distributed through the portions.
From Nutty Butter to Cookies With Soft Centers
Brown the butter until the flecks turn golden
Melt the tablespoon-cut butter in a medium saucepan over medium heat, stirring often. It takes about 5–8 minutes for the milk solids to turn golden brown and smell nutty. Keep the butter moving so the solids brown evenly instead of collecting and scorching on the bottom. Take the pan off the heat when the flecks are golden; very dark flecks and a burnt smell mean the butter has gone too far.
Stir in the water and cool the mixture
Carefully stir the water into the browned butter, since the hot mixture may sputter. Transfer it to a large bowl and let it cool until warm, not hot, about 20 minutes. The mixture should still be fluid, but it shouldn’t feel hot against the bowl. Adding the egg while the butter is hot risks cooking it before it’s incorporated into the dough.
Whisk the wet ingredients, then fold in the dry
Whisk both sugars into the butter until smooth, then whisk in the egg, egg yolk, and vanilla. In a separate medium bowl, whisk together the flour, baking soda, and kosher salt so the leavening is evenly dispersed. Stir the flour mixture into the butter mixture just until no dry streaks remain. Fold in the chocolate chips without continuing to work the dough once everything is combined.
Chill before scooping
Cover the dough and refrigerate it for at least 1 hour and up to 24 hours. Chilled dough is firmer and easier to portion neatly than warm dough. Heat the oven to 350°F and line two 18×13-inch rimmed baking sheets with parchment paper. Scoop the dough into 24 portions, about 2 tablespoons each, spacing 12 portions about 2 inches apart on each sheet.
Bake one sheet at a time and let the centers finish setting
Bake one sheet at a time on the center rack for 10–12 minutes. Pull the cookies when the edges are golden and the centers still look slightly underdone; they continue setting on the hot baking sheet. Leave them there for 5 minutes, then transfer them to a wire rack to cool completely. Waiting through that short rest helps the soft centers hold together when you move the cookies.
Scale the Batch for a Small Bake or a Cookie Tin
Make a half batch for a smaller bake
Halve each ingredient and portion the dough into 12 cookies. Keep the same order of mixing and browning the butter; the smaller quantity of butter may brown more quickly, so follow the golden-fleck and nutty-aroma cues rather than relying only on the clock. Bake the sheet on the center rack at the same oven temperature and use the visual cues for doneness.
Double the batch for a cookie tin
Double every ingredient to make a larger batch while keeping the same ingredient proportions. Chill the covered dough, then bake it in separate batches rather than crowding extra portions onto a sheet. That gives each cookie room to spread and keeps the center-rack baking setup consistent.
Storage and Reheating
- Refrigerator: Store baked cookies in an airtight container for up to 1 week; they’ll become firmer and less soft than at room temperature.
- Freezer: Freeze fully cooled cookies in an airtight container for up to 2 months. Thaw them at room temperature before serving.
- Reheating: Warm cookies in a 300°F oven for about 4 minutes, just until soft. Longer heating can dry the edges before the centers warm through.
Questions I Get About Brown Butter Chocolate Chip Cookies
Brown Butter Chocolate Chip Cookies
Ingredients
Equipment
Method
- Melt the butter in a medium saucepan over medium heat, stirring often, for 5-8 minutes, until the milk solids turn golden brown and smell nutty.
- Carefully stir the water into the browned butter.
- Transfer the mixture to a large bowl and cool until warm, not hot, about 20 minutes.
- Whisk the brown sugar and granulated sugar into the butter until smooth.
- Whisk in the egg, egg yolk, and vanilla extract.
- In a medium bowl, whisk together the flour, baking soda, and kosher salt.
- Stir the flour mixture into the butter mixture just until no dry streaks remain.
- Fold in the chocolate chips.
- Cover the dough and refrigerate for at least 1 hour, or up to 24 hours.
- Heat the oven to 350°F.
- Line two 18x13-inch rimmed baking sheets with parchment paper.
- Scoop the dough into 24 portions, about 2 tablespoons each.
- Place 12 portions on each baking sheet, spacing them about 2 inches apart.
- Bake one sheet at a time on the center rack for 10-12 minutes, until the edges are golden and the centers look slightly underdone.
- Cool the cookies on the baking sheets for 5 minutes.
- Transfer the cookies to a wire rack to cool completely.


