A cake ball can look perfectly round on the tray and still slide down its stick as soon as it meets the coating. With Christmas Cake Pops, the little coating anchor at the end of each stick is what keeps the cake where it belongs, while a short chill firms the balls enough to dip without squashing them.
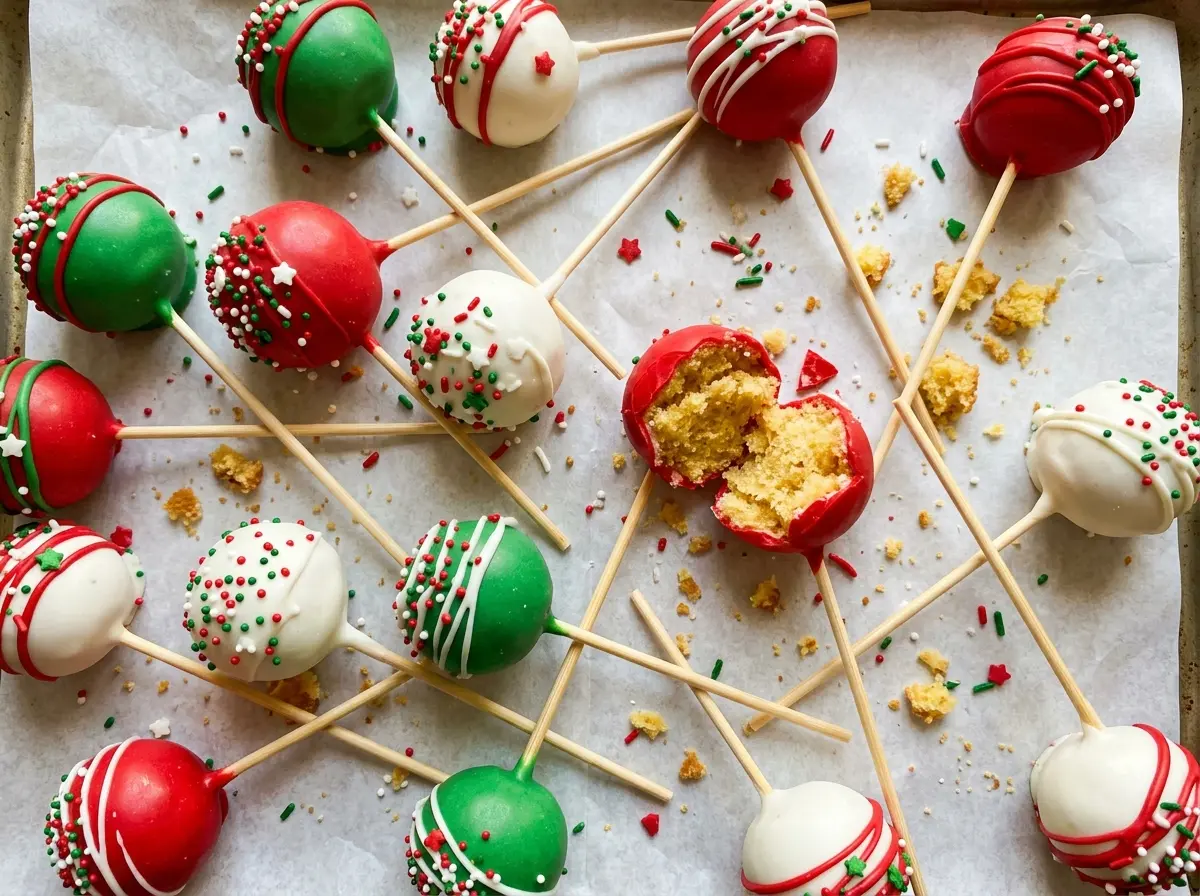
I bake a simple vanilla cake, crumble it finely, and mix it with just enough vanilla frosting to bring the crumbs together. Once the pops are coated in red and green candy melts, a scatter of Christmas sprinkles gives each one a festive finish. The cake stays tender under a smooth shell, and the colors look especially cheerful lined up together.
Kitchen Note
Let the cake cool completely in the pan before you crumble it. Even a slightly warm cake can feel gummy in the bowl, which makes it harder to judge the texture once the frosting goes in.
Save these Christmas Cake Pops for a holiday bake day: tender vanilla cake, shiny red and green coating, and sprinkles on every pop.
Why a Tiny Candy-Coating Anchor Keeps Cake Balls on Their Sticks
A cake pop is a small cake ball balanced on a narrow stick, so the connection between those two parts has to set before the full dip. If you push a plain stick into a chilled ball and dunk it right away, the weight of the cake can loosen its grip. A dab of candy coating works like edible glue: once it firms around the stick inside the cake, it gives the ball a more secure hold.
The order matters because the coating needs time to set before you turn the pop upside down or lower it into a cup of warm melts. The balls should be firm enough to handle, but a few minutes at room temperature before the final dip helps take the chill off. That small pause gives you a better chance of getting a smooth shell without putting extra pressure on the cake. Keep the finished pops upright while the outer coating firms, so the shell sets evenly instead of pooling around one side.
The Cake and Coating Ingredients That Set the Texture
- All-purpose flour and baking powder — The flour gives the cake enough structure to crumble without turning pasty, while baking powder keeps the crumb light. For a gluten-free batch, replace the all-purpose flour with a cup-for-cup gluten-free baking blend intended for cakes; the crumb may be a little more delicate, so crumble it finely.
- Butter, sugar, eggs, and milk — Creaming softened butter with sugar builds the base texture, and room-temperature eggs and whole milk blend in more smoothly than cold ones. Whole milk gives the cake a richer crumb; 2% milk works in the same quantity but makes it a little less rich. A standard grocery-store butter is fine here; focus on having it softened rather than melted.
- Vanilla extract — Vanilla carries the simple cake flavor through both the crumb and the frosting. Imitation vanilla can stand in at the same amount if that is what you have; the flavor will be a little less rounded, but the cake will still work.
- Vanilla frosting — Frosting binds the crumbs, so its job here is more about texture than decoration. A basic prepared vanilla frosting is a practical choice; rich, thick frosting can make the mixture heavy if you add more than it needs to hold together.
- Candy melts and vegetable shortening — Candy melts are made to create a smooth coating that firms around the pops. The shortening loosens the melts so they flow more easily; regular chocolate chips aren’t a straight swap because they don’t behave like candy melts when warmed. You don’t need a premium brand of melts, but gentle heating and stirring matter more than the label.
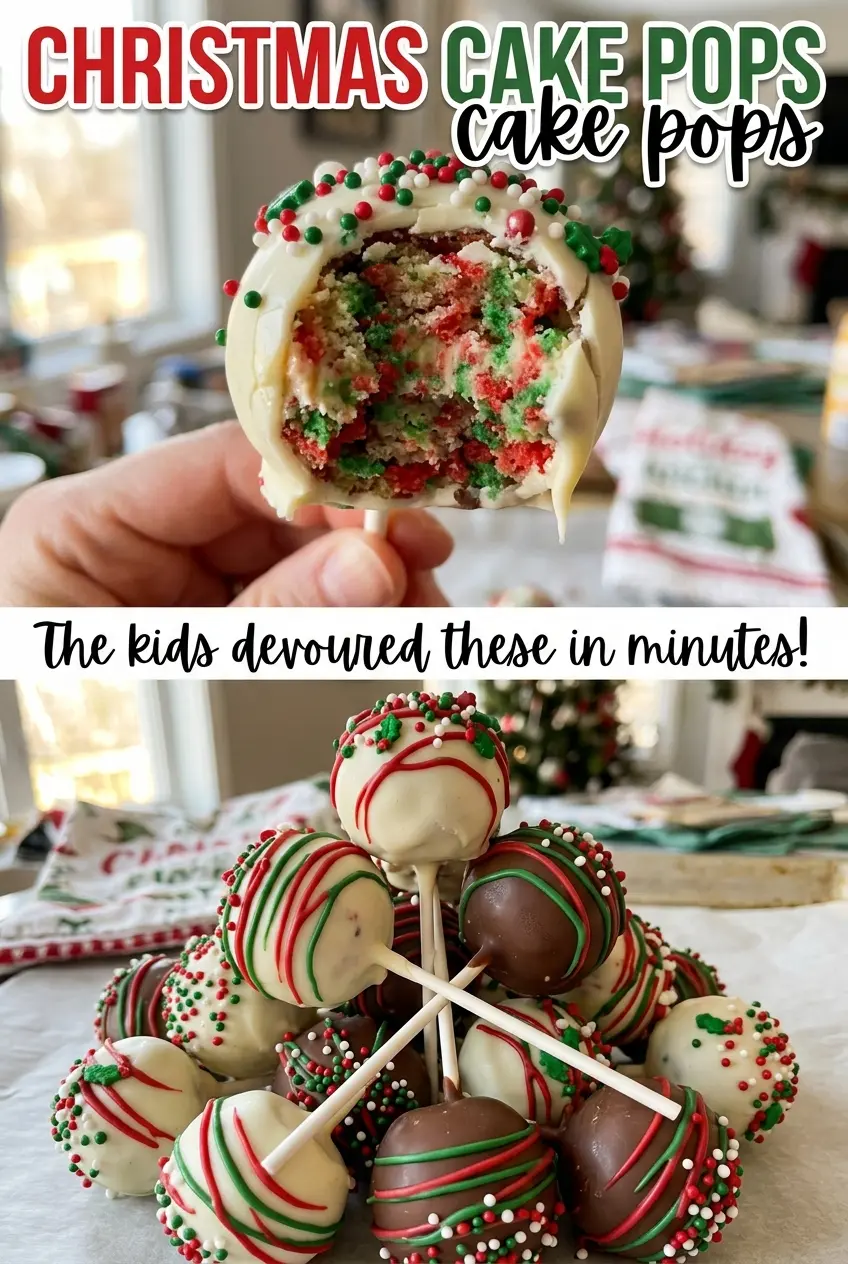
- Christmas sprinkles — Any shape or color works, and an inexpensive mix is perfectly suitable. The one detail that matters is timing: add the sprinkles while the coating is still wet so they stay in place.
From Tender Sheet Cake to Smooth, Upright Pops
Bake a cake with an even crumb
Heat the oven to 350°F and grease a 9×13-inch baking pan. Whisk the flour, baking powder, and salt in one bowl, then beat the softened butter and sugar for 2 to 3 minutes until fluffy. Beat in the eggs one at a time and add the vanilla; mix in the flour mixture in three additions, alternating with the milk in two additions, beginning and ending with flour. Spread the batter in the pan and bake for 28 to 33 minutes, until the top springs back lightly and a toothpick in the center comes out clean.
Turn the cake into a mixture that holds together
Once the cake is completely cool, crumble it into fine, even crumbs in a large bowl. Add the vanilla frosting and mix until a squeezed portion holds together instead of falling apart. Roll the mixture into 24 balls about 1 1/2 inches wide, aiming for a consistent size so they dip and sit on their sticks evenly. Set the balls on a parchment-lined baking sheet and refrigerate them for 30 minutes, until firm.
Set the sticks before dipping
Put the red candy melts with 1 tablespoon of shortening in a tall, narrow microwave-safe cup. Warm them at 50% power in 30-second bursts, stirring each time, until smooth; repeat with the green melts and the remaining shortening in a second cup. Dip about 1/2 inch of each stick into the coating, alternating colors, then push each stick halfway into a cake ball. Refrigerate the pops for 15 minutes so the coating around the sticks can set.
Coat and decorate while the shell is wet
Let the pops stand at room temperature for 5 minutes before the full dip. Dip each one into its matching color, turning it to cover the cake completely, then gently tap off the excess coating. Work one pop at a time for the sprinkles; they need to land while the candy coating is still wet. Stand each pop upright in a cake-pop stand until the coating is firm.
Color Swaps and Make-Ahead Choices for Christmas Cake Pops
Make one color snowy white
Replace either the red or green 12-ounce bag with a 12-ounce bag of white candy melts, keeping the tablespoon of shortening with that batch. The white coating gives the pops a lighter look while the remaining color keeps the holiday palette. Add the same Christmas sprinkles before the shell sets.
Make the cake gluten-free
Use a cup-for-cup gluten-free baking blend in place of the all-purpose flour. The finished cake may have a slightly more fragile crumb, but once it is mixed with frosting it still forms the balls needed for dipping. Keep the rest of the cake-pop ingredients and shaping method the same.
Storage and Serving
- Refrigerator: Store the finished pops in an airtight container for up to 4 days. The cake firms up in the cold, so let the pops sit briefly before serving.
- Freezer: Freeze the finished pops in a single layer until firm, then transfer them to an airtight container for up to 1 month. Thaw them in the refrigerator; condensation may soften or dull the coating.
- Serving: Let chilled pops stand at room temperature for about 15 minutes before serving. Don’t microwave them, since the candy shell softens faster than the cake warms.
Questions That Come Up While Making Christmas Cake Pops
Christmas Cake Pops
Ingredients
Equipment
Method
- Preheat the oven to 350°F.
- Grease a 9x13-inch baking pan.
- Whisk the flour, baking powder, and salt in a medium bowl.
- Beat the butter and sugar in a large bowl with an electric mixer on medium speed for 2 to 3 minutes, until fluffy.
- Beat in the eggs one at a time, then the vanilla.
- Beat in the flour mixture in 3 additions, alternating with the milk in 2 additions and beginning and ending with the flour; mix just until combined.
- Spread the batter in the prepared pan.
- Bake for 28 to 33 minutes, until the top springs back lightly when touched and a toothpick inserted in the center comes out clean.
- Cool completely in the pan.
- Crumble the cooled cake into fine crumbs in a large bowl.
- Add the frosting and mix until the mixture holds together when squeezed.
- Roll the mixture into 24 balls about 1 1/2 inches wide and place them on a parchment-lined baking sheet.
- Refrigerate for 30 minutes, until firm.
- Put the red candy melts and 1 tablespoon shortening in a tall, narrow microwave-safe cup.
- Microwave at 50% power in 30-second bursts, stirring each time, until smooth.
- Put the green candy melts and remaining shortening in a second cup and microwave at 50% power in 30-second bursts, stirring each time, until smooth.
- Dip about 1/2 inch of each lollipop stick into the coating, alternating colors.
- Insert each stick halfway into a cake ball.
- Refrigerate for 15 minutes to set the coating.
- Let the cake pops stand at room temperature for 5 minutes.
- Dip each cake pop into its matching color of coating, turning to cover it completely and gently tapping off the excess.
- Add sprinkles immediately.
- Stand the pops upright in a cake-pop stand until the coating is firm.


