The first cut through a cooled sheet cake is where these little trees start to take shape: a sharp cutter leaves clean edges, while a warm or tender cake can tear before you even get to the filling. These Copycat Little Debbie Christmas Tree Cakes use two thin vanilla cake layers, so each sandwich stays soft without becoming too tall to coat.
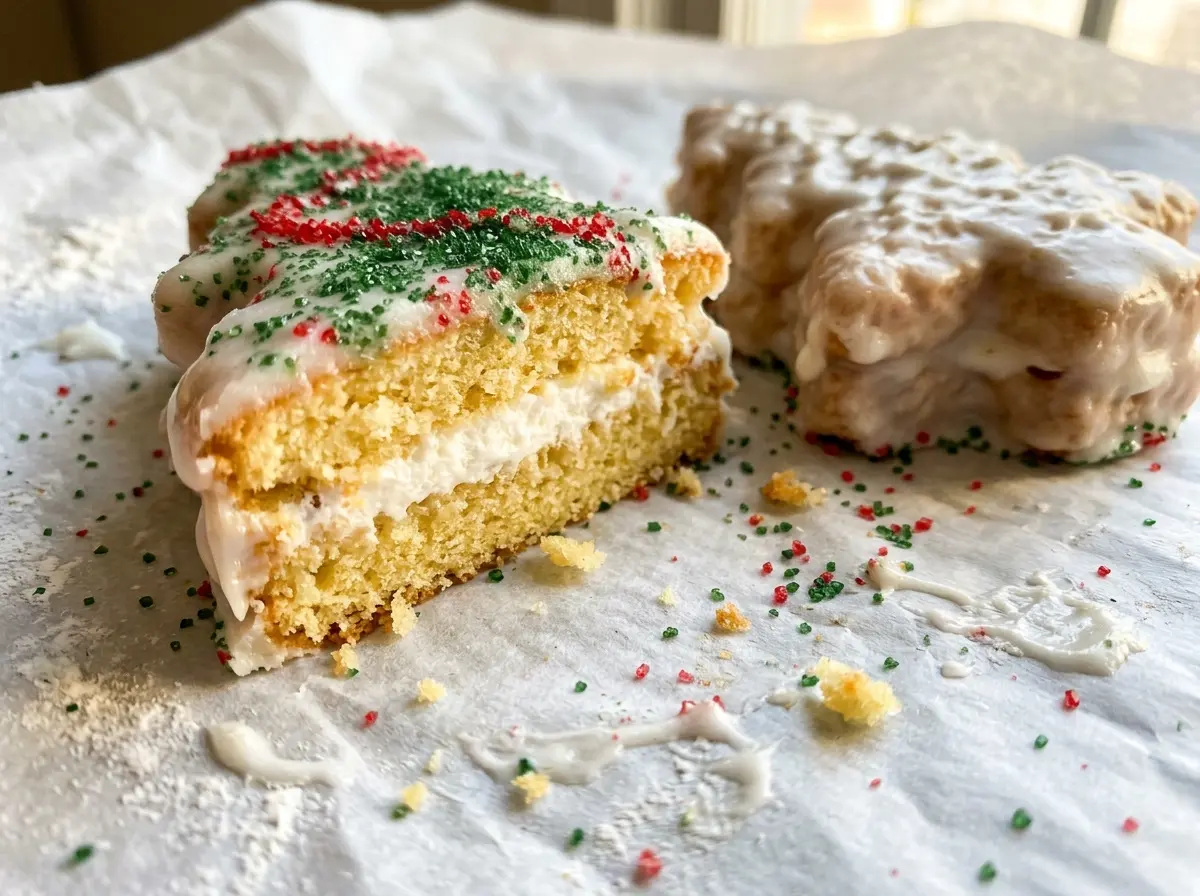
I like the balance of the filling here: butter brings flavor, while shortening and marshmallow creme help it stay fluffy between the layers. A smooth white candy coating gives each cake its familiar shell, and the green sugar and red icing finish the holiday look. Bite through the coating into the soft cake and sweet, airy center, and you get that nostalgic snack-cake feel in a homemade version.
Kitchen Note
Add the powdered sugar gradually instead of tipping it in all at once. It keeps the filling smooth and saves you from a sugary cloud around the mixer; mix in the marshmallow creme after the sugar is incorporated.
Save these Copycat Little Debbie Christmas Tree Cakes for a homemade holiday treat with soft vanilla cake, marshmallow filling, and a smooth white candy shell.
Why Two Thin Cake Layers Make Better Little Trees
A single thick cake might seem like the quicker route, but it makes these sandwiches harder to cut and coat evenly. Baking the batter in two pans gives you two thin layers with flat surfaces that are easy to stack around the filling. The proportions matter: too much height makes the finished trees bulky, and a thick center takes attention away from the soft cake and creamy middle.
The 3-inch tree cutter also does more than give the cakes their shape. Cutting the trees close together lets you get ten from each layer while keeping the scraps to a minimum. Press the cutter straight down rather than twisting it, so the edges stay neat. Once the cakes are paired, their flat sides meet around an even layer of filling and the pointed tops remain easy to dip into the coating. That tidy shape is what makes the finished cakes look like little trees instead of frosting-filled cake wedges.
What Gives These Cakes Their Soft Center and Smooth White Shell
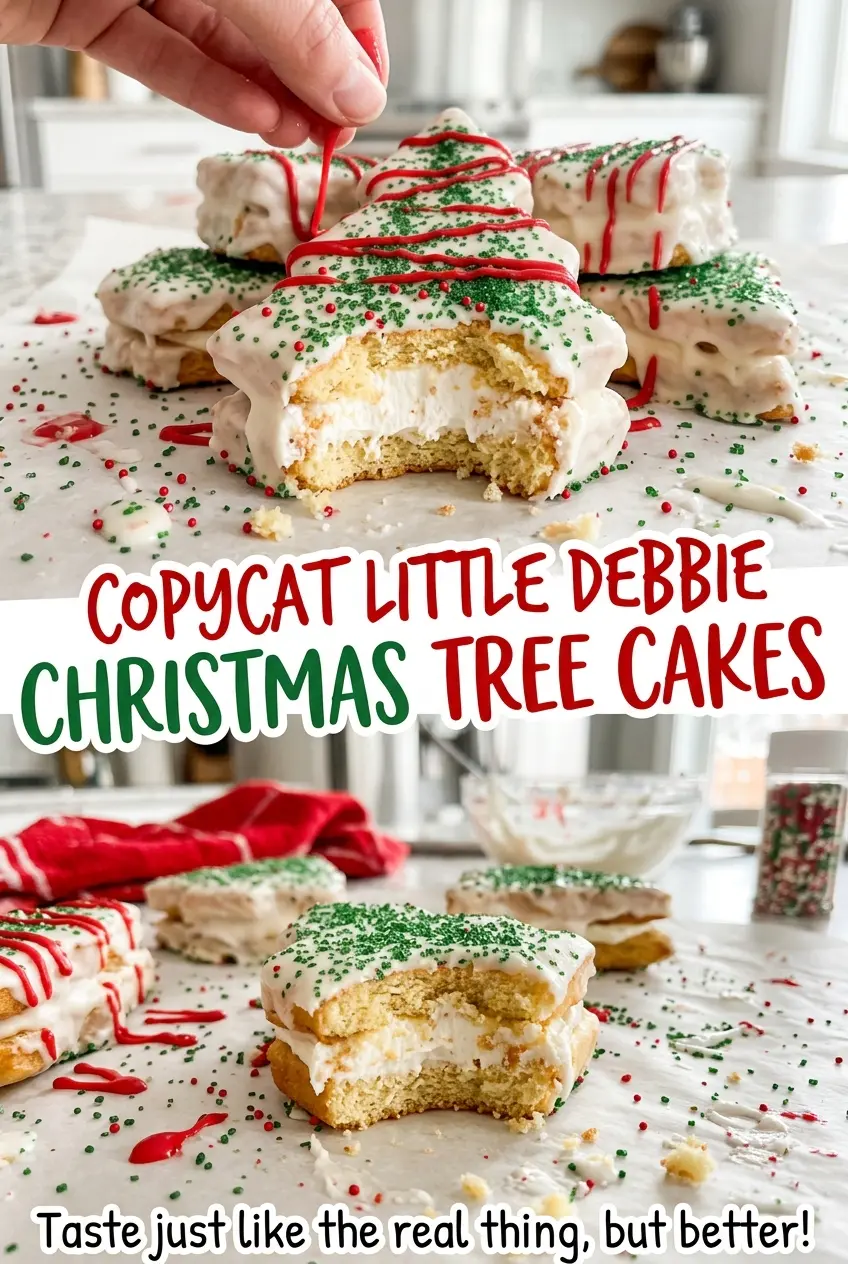
- All-purpose flour — It gives the layers enough structure to hold their tree shape without making them bread-like. Stick with all-purpose flour here; self-rising flour would add leavening and salt on top of the amounts already in the batter.
- Unsalted butter — Softened butter creams with the sugar for the cake and gives the filling its buttery note. Unsalted butter keeps the salt level controlled. It should feel pliable, not oily or melted, so it can trap air as it beats.
- Eggs and whole milk — Room-temperature ingredients blend more evenly into the creamed butter than cold ones. Whole milk adds richness; 2% milk works in its place in the same amount, though the crumb will be a little less rich.
- Vegetable shortening and marshmallow creme — Shortening helps the filling hold its shape, while marshmallow creme brings the soft, fluffy quality that makes the center unlike a plain buttercream. Neither has a direct one-for-one swap that keeps the same texture.
- White candy melts and refined coconut oil — Candy melts are made to form a smooth coating, and the refined coconut oil loosens them for dipping without adding a noticeable coconut taste. Unrefined coconut oil would bring a coconut aroma; use refined if you want the vanilla cake and filling to stay in front.
- Green sanding sugar and red decorating icing — The coarse sugar adds a little crunch and a bright green finish, while the tube icing makes quick red stripes. Sanding sugar is useful here because it keeps its sparkle on the set candy shell.
Build the Cake Layers, Filling, and Candy Shell in the Right Order
Mix a Smooth Vanilla Batter
Heat the oven to 350°F, set racks in the upper and lower thirds, and coat two 9×13-inch pans with nonstick cooking spray before lining their bottoms with parchment. Whisk the flour, baking powder, and salt in a medium bowl. Beat the cake butter with the sugar on medium-high for 3 minutes, until pale and fluffy, then add the eggs one at a time and mix in the vanilla. Add the dry ingredients in three additions, alternating with the milk in two additions; begin and end with the flour, then divide the batter evenly between the pans.
Bake and Cool the Two Sheets
Bake the pans for 15–19 minutes, switching their rack positions and turning them front to back halfway through. The tops should spring back when lightly touched; if a spot still feels sunken, give the cakes another moment in the oven and check again. Let them sit in the pans for 10 minutes before turning them onto wire racks and peeling off the parchment. Cool the layers completely, about 45 minutes, so the filling won’t soften against warm cake.
Beat the Filling and Sandwich the Trees
Beat the remaining butter and the vegetable shortening in a medium bowl on medium speed until smooth. Add the powdered sugar, then the marshmallow creme, and beat until the filling is fluffy and spreadable. Cut ten trees from each cooled layer with a 3-inch tree-shaped cutter. Spread the filling on the flat side of ten trees, top each with a second tree flat side down, and chill the sandwiches on a parchment-lined baking sheet for 30 minutes, until firm.
Dip, Decorate, and Let the Coating Set
Melt the candy melts with the refined coconut oil in a deep microwave-safe bowl, using 20-second bursts and stirring between each one. Stop when the mixture is smooth; a few unmelted pieces will disappear as you stir, so avoid overheating it. Dip each chilled cake completely, let excess coating drip back into the bowl, then set it on the parchment and add green sanding sugar while the coating is still wet. Let the shell set for about 20 minutes, drizzle each cake with red decorating icing, and chill for 10 minutes to set the icing.
Easy Ways to Change the Shape or Holiday Finish
Make a batch of star-shaped snack cakes
Use a 3-inch star-shaped cutter instead of the tree cutter, keeping the same two-layer sandwich and coating method. You may get a different number from each layer depending on the cutter’s shape, and the cakes will have a more playful, year-round look.
Give the trees a red garland finish
Skip the green sanding sugar and pipe the red decorating icing in a loose zigzag across each white-coated tree instead of using a simple drizzle. The icing stands out more against the plain shell, and you keep the finish smooth rather than adding the sanding sugar’s crunch.
Storage and Reheating
- Refrigerator: Store in an airtight container for up to 4 days. The cold makes the cake and filling firmer, and the coating may lose some shine.
- Freezer: Freeze the finished cakes in a single layer until firm, then place them in an airtight freezer-safe container with parchment between layers for up to 1 month. Thaw them in the refrigerator while still covered to limit condensation on the coating.
- Reheating: These aren’t meant to be reheated. Let a cake sit out for about 10 minutes before serving if you prefer a softer bite; microwaving can melt the shell and soften the filling.
Questions About Making Copycat Christmas Tree Cakes
Copycat Little Debbie Christmas Tree Cakes
Ingredients
Equipment
Method
- Heat the oven to 350°F and position racks in the upper and lower thirds.
- Coat two 9x13-inch baking pans with nonstick cooking spray and line the bottoms with parchment paper.
- Whisk the flour, baking powder, and salt together in a medium bowl.
- Beat 1 cup of the butter and the granulated sugar in a large bowl with an electric mixer on medium-high speed for 3 minutes, until pale and fluffy.
- Beat in the eggs one at a time, then mix in the vanilla.
- Add the flour mixture in three additions, alternating with the milk in two additions and beginning and ending with the flour.
- Divide the batter evenly between the pans and bake for 15–19 minutes, switching the pans between racks and rotating them front to back halfway through, until the tops spring back when lightly touched.
- Cool the cakes in the pans for 10 minutes.
- Turn the cakes out onto wire racks, peel off the parchment, and cool completely, about 45 minutes.
- Beat the remaining 1/2 cup butter and the shortening in a medium bowl on medium speed until smooth.
- Beat in the powdered sugar gradually, then the marshmallow creme, until fluffy and spreadable.
- Use a 3-inch tree-shaped cookie cutter to cut 10 trees from each cake layer, cutting them close together to minimize scraps.
- Spread about 1 tablespoon of filling over the flat side of 10 trees, then top each with a second tree, flat side down.
- Arrange the cakes on a parchment-lined baking sheet and chill for 30 minutes, until firm.
- Melt the candy melts and coconut oil in a deep microwave-safe bowl in 20-second bursts, stirring between bursts, until smooth.
- Coat each chilled cake completely in the melted candy, letting excess drip back into the bowl.
- Place the cakes on the parchment-lined sheet and sprinkle with the green sanding sugar while the coating is still wet.
- Let the coating set, about 20 minutes, then drizzle each cake with red decorating icing.
- Chill for 10 minutes to set the icing.


