A russet can be tender in the middle and still come out of the oven with a soft, leathery skin. This Baked Potato Hack fixes that timing problem: the microwave softens the center first, then a short turn in a hot oven crisps the outside. You get the contrast I want in a baked potato without asking the oven to do all the work.
I keep the potatoes whole and use a wire rack over a rimmed baking sheet so the hot air can reach the skins. The microwave stage has a clear doneness cue, too: a knife should slide easily into the center before the potatoes go into the oven. Once they’re coated with olive oil and kosher salt, the oven takes care of the crisp finish, and the inside stays soft and fluffy.
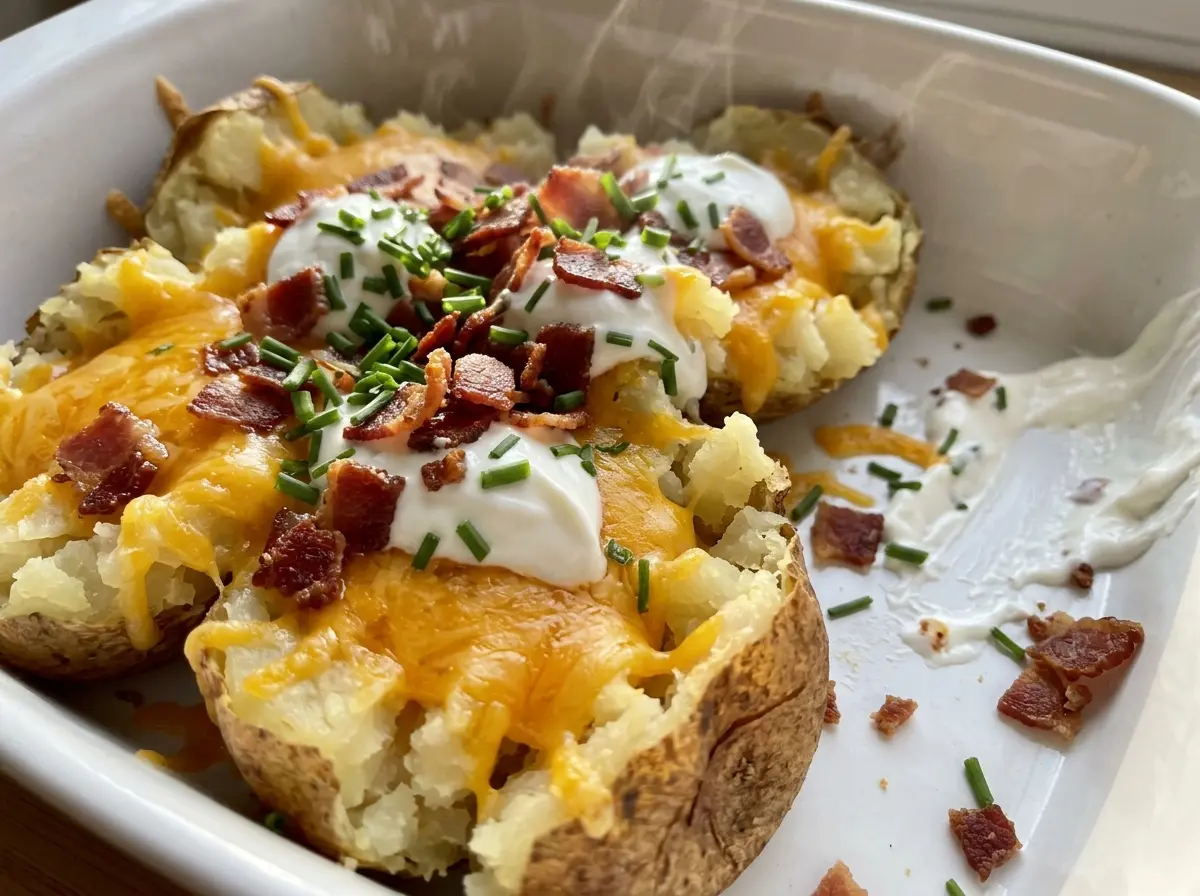
Kitchen Note
Give the potatoes the full 5-minute rest before you split them. They’re still steaming inside when they leave the oven, and that pause makes them easier to open without rushing the first cut.
Save this Baked Potato Hack for crisp skins and fluffy centers, with the microwave doing the first part of the cooking.
Why the Microwave Cooks the Center Before the Skin Gets Crisp
A whole potato has two jobs to do: the inside needs enough time to turn tender, while the outside needs dry heat to become crisp. Leaving both jobs to the oven means the skin can spend a long time heating while the center catches up. This method separates them. The microwave gets heat into the potato quickly, and the oven finishes the skin after the middle is already tender.
That order matters. If you put a damp potato straight on the rack, surface moisture has to evaporate before the skin can crisp. Drying the potato before the oil goes on helps avoid starting the oven stage with a wet surface. The rack also leaves space around each potato instead of letting one side sit flat against the baking sheet. Together, those choices give you a better chance at crisp skin and a soft center in the same potato.
The microwave time is a starting range, not the final test. Potato size and microwave strength can vary, so check the middle with a knife before moving on. That way, the oven can focus on the outside rather than trying to finish an undercooked center.
Why Russets, Olive Oil, and Kosher Salt Make Sense Here

- Russet potatoes — Their starchy flesh turns soft and fluffy, while their skins are suited to a crisp oven finish. Choose potatoes that feel firm, with no soft spots or sprouts. Keeping them close to the specified medium size helps the microwave timing stay useful; much larger potatoes take longer to heat through.
- Olive oil — A thin coating helps the salt cling and gives the skins a little help browning in the oven. Use oil that smells fresh, but there’s no need to reach for an expensive bottle here since the amount is modest and the potato is the main flavor.
- Kosher salt — Sprinkling it over the oiled surface seasons the skin as it crisps. Distribute it evenly instead of leaving a heavy patch on one side. The potato itself stays mild, so the salt on the outside is what makes the skin taste seasoned rather than plain.
The Five Stages That Get the Potato Tender and the Skin Crisp
Set Up the Hot Oven and Rack
Heat the oven to 450°F and set a wire rack over a rimmed baking sheet. The sheet catches anything that falls, while the rack holds the potatoes above it. Get this ready before the microwave stage so the potatoes can move straight to the oven once they’re coated.
Scrub, Dry, and Prick the Potatoes
Scrub the potatoes clean, then dry them well. Prick each potato several times with a fork so steam can escape as the inside heats. Take care to pierce the skin in more than one spot rather than making a single shallow mark.
Microwave Until the Center Yields
Place the potatoes on a microwave-safe plate and microwave on HIGH for 5 minutes. Turn them over, then microwave for 4 to 6 minutes more. Test the center with a knife; it should slide in easily, without a hard or resistant spot.
Coat the Skins Evenly
Pat the potatoes dry again after microwaving. Rub olive oil over the whole surface, then sprinkle the kosher salt evenly over the skins. An even coating matters more than a thick one; pooled oil can leave some patches greasy instead of crisp.
Bake Until Crisp, Then Rest
Set the potatoes on the rack and bake for 15 to 20 minutes, until the skins feel crisp. If they still feel soft, give them time to finish in the oven rather than splitting them early. Let them rest before splitting open to serve.
How to Scale This Baked Potato Hack for a Smaller or Larger Batch
Make a two-potato batch
For a smaller meal, use half as many potatoes and scale the olive oil and kosher salt down in the same proportion. Keep the same order of steps, and judge each potato by its texture rather than assuming a smaller batch will finish at the exact same moment.
Scale up for more servings
Increase the number of potatoes and keep the oil and salt in proportion. The microwave plate and oven rack need room for the potatoes to sit without being piled together; if they don’t fit comfortably, cook them in batches so each potato gets even heat around it.
Storage and Reheating
- Refrigerator: Cool leftovers promptly and refrigerate them in an airtight container for 3 to 4 days. The skins soften in storage.
- Freezer: They can be frozen, though the potato may be a little grainy after thawing. Wrap each cooled potato and freeze in an airtight container for up to 1 month for best quality.
- Reheating: Microwave until the center reaches 165°F. The inside warms quickly, but the skin won’t stay as crisp as it was straight from the oven; avoid overheating, which can make the potato dry.
Questions I Get Asked About This Baked Potato Hack
Baked Potato Hack
Ingredients
Equipment
Method
- Heat the oven to 450°F and set a wire rack over a rimmed baking sheet.
- Scrub the potatoes clean, dry them well, and prick each potato several times with a fork.
- Microwave the potatoes on a microwave-safe plate on HIGH for 5 minutes, turn them over, then microwave for 4 to 6 minutes more, until a knife slides easily into the centers.
- Pat the potatoes dry, rub them all over with the olive oil, and sprinkle evenly with the kosher salt.
- Set the potatoes on the rack and bake for 15 to 20 minutes, until the skins are crisp.
- Rest the potatoes for 5 minutes before splitting them open to serve.


