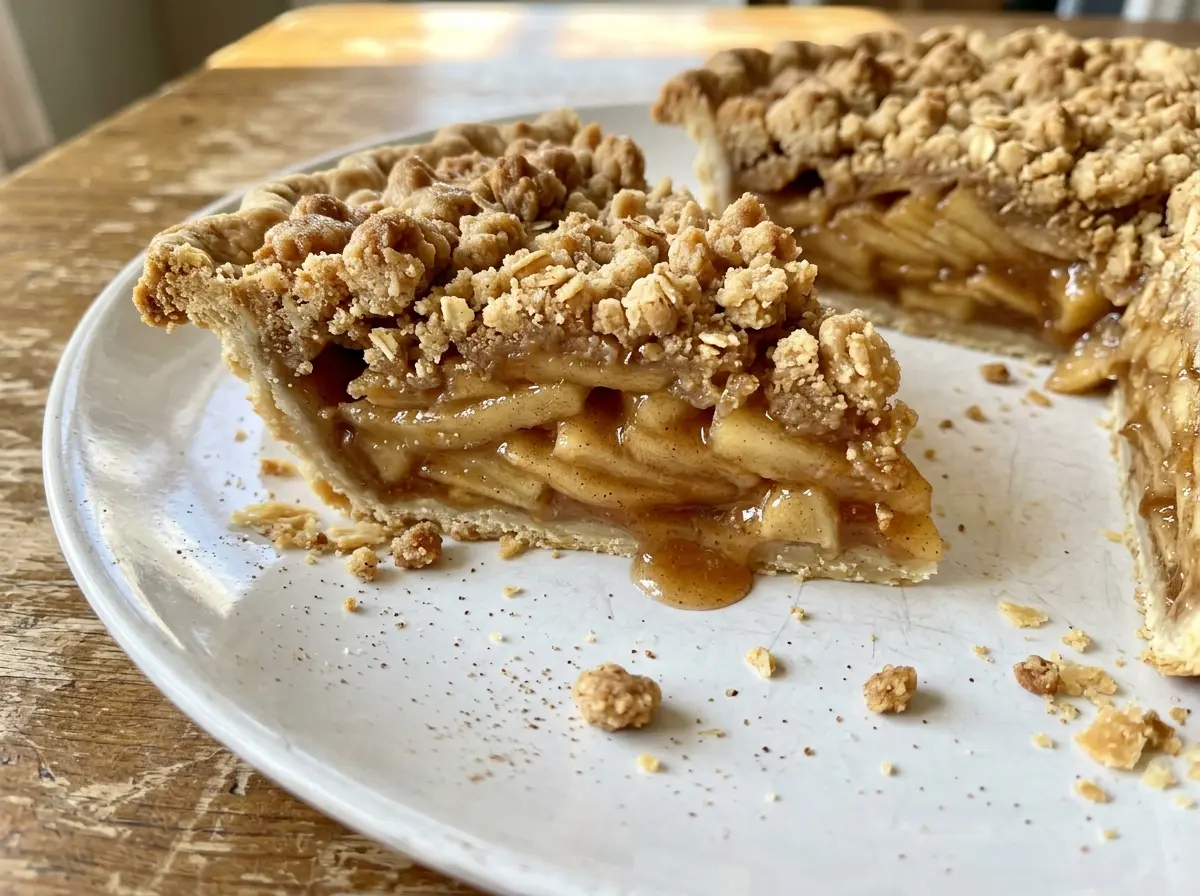
The first thing I watch when this pie comes out of the oven is the center, not the color of the crumbs. A Dutch apple pie can look beautifully golden while the apples underneath still need time to soften and the filling to bubble. I learned to trust those signs instead of pulling it early, and to give the pie a long, quiet cool before cutting. That’s how I get neat slices of tender apples, a flaky bottom crust, and a buttery cinnamon topping that breaks into crisp crumbs.
For this Dutch apple pie, firm apples hold their shape while the flour in the filling thickens their juices. A mix of Granny Smith and Honeycrisp gives you tartness and a little sweetness without letting the filling turn to applesauce. The topping is worked by hand until coarse crumbs form, so it bakes into a crisp layer instead of a solid sheet. It’s a comforting pie with a clear contrast in every bite: soft, warmly spiced fruit under a crunchy brown-sugar cap.
Kitchen Note
Start with the first 3 tablespoons of ice water, then add more a tablespoon at a time. Stop as soon as a squeezed handful holds together; a damp, sticky dough needs more flour and can bake up tough.
Save this Dutch apple pie for its flaky crust, tender cinnamon apples, and crisp brown-sugar crumb topping.
Why a Golden Crumb Isn’t Proof the Apples Are Done
The topping is exposed to the oven’s heat, while the fruit in the middle of the pie is tucked underneath it. That means the crumbs can turn golden before the center has softened or the filling has thickened. Pulling the pie when the top looks finished alone is the shortcut that leads to firm apples and juices that run across the plate.
Look for the filling to bubble in the center, then check an apple with a knife. The blade should slide in easily; a little resistance means the fruit needs more oven time. The flour mixed with the apples thickens their juices as the filling heats, but it needs the center to get hot enough to do its job. The crust edges may color faster than the middle, so loosely tent just those edges with foil if they’re browning too quickly. Let the pie cool completely before slicing, too—the filling settles as it rests, which is what gives each wedge a clean shape instead of a puddle.
The Ingredients That Give This Pie Its Crisp Crust and Tender Filling
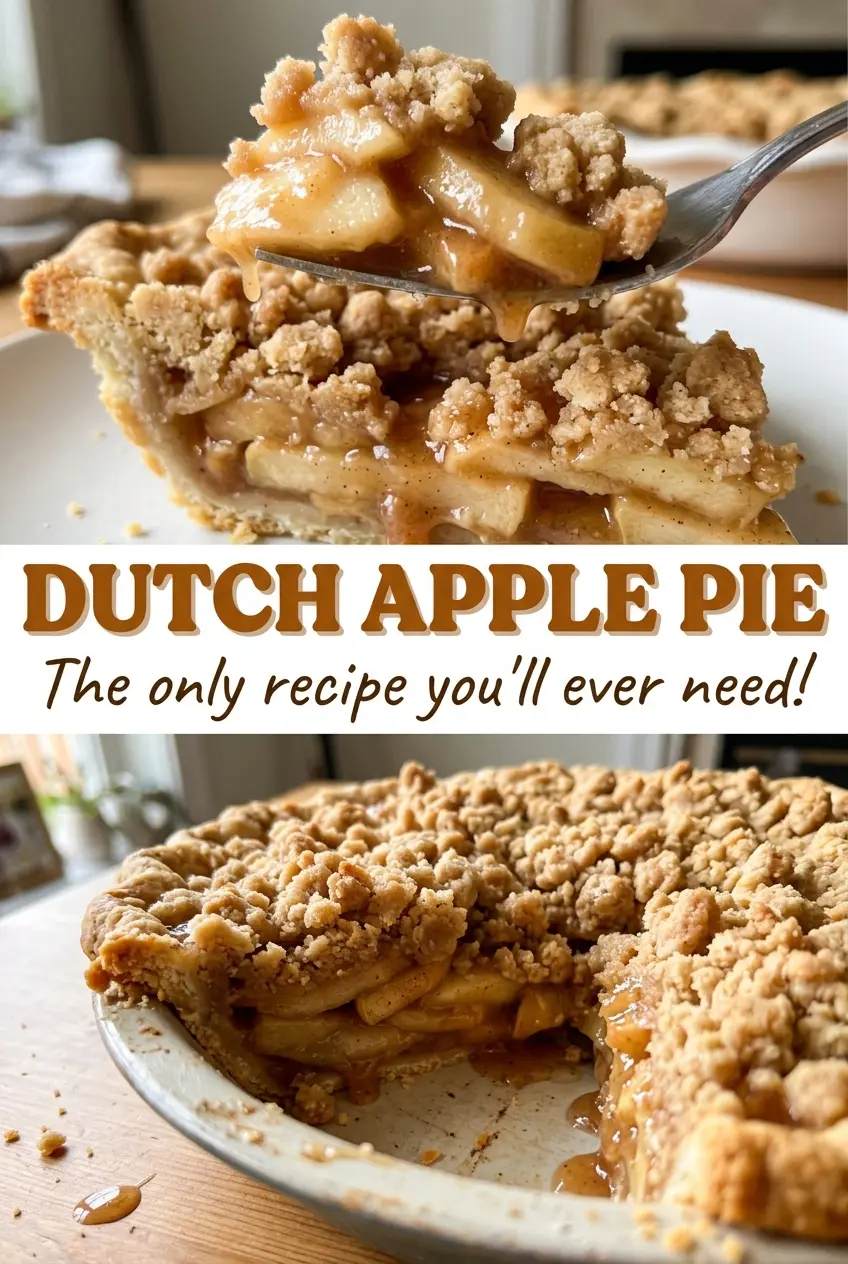
- Firm apples — Granny Smith and Honeycrisp are a useful pairing: one brings tartness, the other a sweeter apple flavor, and both hold their shape as they bake. Choose firm fruit rather than soft, mealy apples. Peel, core, and slice it thinly so the pieces soften evenly.
- Cold unsalted butter — Butter gives the pastry its flaky texture and the topping its crisp, crumbly bite. Keep it cold for both mixtures; softened butter blends into the flour too readily and won’t leave the same distinct pieces. Cubing it before working it in makes the job easier.
- All-purpose flour — Flour binds the crust, thickens the apple juices, and helps the topping form crumbs, so it has a different job in each layer. A dependable everyday all-purpose flour is right here; no specialty flour is needed. For the filling, toss until the flour coats the apples rather than leaving a dry pocket at the bottom of the bowl.
- Brown sugar — Packed light brown sugar brings a mellow molasses note to the crumb topping and helps it bake into a crisp, browned layer. It’s worth using fresh, soft brown sugar, since hard lumps are difficult to distribute evenly through the flour.
- Lemon juice and cinnamon — Lemon juice adds a little brightness to the sweet apples, while cinnamon warms both the filling and the topping. Ground cinnamon from a recently opened jar has a clearer aroma; there’s no need to buy a specialty variety.
Build the Crust, Crumbs, and Filling Before the Oven Takes Over
Bring the Butter-Flour Mixture Together
Whisk the crust flour, granulated sugar, and salt in a large bowl, then cut in the cold butter with a pastry blender or your fingertips. Stop when the butter pieces are about the size of peas; they shouldn’t disappear into the flour. Toss in 3 tablespoons of ice water, then add more a tablespoon at a time until the dough holds when squeezed. Shape it into a disk, wrap it, and refrigerate for 1 hour so it’s firm enough to roll.
Coat the Apples Evenly
Toss the peeled, cored, thinly sliced apples with the sugar, flour, lemon juice, cinnamon, and salt in a large bowl. Turn the slices over until the coating is distributed and no floury clumps remain. If some apples are bare while others carry a heavy coating, the filling won’t thicken as evenly. Set the bowl aside while you prepare the crumb topping.
Make Coarse Brown-Sugar Crumbs
Stir the topping flour, packed light brown sugar, cinnamon, and salt together in a medium bowl. Work in the cold butter with your fingertips until coarse crumbs form, with a mix of small and larger pieces. If the butter starts to feel soft or greasy, pause and chill the bowl briefly before finishing. Those distinct crumbs are what make the top uneven and crisp rather than a smooth layer.
Roll, Fill, and Crimp
Heat the oven to 400°F with a rack in the lower third. Roll the chilled dough between two sheets of parchment into a 12-inch round, then fit it into a 9-inch pie plate and trim and crimp the edges. Spoon in the apple filling and scatter the crumbs evenly over the top, taking them close to the edges. Set the pie on a rimmed baking sheet to catch any juices that bubble over.
Bake Until the Middle Is Tender, Then Let It Set
Bake for 20 minutes at 400°F, then reduce the oven to 350°F and bake for 40 to 50 minutes more. The topping should be golden, the filling should bubble in the center, and a knife should slide easily into the apples. If the crust edges brown too quickly, loosely cover them with foil while the pie finishes baking. Cool the pie on a rack for at least 4 hours before slicing; cutting sooner leaves the filling too loose to hold its shape.
Simple Changes for a Different Dutch Apple Pie
Use One Kind of Firm Apple
A pie made entirely with Granny Smith apples will taste tarter, while one made with Honeycrisp will lean sweeter. Keep the apples firm and use the same total amount; the fruit will still soften without losing all of its shape.
Make the Pie Gluten-Free
Replace the all-purpose flour in the crust, filling, and topping with a cup-for-cup gluten-free baking blend that contains a binder. The filling and crumb topping work well with that swap, though the crust may be more delicate to roll and crimp, so handle it gently.
Add Pecans to the Crumb Topping
Fold a small handful of chopped pecans into the finished crumbs before scattering them over the apples. The nuts add a toasty crunch, though the topping will be a little less uniform and the pecans can brown ahead of the crumbs.
Storage and Reheating
- Refrigerator: Cover and refrigerate the cooled pie for 3 to 4 days. The topping will soften as it sits.
- Freezer: Freeze the fully cooled pie, whole or in slices, wrapped tightly for up to 3 months. Thaw it in the refrigerator before serving.
- Reheating: Warm slices in a 350°F oven until heated through; the dry oven helps the topping crisp again. Avoid reheating for too long, which can soften the apples further.
Questions That Come Up While Making Dutch Apple Pie
Dutch Apple Pie
Ingredients
Equipment
Method
- Whisk the flour, sugar, and salt in a large bowl.
- Cut in the butter with a pastry blender or your fingertips until the pieces are about pea-size.
- Drizzle in 3 tablespoons ice water and toss.
- Add more water, 1 tablespoon at a time, just until the dough holds together when squeezed.
- Shape the dough into a disk, wrap it, and refrigerate for 1 hour.
- Toss the apples with the sugar, flour, lemon juice, cinnamon, and salt in a large bowl until evenly coated.
- Stir the flour, brown sugar, cinnamon, and salt in a medium bowl.
- Work in the butter with your fingertips until coarse crumbs form.
- Heat the oven to 400°F with a rack in the lower third.
- Roll the chilled dough between two sheets of parchment into a 12-inch round.
- Fit the dough into a 9-inch pie plate, then trim and crimp the edges.
- Spoon the filling into the crust and scatter the topping evenly over the apples.
- Set the pie on a rimmed baking sheet and bake for 20 minutes at 400°F.
- Reduce the oven to 350°F and bake for 40 to 50 minutes more, until the topping is golden, the filling bubbles in the center, and a knife slides easily into the apples.
- Loosely cover the crust edges with foil if they brown too quickly.
- Cool the pie on a rack for at least 4 hours before slicing so the filling can set.


