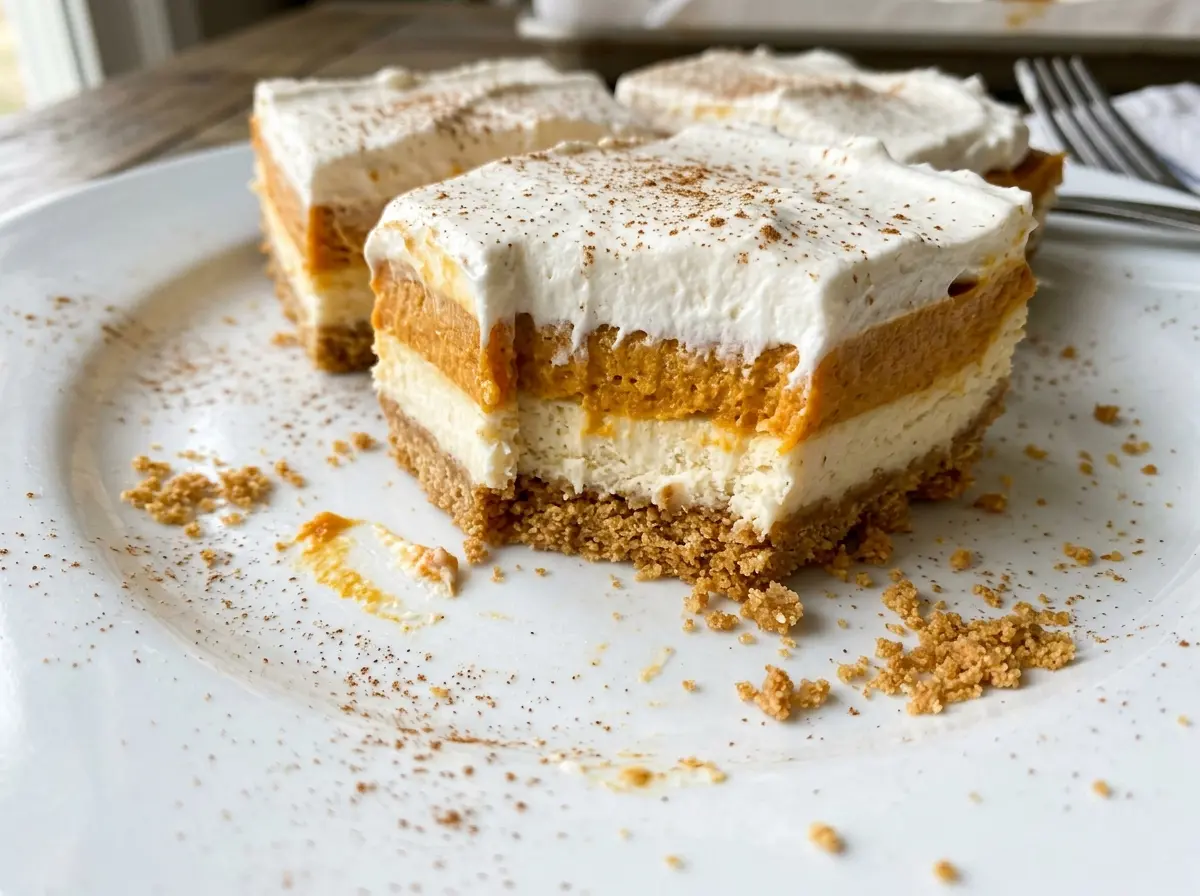
When the crust is pressed into the pan, the corners are the first place to show whether it’s packed firmly enough. I learned to give those edges an extra pass before chilling; a solid base makes it much easier to lift and slice these No Bake Pumpkin Dream Bars later. The layers are cool and creamy, with a pumpkin filling that sets without turning on the oven.
The order of the pumpkin layer matters more than it might seem. I whisk the instant pudding with cold milk until it thickens before adding the pumpkin, then fold in the thawed whipped topping gently. That keeps the filling smooth and airy, with a clean layer of cream cheese underneath and a buttery graham cracker crust at the bottom.
Kitchen Note
Press the crumb mixture firmly into the corners, not just across the middle. Give the crust its full 20 minutes in the refrigerator before spreading the cream cheese layer, so the base has time to firm up.
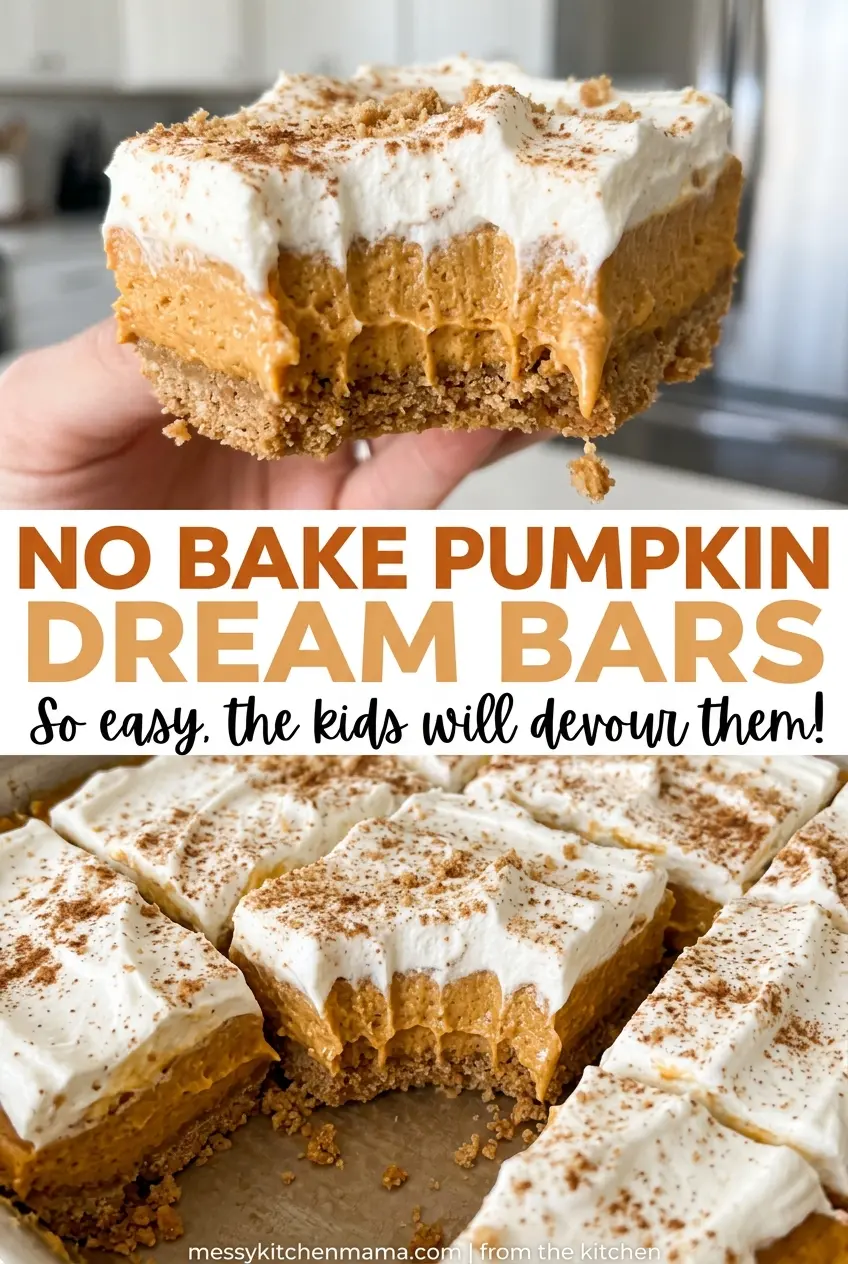
Save these No Bake Pumpkin Dream Bars for a make-ahead dessert with cool, creamy layers and a buttery graham cracker base.
Why the Pumpkin Layer Needs to Be Built in Two Stages
Pumpkin puree adds moisture, while instant pudding needs a chance to thicken with cold milk. Whisking those together from the start can make it harder to tell whether the pudding has thickened properly, and the pumpkin can leave the mixture looser than you want. I give the pudding and milk their own two minutes first, until the whisk leaves visible trails in the thickening mixture.
Then the pumpkin puree and pumpkin pie spice go in, followed by the whipped topping. Folding the topping in gently keeps the filling light instead of knocking out its air with vigorous whisking. The long refrigerator chill finishes the job: the pumpkin layer firms up over the cream cheese layer, so the cut bars hold their shape instead of slumping onto the plate.
Where Ingredient Choice Matters in These Three Layers
- Graham cracker crumbs, butter, sugar, and salt — Fine, evenly sized crumbs pack into a more cohesive crust than coarse pieces. Store-brand crumbs work well; if you’re starting with graham crackers, crush them finely before measuring. Unsalted butter lets the small amount of salt in the crust stay under your control, and melted butter is what helps bind the crumbs.
- Cream cheese, powdered sugar, and vanilla — Use cream cheese softened enough to beat smooth; a cold block tends to leave lumps that are difficult to spread evenly. Powdered sugar blends into the cream cheese more smoothly than granulated sugar, while vanilla adds a gentle background note. Standard store-brand powdered sugar and vanilla extract are fine here. A tub-style spreadable cream cheese isn’t a direct swap for the block because its softer texture can make this layer harder to spread.
- Instant vanilla pudding mix and cold whole milk — The word “instant” matters: this filling thickens without stovetop cooking. Whole milk gives the pudding a creamy body, and it needs to be cold when you whisk it with the mix. A generic brand is fine as long as it’s instant vanilla pudding; cook-and-serve pudding won’t thicken the same way in this no-bake filling.
- Canned pumpkin puree and pumpkin pie spice — Choose plain pumpkin puree, not pumpkin pie filling, which is already sweetened and seasoned. Store-brand puree works; give it a stir if there’s moisture sitting on top in the can. Pumpkin pie spice keeps the seasoning balanced in one ingredient, so there’s no need to add separate spices.
- Thawed whipped topping — It lightens the pumpkin mixture and helps it keep a distinct, sliceable layer. Thaw it before folding so it blends evenly; frozen patches can leave streaks. The packaged topping is more stable here than an unwhipped or loosely whipped replacement.
Layering the Bars Without Dragging Crumbs Into the Filling
Pack and Chill the Graham Cracker Base
Line a 9×13-inch baking dish with parchment, leaving an overhang on the long sides. Stir the graham cracker crumbs, melted butter, granulated sugar, and salt until the crumbs look evenly moistened. Press the mixture into a level layer, working into the corners so the base is even from edge to edge. Refrigerate it for 20 minutes; spreading onto a warm, loose crust can pull crumbs into the cream cheese.
Spread a Smooth Cream Cheese Layer
Beat the softened cream cheese in a medium bowl until no lumps remain. Beat in the powdered sugar and vanilla extract until the mixture looks smooth and spreadable. Spoon it over the chilled crust and spread it evenly without pushing hard into the crumb base. If the cream cheese is still firm and lumpy, keep beating before you spread it rather than trying to smooth the lumps across the crust.
Thicken the Pumpkin Filling Before Folding
In a large bowl, whisk the instant vanilla pudding mix with cold whole milk for 2 minutes, until thick. Whisk in the pumpkin puree and pumpkin pie spice until the color is even. Add the thawed whipped topping and fold gently until no white streaks remain. Vigorous beating at this point can deflate the topping, so use a folding motion and stop once the mixture is uniform.
Chill Until Firm, Then Lift and Slice
Spread the pumpkin mixture over the cream cheese layer in an even blanket. Cover the dish and refrigerate for at least 6 hours, until the center feels firm rather than soft when gently pressed. Use the parchment overhang to lift the whole slab from the dish, then cut it into 16 pieces. If the center still feels loose, give it more chilling time before lifting so the layers stay stacked.
Two Ways to Change the Format Without Losing the Layers
Make individual dessert cups
For a no-slicing presentation, divide the crust mixture among small serving cups and press it into the bottoms. Add the cream cheese layer and pumpkin layer in the same order, then cover and refrigerate until firm. You’ll get the same three distinct layers in individual portions, though the crumb base won’t lift out as one piece.
Use gluten-free graham-style crumbs
Replace the graham cracker crumbs with finely crushed gluten-free graham-style crackers, keeping the crumb texture similar so the crust still presses together. This adapts the base, but the pudding mix and whipped topping also need to be gluten-free for the finished bars to suit a gluten-free diet.
Storage and Serving
- Refrigerator: Keep the bars covered and refrigerated for up to 4 days. The crust gradually softens as it sits.
- Freezer: Freeze cut bars in an airtight container for up to 1 month. Thaw them in the refrigerator; the whipped topping layer may be a little less airy afterward.
- Serving: Serve cold. Reheating isn’t suitable for these bars because warming softens the cream cheese and whipped topping layers.
Questions That Come Up Before You Chill and Slice the Bars
No Bake Pumpkin Dream Bars
Ingredients
Equipment
Method
- Line a 9x13-inch baking dish with parchment paper, leaving an overhang on the long sides.
- Stir the graham cracker crumbs, melted unsalted butter, granulated sugar, and salt together.
- Press the mixture firmly into an even layer in the dish.
- Refrigerate the crust for 20 minutes.
- Beat the softened cream cheese in a medium bowl until smooth.
- Beat in the powdered sugar and vanilla extract.
- Spread the mixture evenly over the chilled crust.
- Whisk the pudding mix and cold whole milk in a large bowl for 2 minutes, until thick.
- Whisk in the pumpkin puree and pumpkin pie spice.
- Gently fold in the whipped topping until no streaks remain.
- Spread the pumpkin mixture evenly over the cream cheese layer.
- Cover the dish.
- Refrigerate for at least 6 hours, until firm.
- Lift the bars out using the parchment overhang.
- Cut into 16 pieces.


