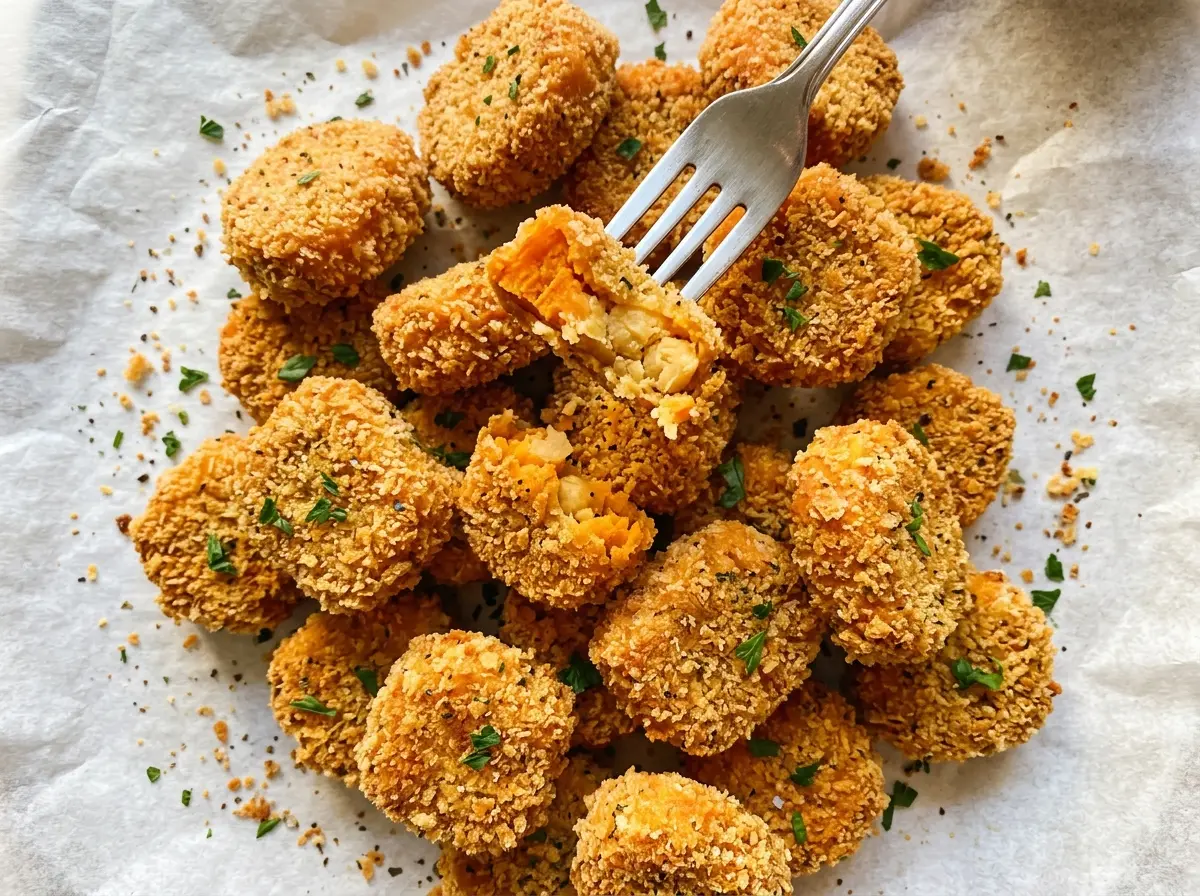
The sweet potato comes out of the microwave soft enough to mash, but any water left in the bowl can turn the mixture loose and sticky. I drain it before it goes into the chickpeas, and that small detail makes these Sweet Potato Chickpea Nuggets much easier to shape and coat. The outside bakes up crisp and golden while the inside stays tender, with little chickpea pieces giving each bite some texture.
These are built from pantry-friendly ingredients, but they don’t rely on a pile of breadcrumbs to hold together. A little panko goes into the mash with the egg, then the shaped nuggets get another coating on the outside. Chilling the mixture before shaping gives that first portion of panko time to absorb moisture, so the nuggets keep their shape as you work. Once they’re on the pan, brushing both sides with olive oil helps the coating brown in the oven.
Kitchen Note
Brush the nuggets on both sides with olive oil, not just the tops. The undersides need that little bit of fat to brown against the parchment, and flipping them halfway gives both sides time to crisp.
Save these Sweet Potato Chickpea Nuggets for a crisp panko coating and a tender, textured center made with simple pantry ingredients.
Why These Nuggets Need a Little Chickpea Texture
Mashing the sweet potato and chickpeas until completely smooth might seem like the neatest approach, but it takes away one of the best parts of these nuggets. Leave a few small chickpea pieces in the mixture. They make the centers feel more substantial and give you a pleasant contrast with the soft sweet potato and crisp panko outside.
There’s a practical reason to avoid turning the chickpeas into a paste, too: a smooth, wet mash can feel harder to handle when you’re shaping individual nuggets. Aim for mostly smooth, not perfectly uniform. If a few chickpea pieces are still visible, that’s right. Keep the pieces small enough that the nuggets hold together, and let the chilling time firm the mixture rather than trying to mash away every bit of texture.
What Each Ingredient Does in the Chickpea-Sweet Potato Mix
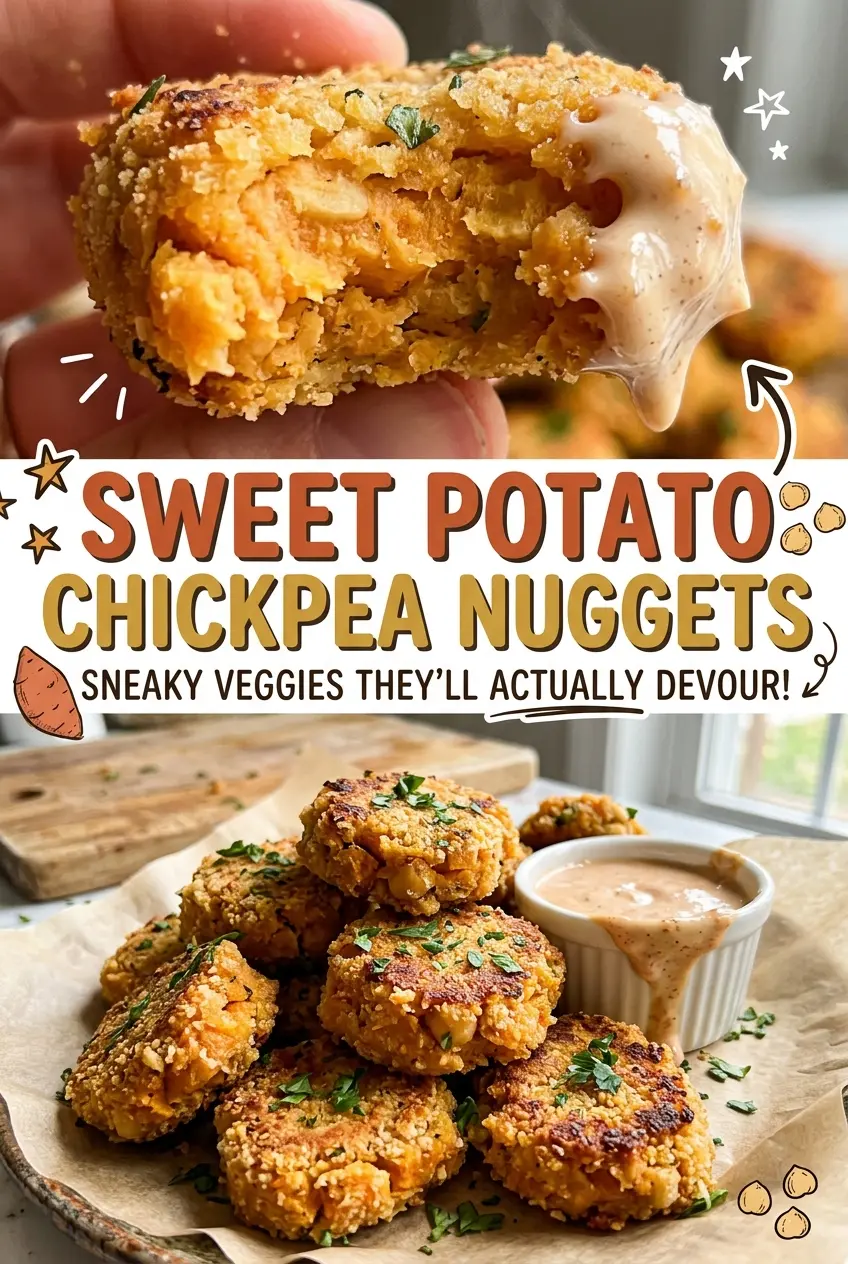
- Sweet potato — It brings moisture and a soft, naturally sweet base to the nuggets. Choose a firm potato without soft spots; peeling and cutting it into evenly sized cubes helps it soften at a similar pace in the microwave.
- Canned chickpeas — Drained and rinsed chickpeas add body and a mild, earthy taste that balances the sweet potato. A can is convenient here, and rinsing removes the packing liquid before mashing. Keep a few small pieces intact for the finished texture.
- Panko breadcrumbs — Panko does two jobs: some helps bind the mash, and the rest makes the crisp outer layer. Regular fine breadcrumbs won’t give quite the same airy crunch. For a gluten-free version, use gluten-free panko in both parts of the recipe; the coating may have a slightly different crunch depending on the brand.
- Egg — The egg helps bind the mashed ingredients so the nuggets hold together as you shape and turn them. It’s doing structural work, so don’t leave it out without changing the recipe; an egg-free version is more likely to crumble.
- Garlic powder and smoked paprika — These season the mild chickpeas and sweet potato without adding liquid to the mixture. Smoked paprika supplies a gentle smoky note, while garlic powder spreads evenly through the mash.
- Olive oil — Brushing the nuggets with oil helps the panko brown in the oven. A light, even coating is more useful than a heavy pour, which can leave some spots greasy.
From Soft Sweet Potato to Nuggets That Hold Their Shape
Soften the Sweet Potato Evenly
Heat the oven to 425°F and line a rimmed baking sheet with parchment paper. Put the sweet potato cubes and water in a microwave-safe bowl, cover, and microwave on HIGH for 5 to 7 minutes, stirring halfway through. The cubes should be very tender when pierced; if they still feel firm in the center, they aren’t ready to mash. Drain any water left in the bowl and let the potato cool for 5 minutes.
Mash to a Textured Base
Add the sweet potato and chickpeas to a large bowl and mash them together until mostly smooth. Stop while a few small chickpea pieces are still visible instead of working the mixture into a paste. Stir in the egg, the first portion of panko, garlic powder, smoked paprika, and salt until everything is combined. Scrape the bottom and sides of the bowl so you don’t leave pockets of dry seasoning or breadcrumbs.
Chill Before Shaping and Coating
Refrigerate the mixture for 15 minutes so it firms up before you portion it. Set the remaining panko in a shallow dish, then shape the mixture into 16 nuggets. Turn each one in the panko until coated; if the mixture feels soft, work calmly and use the crumb coating to help cover the surface rather than squeezing the nugget tightly. Arrange them on the parchment-lined sheet with space between them.
Bake Until Golden Through the Center
Brush both sides of the nuggets with olive oil and bake for 22 to 26 minutes, flipping halfway through. The outside should look golden, with the panko dry and crisp rather than pale and damp. Check the center of a nugget with a thermometer; it should reach 160°F. Let the nuggets rest on the baking sheet for 5 minutes before serving, which gives their soft centers a little time to settle.
Easy Ways to Adapt the Nuggets Without Losing Their Shape
Make a Gluten-Free Panko Version
Replace the panko with gluten-free panko in both the mixture and the outer coating, keeping the same division between the two portions. The nuggets will still have a crumb coating, though the exact crunch and browning vary by brand. Check that the other packaged ingredients suit your needs.
Shape Smaller Nuggets for Little Bites
Divide the mixture into smaller pieces instead of shaping 16 standard nuggets, and coat each piece in panko as usual. The smaller format gives you more crisp edges in each bite, but the centers may cook sooner, so use the 160°F center temperature rather than relying only on the original baking window.
Keep a Chunkier Center
For more distinct chickpea bites, stop mashing as soon as the sweet potato and chickpeas come together and leave a few more small chickpea pieces visible. The center will feel more rustic, while the egg and panko still help the mixture hold together. Keep the pieces small so each nugget shapes and coats evenly.
Storage and Reheating
- Refrigerator: Store cooked nuggets in a covered container for 3 to 4 days. The panko softens in the fridge, so the coating won’t be as crisp as it is fresh.
- Freezer: Freeze cooled nuggets in a freezer-safe airtight container, separating layers with parchment so they don’t stick together. For best quality, use within 2 to 3 months.
- Reheating: Reheat in the oven until hot throughout to bring back some of the crisp coating. A microwave warms them quickly but tends to soften the panko further.
Questions That Come Up When Making Sweet Potato Chickpea Nuggets
Sweet Potato Chickpea Nuggets
Ingredients
Equipment
Method
- Heat the oven to 425°F.
- Line a rimmed baking sheet with parchment paper.
- Put the sweet potato cubes and water in a microwave-safe bowl, cover, and microwave on HIGH for 5 to 7 minutes, stirring halfway through, until very tender.
- Drain any water left in the bowl and let the potato cool for 5 minutes.
- Mash the sweet potato and chickpeas together in a large bowl until mostly smooth, leaving a few small chickpea pieces for texture.
- Stir in the egg, 1/2 cup of the panko, garlic powder, smoked paprika, and salt until combined.
- Refrigerate the mixture for 15 minutes to firm up.
- Put the remaining 3/4 cup panko in a shallow dish.
- Shape the mixture into 16 nuggets, coat each in panko, and arrange them on the prepared baking sheet.
- Brush the nuggets on both sides with the olive oil.
- Bake for 22 to 26 minutes, flipping halfway through, until golden and the centers reach 160°F.
- Let the nuggets rest on the baking sheet for 5 minutes before serving.


