The top sheet wants to slide as soon as the Nutella goes on, so I line everything up before I start cutting. Once the two layers are together, the Nutella Puff Pastry Christmas Tree is much easier to shape than it looks: a simple tree outline, a few cuts for branches, and a twist on each one turn two sheets of pastry into a shareable centerpiece.
Frozen puff pastry does the heavy lifting here. It brings the flaky layers, while the Nutella gives every branch a chocolate-hazelnut center. I keep the filling inside a narrow border so it stays between the pastry sheets instead of squeezing out along the edges. A brush of beaten egg gives the top its deep golden finish, and the branches pull apart neatly after a short rest.
Kitchen Note
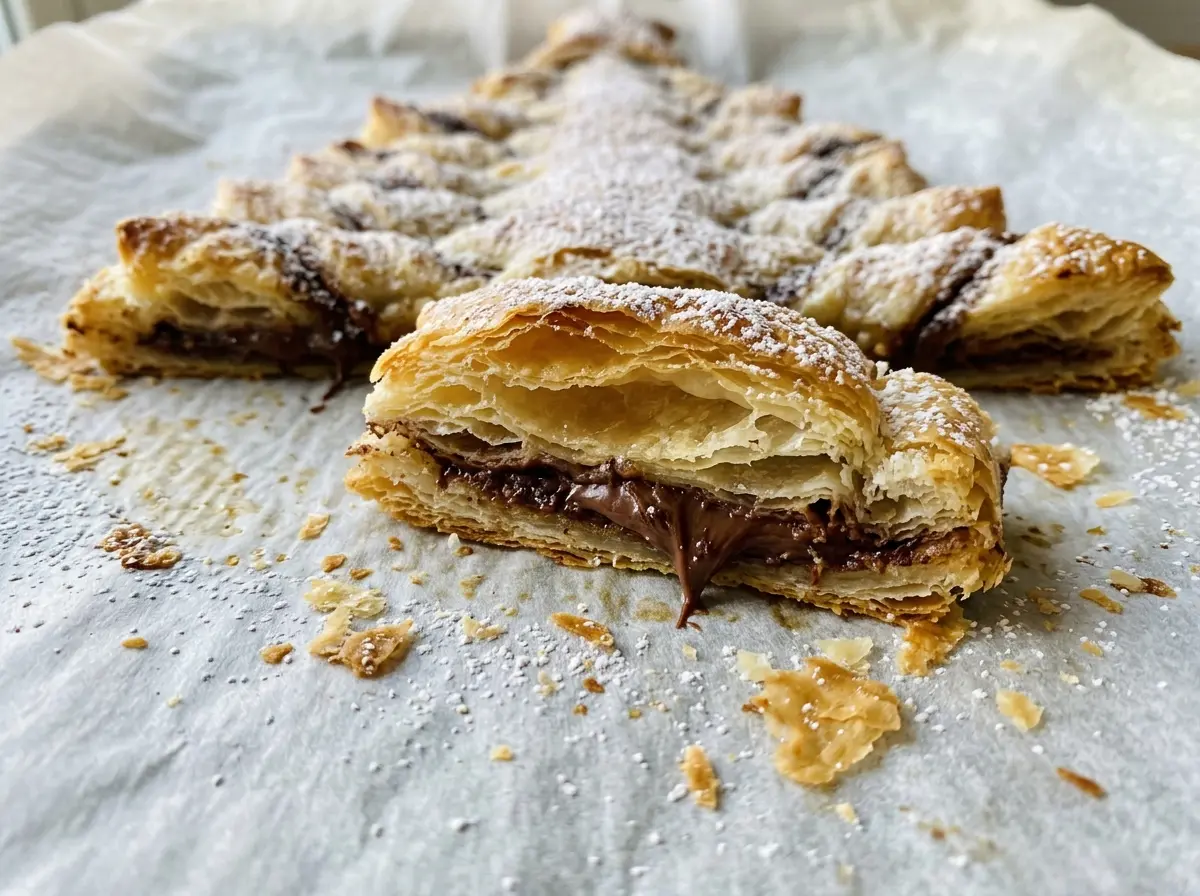
Watch the color across the whole tree, not just at the tips of the branches. It should look deeply golden before you take it out; pale pastry won’t have the same crisp, flaky finish.
Save this Nutella Puff Pastry Christmas Tree for a festive bake with crisp, golden branches and a chocolate-hazelnut center.
Why the Half-Inch Border Keeps the Nutella Where It Belongs
These pastry sheets need room to meet around the filling. Leaving a half-inch border gives the Nutella a little space from the edges, so it’s less likely to squeeze out as you position the top sheet and cut the tree. That margin also gives you a clean edge to work with when you shape the outline.
The other useful detail is that the tree has to fit inside the pastry. Cut away too much at the sides and the branches become short, narrow points that are harder to twist; keep the outline comfortably within the sheet and the branches have enough width to hold their shape. The scraps left outside the tree are part of shaping, not a reason to stretch the outline until it nearly reaches the pastry’s edge. A centered trunk helps, too: it gives the branches a clear place to stop and keeps the tree balanced from side to side.
Because the filling sits between two sheets rather than being folded into individual pastries, the layers can puff around the chocolate-hazelnut spread as they bake. Pressing the sheets together hard would work against that light texture. Align their edges, then let the cuts and twists define the tree instead of trying to seal or compress the whole shape.
What the Pastry, Nutella, and Egg Each Bring to the Tree
- Frozen puff pastry — The pastry creates all the height and flaky texture, so use sheets that thaw according to their package directions and unfold without cracking. There’s no need for a specialty brand; choose a package with two sheets that are easy to handle. Keep the amount of filling in balance with the pastry so the branches can still puff around it. If you use gluten-free puff pastry, the finished tree may be a little more delicate and the sheets may be a different size, so shape the tree to fit the pastry you have.
- Nutella — Its smooth, spreadable texture makes it easy to cover the bottom sheet in an even layer. A less smooth or much thicker spread is harder to spread across pastry without dragging or tearing it. If you need an alternative, use another smooth chocolate-hazelnut spread in the same quantity; the sweetness and texture can vary by brand, but the tree still gets its filled center.
- Beaten egg — The egg wash helps the exposed pastry brown and gives the top a glossy finish. Beat it until the white and yolk are combined, then brush it over the top without letting a puddle collect around the edges. The egg is for the surface; it isn’t mixed into the filling.
How to Shape the Tree Without Tearing the Pastry
Set Up the Pastry on the Baking Sheet
Heat the oven to 400°F and line a large rimmed baking sheet with parchment paper. Place one thawed puff pastry sheet on the parchment and unfold it. If the pastry cracks as you open it, it may still be too cold to unfold easily, so follow the package directions for thawing rather than forcing it. Starting on the lined sheet means you won’t have to lift the shaped tree later.
Spread the Nutella and Align the Top Sheet
Spread the Nutella evenly over the pastry, leaving a half-inch border around the edges. An even layer matters because a thick mound in one spot can make that area harder to cut and twist. Set the second pastry sheet over the top and line up the edges before you begin shaping. The two sheets should sit evenly, with the filling sandwiched between them.
Cut the Outline and Twist Each Branch
Use a sharp knife to cut the pastry into a tree shape with a centered trunk, keeping the outline within the pastry. Cut branches in from both sides toward the center, stopping about 1 1/2 inches short so the trunk remains intact. Twist each branch away from the center two or three times; gentle turns keep the layers together better than yanking on the ends. Work across both sides so the tree keeps its balanced outline.
Brush, Bake, and Let the Layers Set
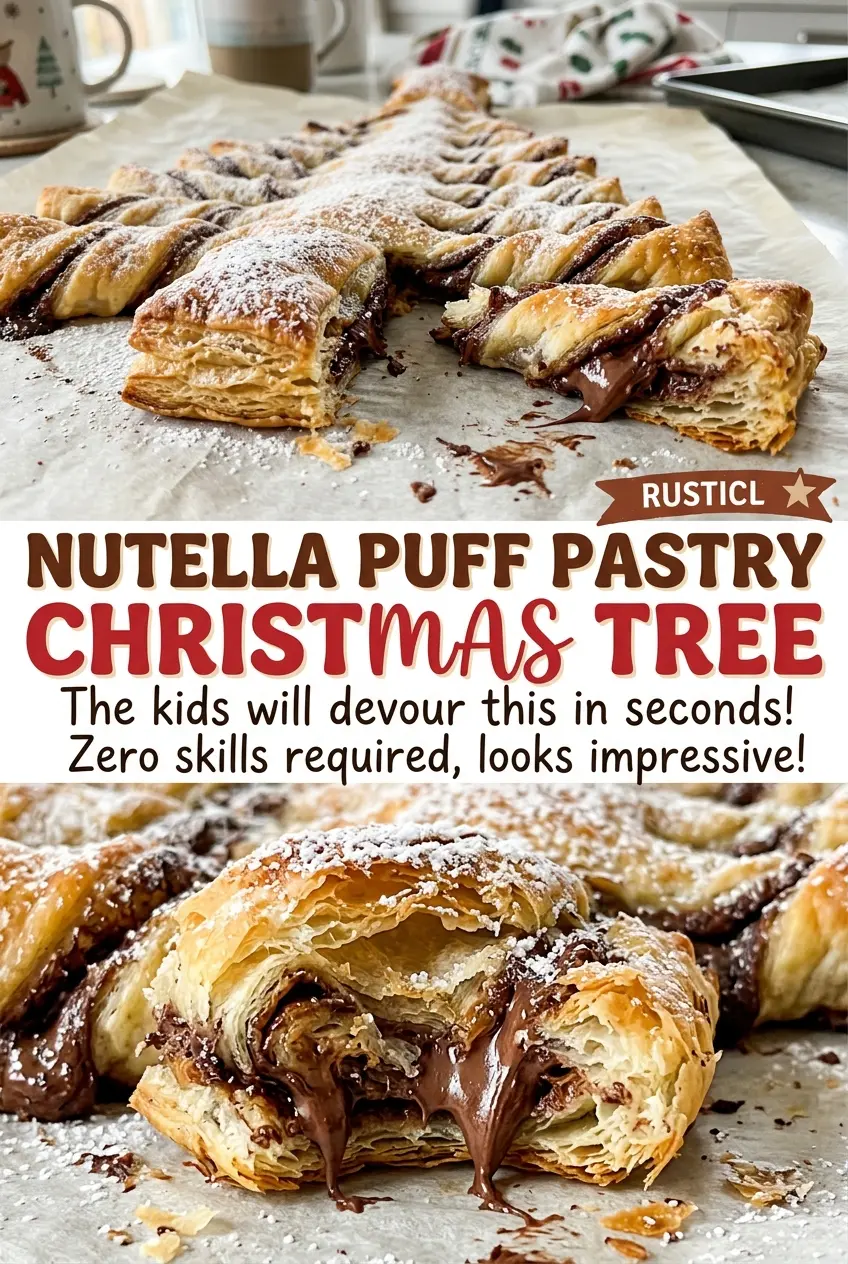
Brush the top of the pastry with the beaten egg, taking care to cover the exposed surface. Bake for 18 to 22 minutes, until the tree is puffed and deeply golden brown. The pastry should look lifted around the branches, not flat and pale. Let it cool on the baking sheet for 10 minutes before serving so the hot filling and flaky layers have a chance to settle.
Three Ways to Shape This Tree for Your Table
Make the Branches Wider and Fewer
Keep the centered trunk and tree outline, but make fewer cuts on each side to create broader branches. They’re simpler to twist and give you larger pieces to pull apart, though the tree looks less finely branched.
Try a Gluten-Free Pastry Version
Use two gluten-free puff pastry sheets in place of the regular pastry, and keep the Nutella and egg wash. Shape the tree to fit the pastry sheets you have; gluten-free pastry can be more fragile to handle and may give you a slightly different texture.
Leave the Branches Untwisted
Cut the same tree outline and side branches, but leave the branches flat instead of twisting them. The result has a simpler, more graphic shape and less separation between the layers at each branch; keep the filling tucked between the sheets as you move the pastry.
Storage and Reheating
- Refrigerator: Store leftovers in an airtight container for up to 3 days. The pastry will soften as it sits.
- Freezer: Freeze cooled pieces in a sealed freezer-safe container for up to 1 month. Thaw them in the refrigerator before reheating; the layers won’t be quite as crisp as freshly baked pastry.
- Reheating: Warm pieces in a 325°F oven until heated through and crisp at the edges. The microwave warms the filling quickly but softens the pastry, so use it only if crispness isn’t your priority.
Questions That Come Up While Making This Pastry Tree
Nutella Puff Pastry Christmas Tree
Ingredients
Equipment
Method
- Heat the oven to 400°F.
- Line a large rimmed baking sheet with parchment paper.
- Place one thawed puff pastry sheet on the prepared baking sheet and unfold it.
- Spread the Nutella evenly over the pastry, leaving a 1/2-inch border.
- Top with the second pastry sheet and align the edges.
- Use a sharp knife to cut the layered pastry into a tree shape with a centered trunk, keeping the tree within the pastry.
- Cut branches from both sides toward the center, stopping about 1 1/2 inches short of the center.
- Twist each branch away from the center 2 or 3 times.
- Brush the top of the pastry with the beaten egg.
- Bake for 18 to 22 minutes, until puffed and deeply golden brown.
- Let cool on the baking sheet for 10 minutes before serving.


