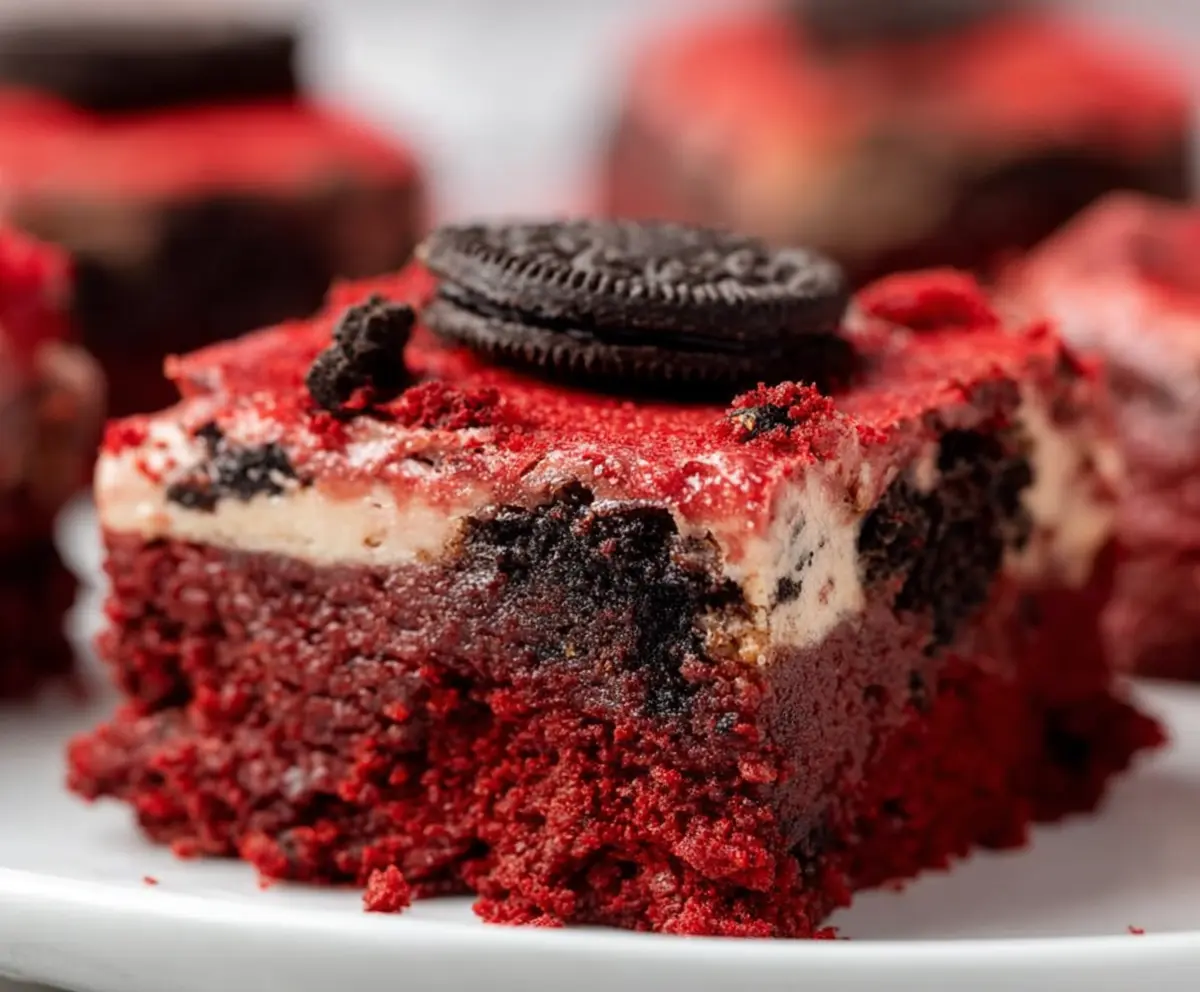
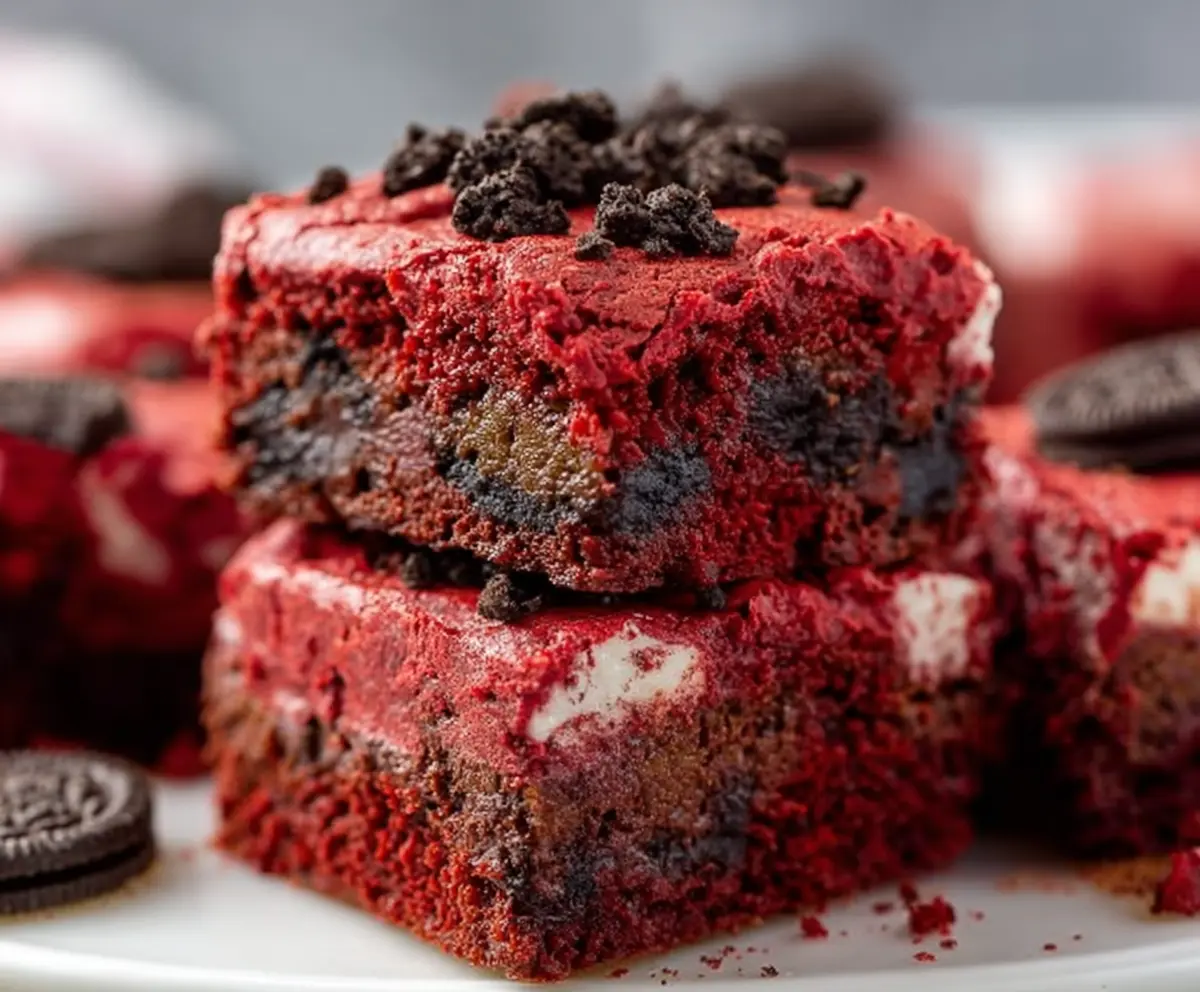
These Oreo Red Velvet Brownies are a sweet treat that combines rich red velvet cake with creamy Oreo filling. A gorgeous dessert that’s perfect for sharing or keeping all to yourself!
Honestly, these brownies are a hit at every gathering. With the soft, chocolatey texture, it’s hard to stop at just one. You might want to hide them if you want leftovers! 😂
I love how these brownies are quick to whip up. Just mix, bake, and enjoy! They’re great for parties, or whenever you need a little pick-me-up. Trust me, they won’t last long!
Key Ingredients & Substitutions
Red Velvet Cake Mix: This is the star of your brownies! For a homemade twist, you can make your own red velvet batter from scratch using flour, cocoa powder, and red food coloring. If you want a gluten-free option, look for a gluten-free cake mix.
Oreo Cookies: Standard Oreos are ideal, but feel free to use any flavor you like! Double Stuff or even seasonal varieties can add a fun flair. If you’re gluten-sensitive, try gluten-free Oreos.
Cream Cheese: Cream cheese adds that delicious tanginess. If you’re dairy-free, you can substitute with a vegan cream cheese. You’ll still get a creamy texture without the dairy.
Sugar: Granulated sugar sweetens the cream cheese mixture. If you’re looking for a healthier alternative, coconut sugar or a sugar substitute like Stevia can work well.
How Do I Make Sure My Brownies Are Moist and Fudgy?
Achieving the perfect brownie texture is key! Here are some tips:
- Don’t overmix the batter, especially after adding the dry ingredients. This keeps your brownies tender.
- Use a toothpick to check for doneness. If you see a few moist crumbs, pull them out! Overbaking can lead to dry brownies.
- Let your brownies cool completely before cutting. This helps them set up and gives you cleaner slices.
- Adding crushed Oreos on top before baking will create a lovely crunchy texture!
Oreo Red Velvet Brownies
Ingredients You’ll Need:
- 1 box red velvet cake mix
- Ingredients required for the cake mix (usually eggs, oil, and water as per box instructions)
- About 20 Oreo cookies, divided
- 8 oz cream cheese, softened
- 1/2 cup granulated sugar
- 1 large egg
- 1 tsp vanilla extract
- Optional: red velvet cake crumbs or extra Oreos for garnish
How Much Time Will You Need?
This recipe takes about 15 minutes of prep time, plus 35-40 minutes for baking. After that, let the brownies cool completely before slicing, which usually takes about 30 minutes. So, you’re looking at a total of about 1 hour and 30 minutes from start to finish!
Step-by-Step Instructions:
1. Preheat the Oven and Prepare Your Pan:
First, preheat your oven to 350°F (175°C). While that’s heating up, grab a 9×13 inch baking pan. Grease it with butter or oil, or line it with parchment paper for easy removal later!
2. Make the Red Velvet Cake Batter:
Now it’s time to prepare the red velvet cake mix! Follow the instructions on the box, mixing in the eggs, oil, and water until it’s nice and smooth.
3. Prepare the Oreos:
Take about 10 Oreo cookies and set them aside for the top later. Now, crush the remaining Oreos into larger chunks. You want some pieces to give crunch, but not so small that they disappear!
4. Make the Cream Cheese Mixture:
In a medium bowl, beat the softened cream cheese, granulated sugar, the large egg, and vanilla extract together. Keep mixing until the mixture is smooth and creamy. This yummy layer adds a lovely contrast to your brownies!
5. Layer the Ingredients:
Pour half of your prepared red velvet batter into the baking pan, spreading it evenly. Next, arrange half of the whole Oreo cookies on top of this batter, followed by sprinkling half of the crushed Oreos.
6. Add the Cream Cheese Layer:
Gently spread the cream cheese mixture over the Oreo layer, smoothing it out as you go. It’s going to look so good already!
7. Add the Rest of the Batter:
Pour the remaining red velvet batter on top of your cream cheese layer. Do your best to cover it completely so those layers don’t mix too much.
8. Top it Off:
Finish by sprinkling the remaining crushed Oreos on top for that delicious crunch!
9. Bake Your Brownies:
Pop the pan into the preheated oven and bake for 35-40 minutes. You can check if they’re done by inserting a toothpick into the center. If it comes out with a few moist crumbs, it’s perfect!
10. Cool and Slice:
Once baked, let your brownies cool completely in the pan on a wire rack for about 30 minutes. This helps them set. Then, slice them into squares.
11. Add Finishing Touches:
For a beautiful presentation, place a whole Oreo cookie on top of each brownie square and sprinkle with red velvet crumbs if you have any leftover!
12. Serve and Enjoy!
Now you’re ready to serve! Enjoy the rich combination of red velvet cake, creamy cheese, and crunchy Oreos. Share with friends and family or keep them all to yourself!
These Oreo Red Velvet Brownies are guaranteed to impress and are perfect for any occasion. Dig in and enjoy!
Can I Use a Different Cake Mix?
Absolutely! While red velvet cake mix gives these brownies their signature flavor and color, you can substitute with chocolate cake mix for a different twist. Just keep in mind that it will alter the taste and appearance slightly.
How Should I Store Leftover Brownies?
Store any leftover brownies in an airtight container at room temperature for up to 3 days. If you want them to last longer, you can refrigerate them for about a week, or freeze them for up to 3 months. Just make sure to label and date the container!
What if I Don’t Have Cream Cheese?
If you’re out of cream cheese, you can use mascarpone cheese or Greek yogurt as alternatives. Both options will retain a creamy texture and add a slight tang, but remember, the flavor will vary a little from tradition!
Can I Make These Brownies Gluten-Free?
Yes! Simply substitute the red velvet cake mix with a gluten-free version. Many brands offer gluten-free cake mixes that will work perfectly in this recipe, allowing everyone to enjoy these delicious brownies!