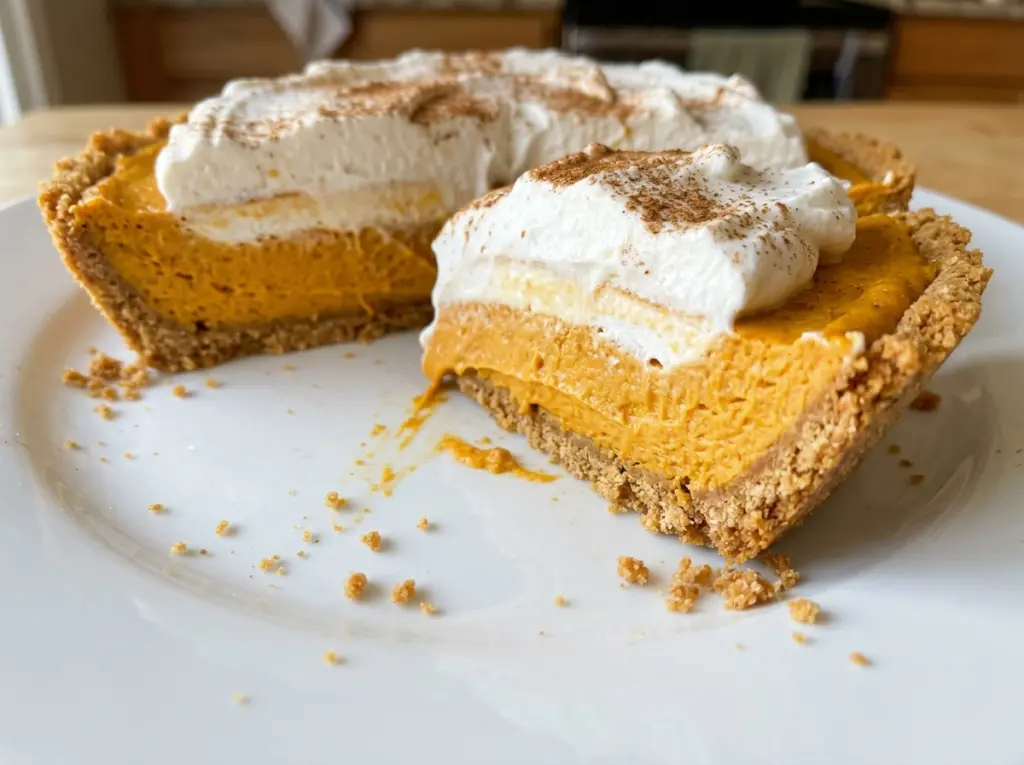

The marshmallows soften slowly in the saucepan, turning the milk into a smooth, glossy base. That’s the moment this pie starts to feel different from a baked pumpkin pie: there’s no oven to watch and no custard to test. I make this No Bake Marshmallow Pumpkin Pie when I want pumpkin-spice flavor in a cool, fluffy filling tucked into a ready-made graham cracker crust.
The filling comes together in two parts. First, pumpkin and spice go into the melted marshmallows; then whipped cream lightens the cooled mixture. Letting the pumpkin base reach room temperature before folding matters, because warm filling can knock the air out of the cream. After a long chill, each slice is soft and creamy with the gentle crunch of graham cracker underneath.
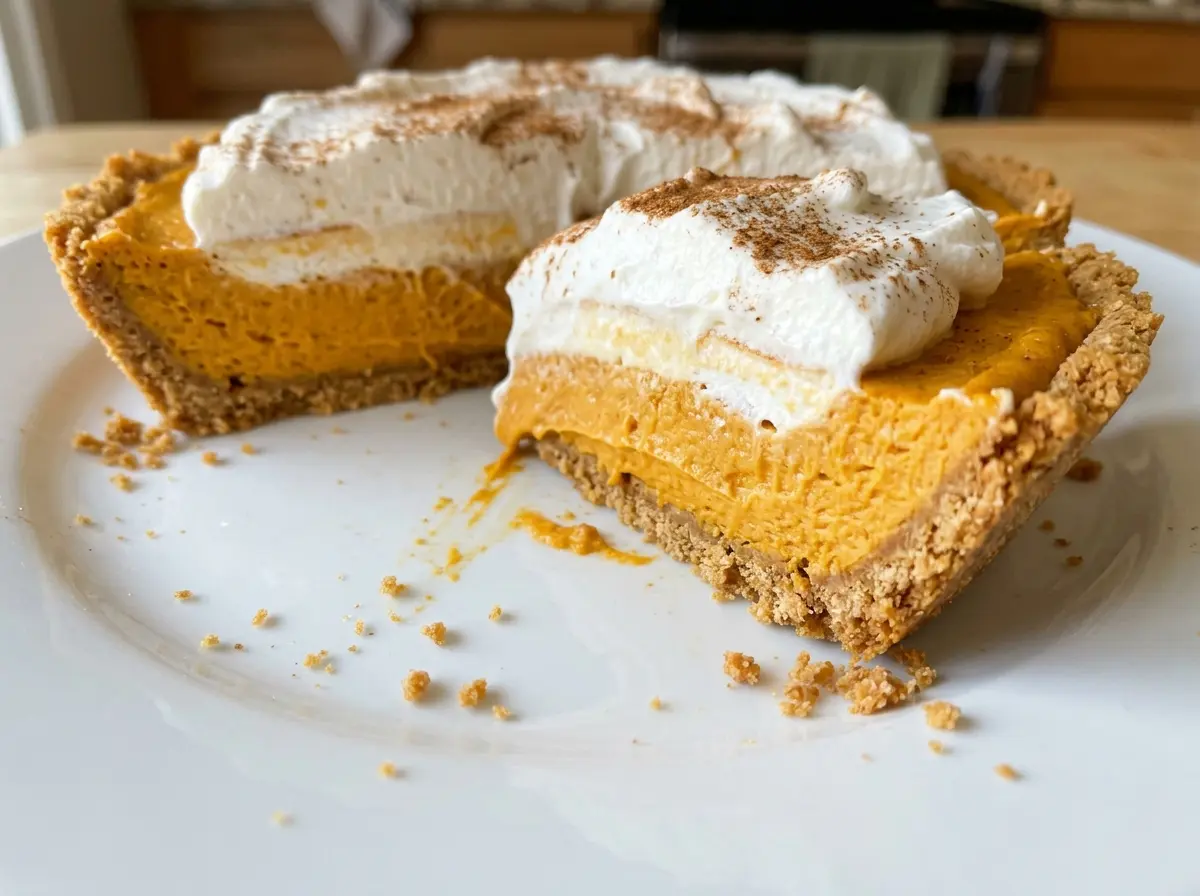
Kitchen Note
Stop beating the cream when the peaks stand upright and hold their shape. Cream beaten past that point can turn grainy, and it won’t fold into the pumpkin mixture as smoothly.
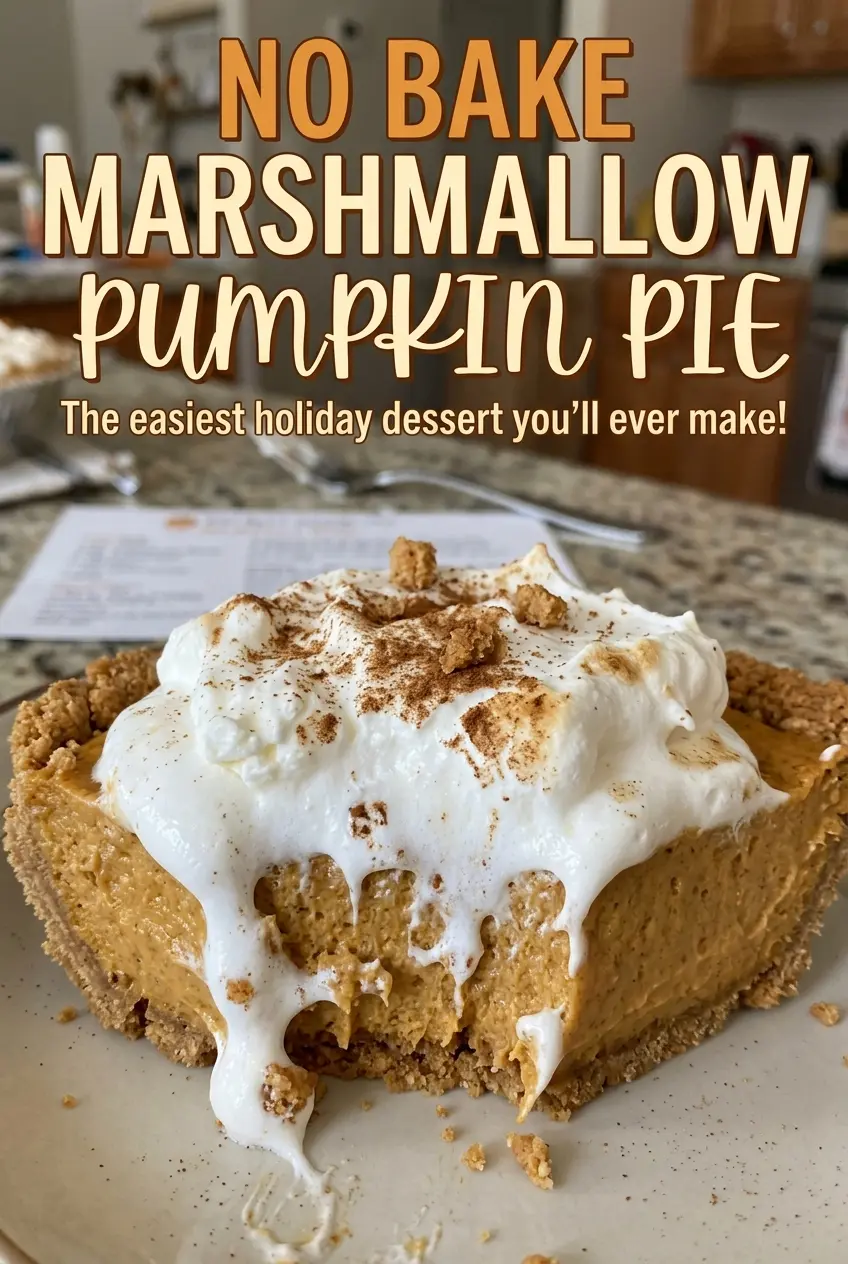
Save this No Bake Marshmallow Pumpkin Pie for its cool, cloud-soft filling and easy graham cracker crust.
Why a No-Bake Pumpkin Pie Still Needs a Long Chill
Without baking, this filling doesn’t firm up in the same way a custard pie does. The melted marshmallows give the pumpkin mixture body as it cools, while whipped cream brings a lighter texture. Neither part turns the filling sliceable the instant it goes into the crust; the refrigerator time lets everything settle into a soft, cohesive filling.
Give it at least four hours before slicing. Cutting too early is the most common reason a no-bake pie slumps onto the plate: the filling hasn’t had enough time to become firm. I plan the chill into the day rather than trying to rush it at the end. The finished pie should feel cold and set when you cut into it, not loose or warm in the middle.
What the Marshmallows, Pumpkin, and Cream Each Bring
- Mini marshmallows — They melt readily into the milk and provide sweetness and structure as the filling chills. Stick with mini marshmallows for an even melt; the larger kind needs more preparation to break down smoothly.
- Whole milk — The milk helps the marshmallows melt into a smooth base without making the filling taste heavy. I use whole milk here rather than swapping in a thinner milk, which can make the mixture less rich.
- Canned pumpkin puree — Use plain pumpkin puree, not pumpkin pie filling, which is already sweetened and spiced. Canned puree gives the filling a consistent texture; homemade puree can carry more water and make the pie softer.
- Pumpkin pie spice — A prepared spice blend gives the pumpkin its familiar warm, rounded flavor without adding separate spices. Check that the jar smells fragrant; an old, flat blend won’t bring as much character.
- Cold heavy cream — This is what makes the filling airy instead of dense. Heavy whipping cream is an equivalent option if that’s how the carton is labeled; keep it cold so it whips properly.
- Prepared graham cracker crust — A ready-made 9-inch crust keeps this a true no-bake pie and adds a crisp, lightly sweet contrast to the filling. Choose one that’s intact, since a cracked crust can make filling and serving messier.
How to Make the Filling Smooth and Keep It Light
Melt the marshmallows without scorching them
Combine the mini marshmallows and whole milk in a 3-quart saucepan. Cook over low heat, stirring constantly, for 5 to 8 minutes, until the marshmallows are completely melted and the mixture looks smooth. Keep your spoon moving along the bottom and sides of the pan so the sugary mixture doesn’t stick. If you still see marshmallow pieces, continue stirring over low heat until they disappear.
Cool the pumpkin mixture before adding cream
Take the saucepan off the heat, then stir in the canned pumpkin puree and pumpkin pie spice until the mixture is smooth. Let it cool to room temperature, about 30 minutes. The mixture should no longer feel warm before you add the whipped cream. Adding cream while the pumpkin base is warm can soften the air you’ve worked into it.
Whip the cream to firm peaks
Pour the cold heavy cream into a medium bowl and beat it with an electric mixer for 2 to 4 minutes, until stiff peaks form. Watch the cream as it thickens near the end; the change from soft peaks to firm ones happens quickly. Lift the beaters to check that the peaks stand upright. Stop there rather than continuing to beat.
Fold gently, fill the crust, and chill
Gently fold the whipped cream into the cooled pumpkin mixture until no streaks remain. Use a broad, gentle motion so the cream keeps its light texture; stirring briskly can deflate it. Spread the filling into the prepared graham cracker crust, then cover the pie and refrigerate it until firm, at least 4 hours. The center should feel set when the pie is ready to slice.
Two Ways to Adapt This Pumpkin Pie
Use a gluten-free graham cracker crust
For a gluten-free version, replace the prepared graham cracker crust with a prepared 9-inch gluten-free graham cracker crust. Keep the filling the same. The texture and pumpkin flavor stay close to the original, though the crust’s sweetness and crunch depend on the brand.
Make individual pumpkin pies
Divide the same filling among prepared individual graham cracker crusts instead of spreading it into one large crust. The filling and folding method stay the same, but smaller portions are handy for serving. Chill the filled crusts until firm before serving.
Make-Ahead and Storage
- Refrigerator: Cover the pie and refrigerate leftovers for 3 to 4 days. The crust may soften as it sits, but the filling will remain creamy.
- Freezer: I don’t recommend freezing this pie. The whipped-cream filling can lose its smooth texture when thawed, and the crust may become soggy.
- Serving: Serve it chilled straight from the refrigerator. There’s no reheating step for this pie; warming it will soften the filling.
Questions That Come Up With No-Bake Pumpkin Pie
No Bake Marshmallow Pumpkin Pie
Ingredients
Equipment
Method
- In a 3-quart saucepan, combine the marshmallows and milk and cook over low heat, stirring constantly, until completely melted and smooth, 5 to 8 minutes.
- Remove the pan from the heat and stir in the pumpkin puree and pumpkin pie spice until smooth.
- Let the mixture cool to room temperature, about 30 minutes.
- In a medium bowl, beat the heavy cream with an electric mixer until stiff peaks form, 2 to 4 minutes.
- Gently fold the whipped cream into the cooled pumpkin mixture until no streaks remain.
- Spread the filling into the graham cracker crust.
- Cover and refrigerate until firm, at least 4 hours.