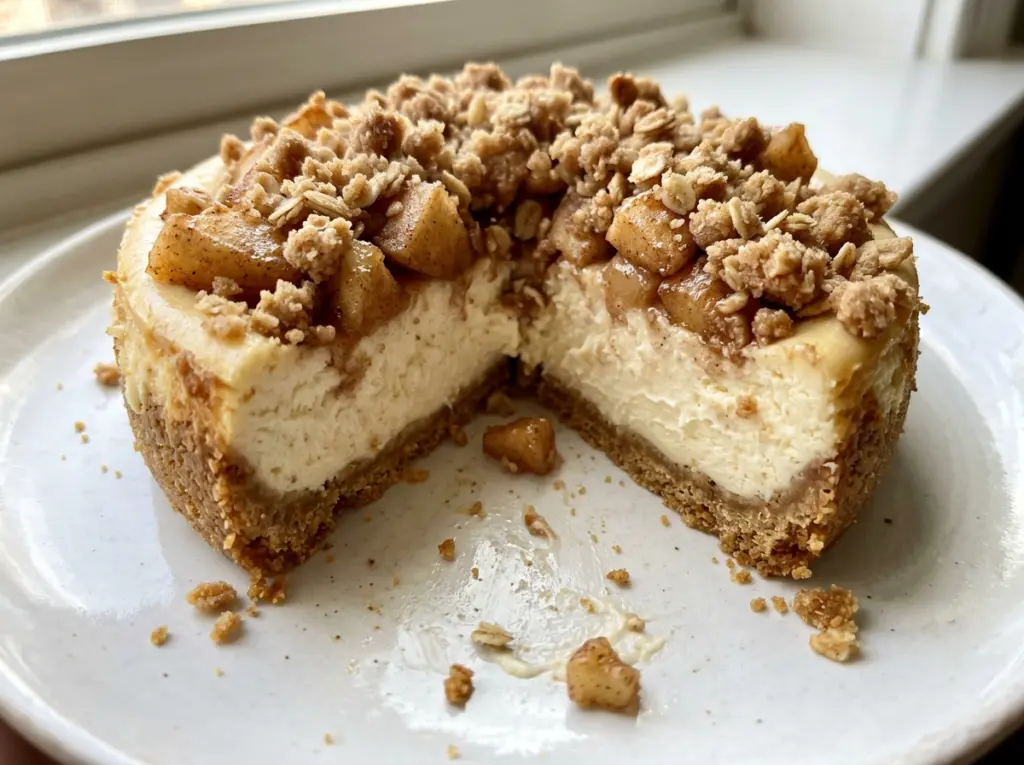

The graham cracker crusts come out of the oven smelling buttery, and the apples turn glossy in the skillet as their juices thicken around the cinnamon. I like how much of an apple crisp these little cheesecakes hold onto: a tender apple layer and a crumbly oat topping, all on a creamy filling.
Cooking the diced apples first gives them a head start and keeps the topping from bringing raw apple pieces and loose juices into the oven. Let them cool before adding them to the filling; warm apples can soften the cheesecake mixture before it bakes. Once chilled, each cheesecake has a firm crust, a cool creamy middle, and cinnamon streusel on top.
Kitchen Note
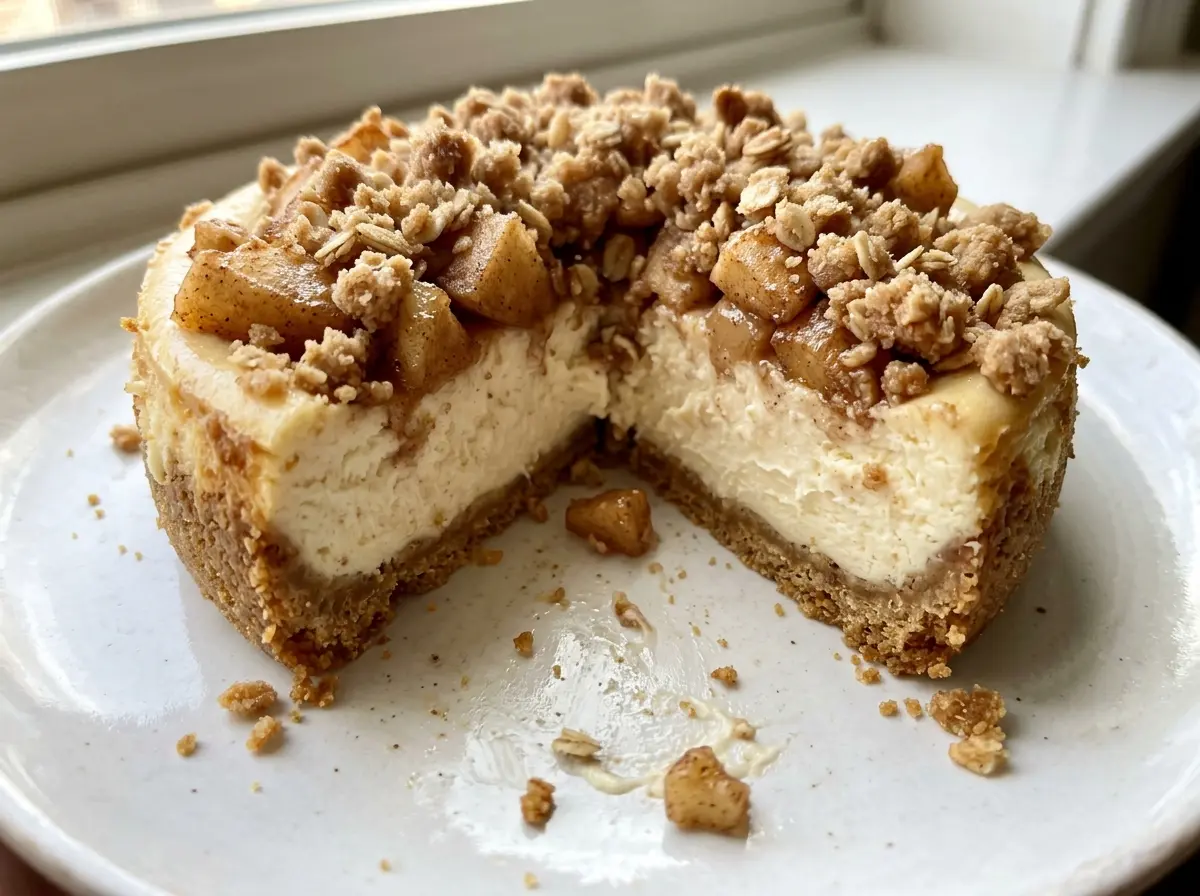
Keep the butter for the streusel cold, and stop cutting it in when the mixture looks like coarse crumbs. If it turns into a uniform paste, you lose those little crisp bits on top.
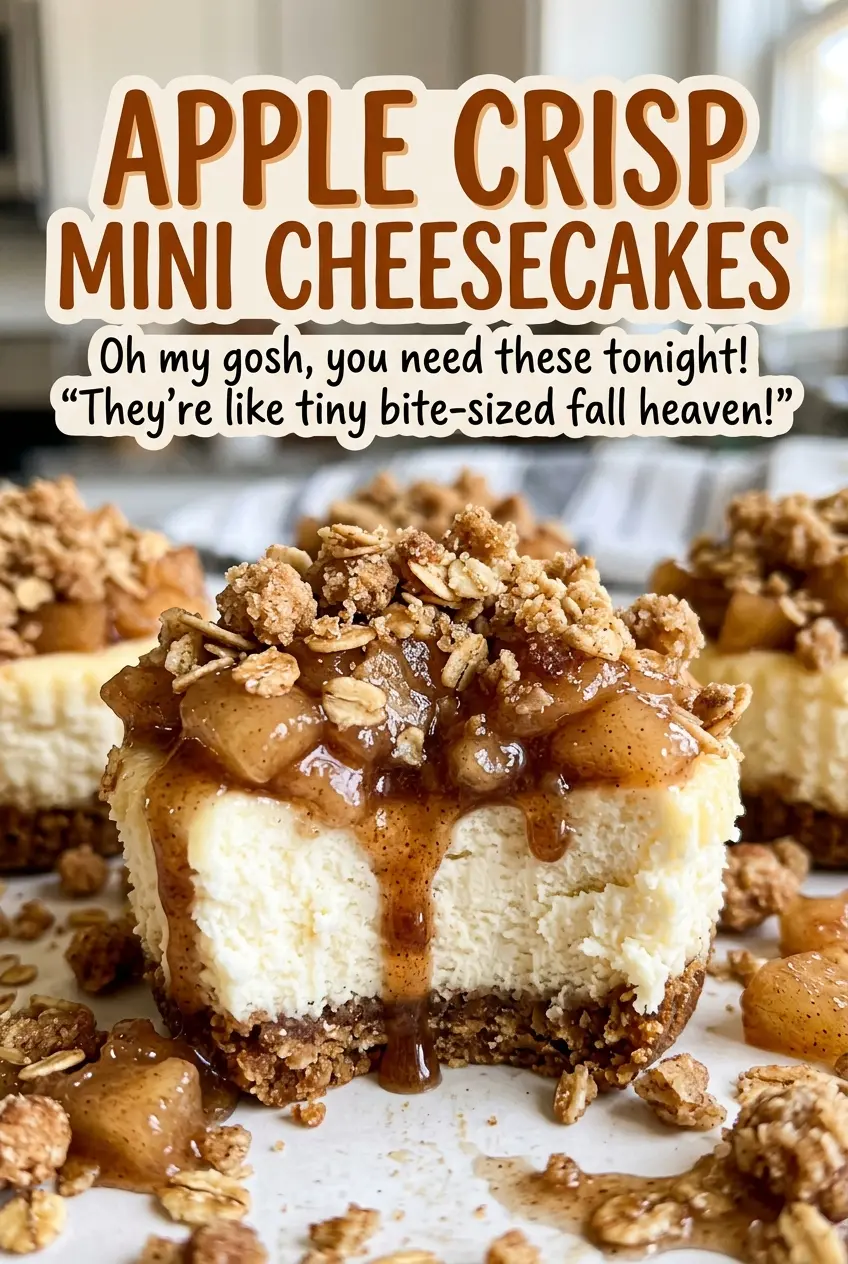
Save these Apple Crisp Mini Cheesecakes for a bake with creamy centers, cinnamon apples, and a crisp oat topping.
Why the Apples Need to Cool Before They Meet the Cheesecake
The apples cook on the stovetop before they ever go near the filling. That short skillet step softens the diced fruit and cooks down its juices with brown sugar and cinnamon until they form a thick glaze. Put the apples on the cheesecakes while they’re still hot, though, and they can warm the filling and make it harder to keep the layers distinct.
Give them time to cool while you prepare the streusel and filling. The apples should feel cool rather than warm to the touch, and the glaze should cling to the pieces instead of running across the plate. If the skillet juices still look thin, keep stirring over medium heat until they thicken; a watery topping can seep into the cheesecake and crust as it bakes. Cooling the apples also gives you a calmer assembly: spoon the fruit onto the filling, then add the crumb topping without rushing.
What the Apples, Cream Cheese, and Oat Crumbs Each Bring
- Apples — Peel them and cut them into even 1/4-inch dice so the pieces soften at the same rate in the skillet. The exact variety isn’t specified, so use apples you enjoy cooked; the skillet glaze supplies the cinnamon-sugar crisp character.
- Cream cheese — Let it soften before mixing. Soft cream cheese blends smoothly with the sugar, while cold blocks are more likely to leave lumps that are hard to beat out once the eggs are added.
- Eggs, sour cream, and cornstarch — Room-temperature eggs blend into the filling more readily than cold ones. Sour cream gives the filling a softer, tangy edge, while cornstarch is part of the mixture that sets around the fruit and topping.
- Graham crackers — Graham cracker crumbs make a compact, lightly sweet base. Press the mixture firmly into the liners so the crust holds together when you peel the paper away.
- Old-fashioned oats, flour, and cold butter — Rolled oats give the topping its crisp, nubby texture, and flour helps the crumbs hold together. Cold butter is easier to cut into the dry ingredients without making a greasy paste; use unsalted butter here so the sweetness and cinnamon stay balanced.
Build the Layers Without Losing the Crumbly Top
Set the Graham Cracker Bases
Heat the oven to 325°F and line a standard 12-cup muffin pan with paper liners. Stir the graham cracker crumbs and granulated sugar with the melted butter until the crumbs are evenly moistened. Divide them among the liners and press firmly into the bottoms; a flat-bottomed glass or measuring cup helps make an even layer. Bake the crusts for 5 minutes, just long enough to set the base before the filling goes in.
Cook Down the Cinnamon Apples
Melt the butter in a skillet over medium heat, then add the diced apples, brown sugar, and cinnamon. Stir often as the apples soften, cooking them for 6 to 8 minutes. Look for tender pieces surrounded by a thick glaze, not a pool of thin juice. Set the skillet aside so the apples cool before assembly.
Cut the Butter into the Streusel
Stir the oats, flour, brown sugar, and cinnamon together in a bowl. Add the cold butter and cut it into the dry mixture until coarse crumbs form. A few larger bits are useful; they bake into crisp clusters instead of a solid layer. If the butter starts to smear and the mixture clumps together, pause and chill it briefly before topping the cheesecakes.
Mix, Top, and Bake Until the Centers Jiggle
Beat the softened cream cheese with granulated sugar until smooth. Beat in the eggs one at a time, then mix in the sour cream, vanilla, and cornstarch just until combined. Divide the filling among the crusts, add some cooled apples and streusel to each, and bake for 20 to 24 minutes; the edges should be set while the centers still jiggle slightly. Cool the pan for 30 minutes, then refrigerate the cheesecakes for at least 4 hours before serving.
Three Ways to Shift the Apple Crisp Layers
Choose a tarter apple
Use a firm, tart baking apple in place of a sweeter one. The brown sugar and cinnamon will still glaze the fruit, while the sharper apple taste makes the sweet filling feel less rich.
Make them without the crust
Leave out the graham cracker base and divide the filling among the paper-lined muffin cups, then add the apples and streusel. The result is a softer, crustless bite, so peel the liners carefully after the cheesecakes are fully chilled.
Trade the apple layer for cinnamon streusel
Skip the cooked apples and top the filling with the streusel alone. You’ll get a simpler cinnamon-oat cheesecake with a more direct crunch and none of the soft fruit layer.
Storage and Reheating
- Refrigerator: Store covered for up to 4 days. The crust will gradually soften as it sits.
- Freezer: Freeze the fully chilled cheesecakes in a tightly sealed container for up to 2 months. Thaw them in the refrigerator before serving.
- Reheating: These are best served cold, so don’t microwave them. If frozen, let them thaw in the refrigerator rather than at room temperature.
Questions That Come Up When Baking Mini Cheesecakes
Apple Crisp Mini Cheesecakes
Ingredients
Equipment
Method
- Heat the oven to 325°F.
- Line a standard 12-cup muffin pan with paper liners.
- Stir the graham cracker crumbs and 2 tablespoons granulated sugar with 3 tablespoons melted butter.
- Divide the mixture among the liners and press firmly into the bottoms.
- Bake for 5 minutes.
- Melt 1 tablespoon butter in a skillet over medium heat.
- Add the apples, 2 tablespoons brown sugar, and 1/2 teaspoon cinnamon.
- Cook, stirring often, for 6 to 8 minutes until the apples are tender and the juices form a thick glaze.
- Set the apples aside to cool.
- Stir the oats, flour, remaining 4 tablespoons brown sugar, and remaining 1/4 teaspoon cinnamon together.
- Cut in the remaining 3 tablespoons cold butter until the mixture forms coarse crumbs.
- Beat the cream cheese with 1/2 cup granulated sugar until smooth.
- Beat in the eggs one at a time.
- Mix in the sour cream, vanilla, and cornstarch just until combined.
- Divide the filling among the crusts.
- Top each with some of the cooled apples and streusel.
- Bake for 20 to 24 minutes until the edges are set and the centers still jiggle slightly.
- Cool the cheesecakes in the pan for 30 minutes.
- Refrigerate for at least 4 hours before serving.