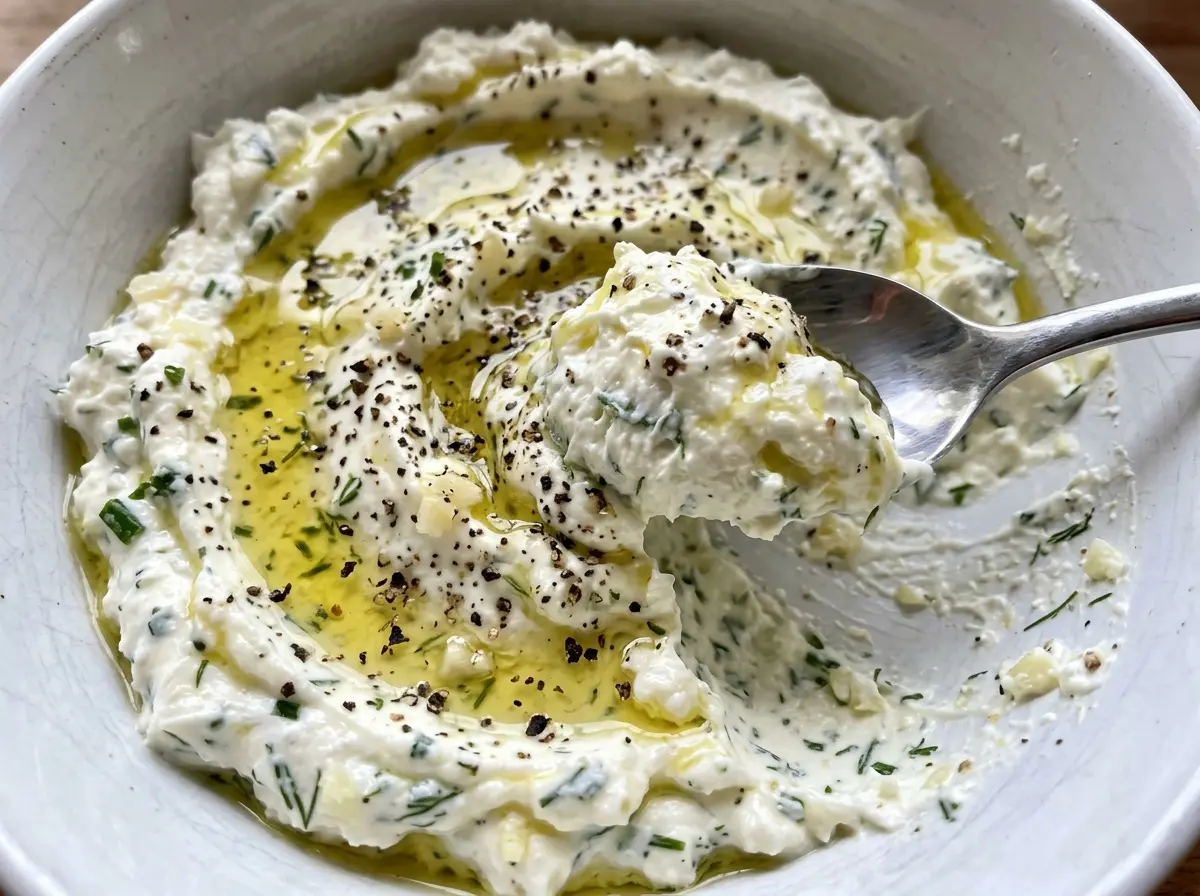
The food processor tells you a lot about this dip: at first, the cheeses cling to the sides and the herbs look scattered through the bowl. Then the mixture turns smooth and pale, with little green flecks throughout. I like how quickly the ingredients come together, but goat cheese dip tastes better after it’s had time to chill than it does straight from the processor.
Softening both cheeses before blending makes a noticeable difference. Cold cheese tends to hold onto small lumps, even when you keep processing, while softened cheese blends readily with the sour cream and lemon juice. I scrape the bowl when the mixture gathers around the sides, then let the covered dip rest in the refrigerator until it’s cool and spoonable, with the chives and parsley tucked into every bite.
Kitchen Note
If the mixture starts coating the sides of the processor bowl, stop and scrape them down before blending again. That quick pause keeps little pockets of cheese from escaping the blade and gives you a smoother dip.
Save this creamy goat cheese dip for an easy appetizer with fresh chives, parsley, and a bright squeeze of lemon.
Why This Dip Needs a Rest After Blending
Right out of the processor, the dip is soft and loose. That can make it seem as though it needs more cream cheese or another round of blending, but neither is the fix. The refrigerator time gives the mixture a chance to firm up, so it holds its shape better when scooped and feels cool and creamy instead of freshly blended and slack.
The wait also lets the lemon, garlic, and herbs settle into the tangy cheeses. The change is subtle, not a dramatic transformation: the cheese still leads, while the lemon keeps each bite from feeling too rich. Give it the full 30 minutes before serving, rather than trying to firm it by adding more cheese. The result is easier to scoop and more balanced on a cracker or vegetable.
Think of the chill as part of the preparation, not an optional pause. If you taste it before refrigerating, the flavors will still be there, but the texture won’t be at its best yet. Covering the bowl protects the surface while the dip cools.
How the Cheeses Keep This Dip Tangy and Creamy

- Goat cheese — It brings the distinctive tang and remains the main flavor. Choose plain goat cheese so the garlic and fresh herbs stay in balance; a flavored cheese changes the seasoning before you’ve added anything else. Softening it first helps it blend without stubborn bits.
- Cream cheese — This rounds out the sharper goat cheese and gives the dip a familiar creamy body. It isn’t an interchangeable extra: leaving it out makes the goat cheese much more dominant and changes the texture. Let it soften along with the goat cheese so both blend evenly.
- Sour cream and lemon juice — Sour cream loosens the cheeses into a dip, while lemon juice gives the richness a clean edge. Plain Greek yogurt can stand in for the sour cream in the same amount; expect a thicker, tangier result. Keep the lemon juice in the mix so the dip doesn’t lose that bright finish.
- Fresh chives and parsley — These give the finished dip its fresh, green flavor. Fresh herbs bring a lighter taste and flecks of color that dried herbs won’t replicate as well. Chop them before adding them so they distribute through the mixture instead of lingering in large pieces.
- Garlic — A small minced clove adds savory depth behind the cheeses. Mince it finely before it goes into the processor so you don’t end up with a noticeable chunk in an otherwise smooth dip.
Blend It Smooth, Then Let the Refrigerator Finish the Texture
Start with Softened Cheese
Have the goat cheese and cream cheese softened before they go into the food processor. Add both cheeses, the sour cream, lemon juice, minced garlic, chives, parsley, salt, and black pepper to the bowl. Keeping the ingredients together for the blend gives the herbs and seasonings a chance to disperse throughout the cheese. If the cheeses are still cold and firm, the mixture is more likely to stay uneven.
Process Until No Cheese Pockets Remain
Process the mixture until smooth, stopping to scrape down the sides as needed. At first, you’ll see thicker streaks clinging to the bowl and small patches that haven’t reached the blade. After scraping, process again until the dip looks uniform, with fine green flecks rather than distinct piles of herbs. Don’t stop while visible lumps of cheese remain.
Cover and Chill Before Serving
Transfer the smooth dip to a serving bowl and cover it. Refrigerate for at least 30 minutes before serving; the chilled mixture should feel more set than it did in the processor. That rest helps it keep a scoopable shape instead of spreading loosely across the bowl. Serve it cold, and keep any remaining dip covered in the refrigerator.
Two Easy Ways to Change the Herb and Garlic Balance
A gentler, garlic-free dip
Leave out the minced garlic and keep the rest of the ingredients the same. The dip will taste softer and let the tang of the goat cheese and the fresh herbs come through more clearly, without changing the smooth texture.
Make it chive-led
Use another tablespoon of chopped fresh chives in place of the parsley. The dip keeps its fresh herb character but leans more savory and oniony, which suits anyone who wants the chives to stand out.
Storage and Reheating
- Refrigerator: Keep the dip covered and refrigerated, and use it within 3 to 4 days. It will be firmer straight from the fridge than it was just after blending.
- Freezer: Freezing isn’t a good choice for this dip. The cheeses and sour cream can turn grainy or separate after thawing.
- Reheating: No reheating is needed; serve it chilled. Stir gently if the dip has settled or firmed up during storage.
Questions That Come Up When Making Goat Cheese Dip
Goat Cheese Dip
Ingredients
Equipment
Method
- Add the goat cheese, cream cheese, sour cream, lemon juice, garlic, chives, parsley, salt, and pepper to a food processor and process until smooth, scraping down the sides as needed.
- Transfer the dip to a serving bowl.
- Cover the dip and refrigerate for at least 30 minutes before serving.


