As the apples soften in the skillet, they turn glossy and start to smell like cinnamon—but they shouldn’t collapse into applesauce. Keeping those little pieces intact gives each pie a proper bite, and cooking off the loose juice keeps the pastry from going soggy. That balance is what makes these apple hand pies worth making from scratch.
The dough is a simple butter pastry, and the feel of it matters more than adding all the water at once. I work the butter in until it’s pea-size, then add just enough ice water for the dough to hold together when squeezed. After an hour in the refrigerator, it rolls out neatly and bakes into a crisp, tender shell around the sweet-tart filling.
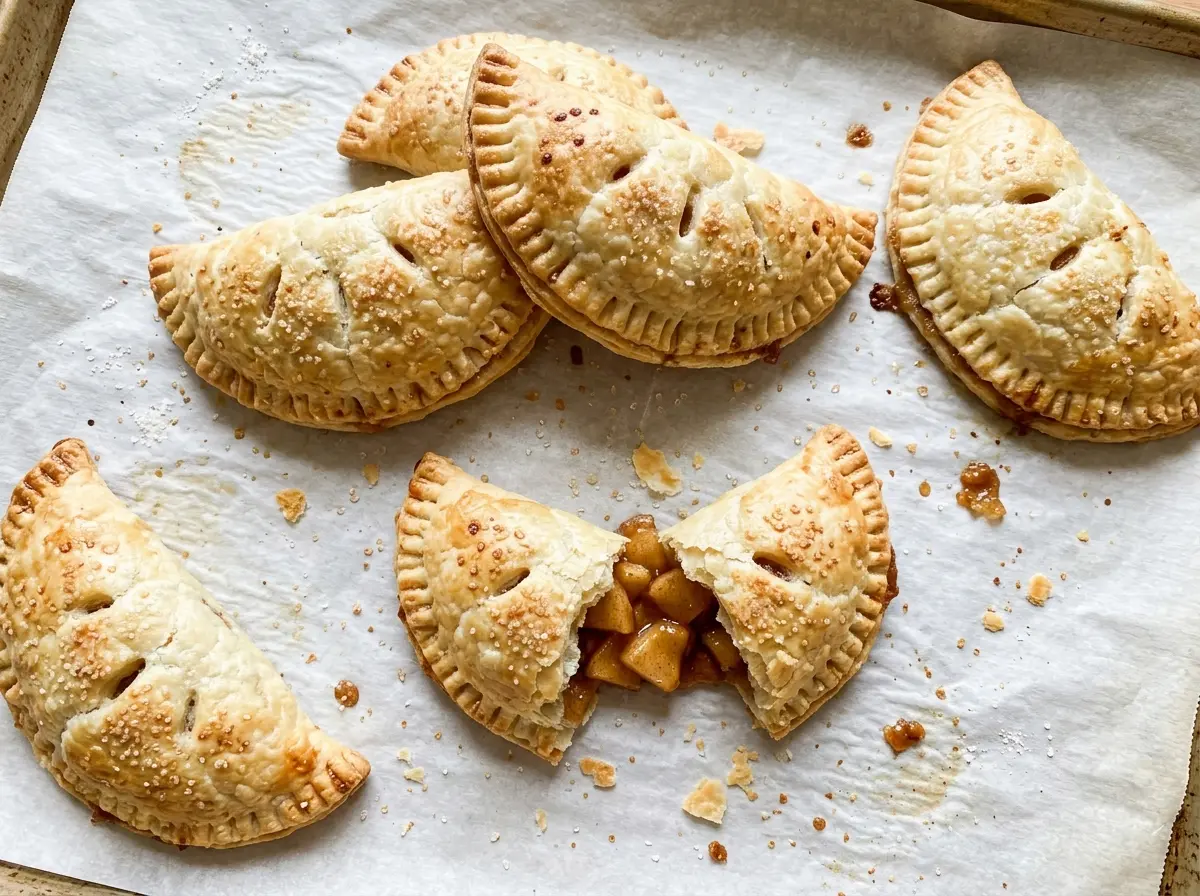
Once the tops are golden and a little filling bubbles at the vents, let the pies rest on the baking sheet before you pick one up. The crust firms as it cools, leaving you with a flaky edge and a warm apple center.
Kitchen Note
Add the ice water a little at a time, and stop as soon as a handful of dough holds together when squeezed. It may still look crumbly in the bowl; adding extra water to make it look smooth can leave you with a tougher crust.
Save these apple hand pies for a baking day when you want crisp pastry wrapped around a cinnamon-apple center.
Why Hand Pie Filling Has to Be Drier Than Pie Filling
A full-size pie has room for a generous layer of apples and can hold some liquid beneath its top crust. A hand pie is smaller, and every edge is folded and sealed around the filling. If the apple mixture is watery, that liquid can soak the pastry from the inside or push against the crimp as it bubbles in the oven.
That’s why I cook the apples in two stages. First, they soften under a lid while still holding their shape; then the uncovered skillet gives their juices time to turn syrupy. The finished filling should look glossy, not wet, with no puddle of thin liquid in the pan. Spreading it on a plate also lets it cool completely before it touches the dough. Keep the diced apple small and even, too: the pieces fit inside the rounds without forcing the edges apart, and they soften at a similar pace.
The Butter-and-Apple Choices That Shape These Hand Pies
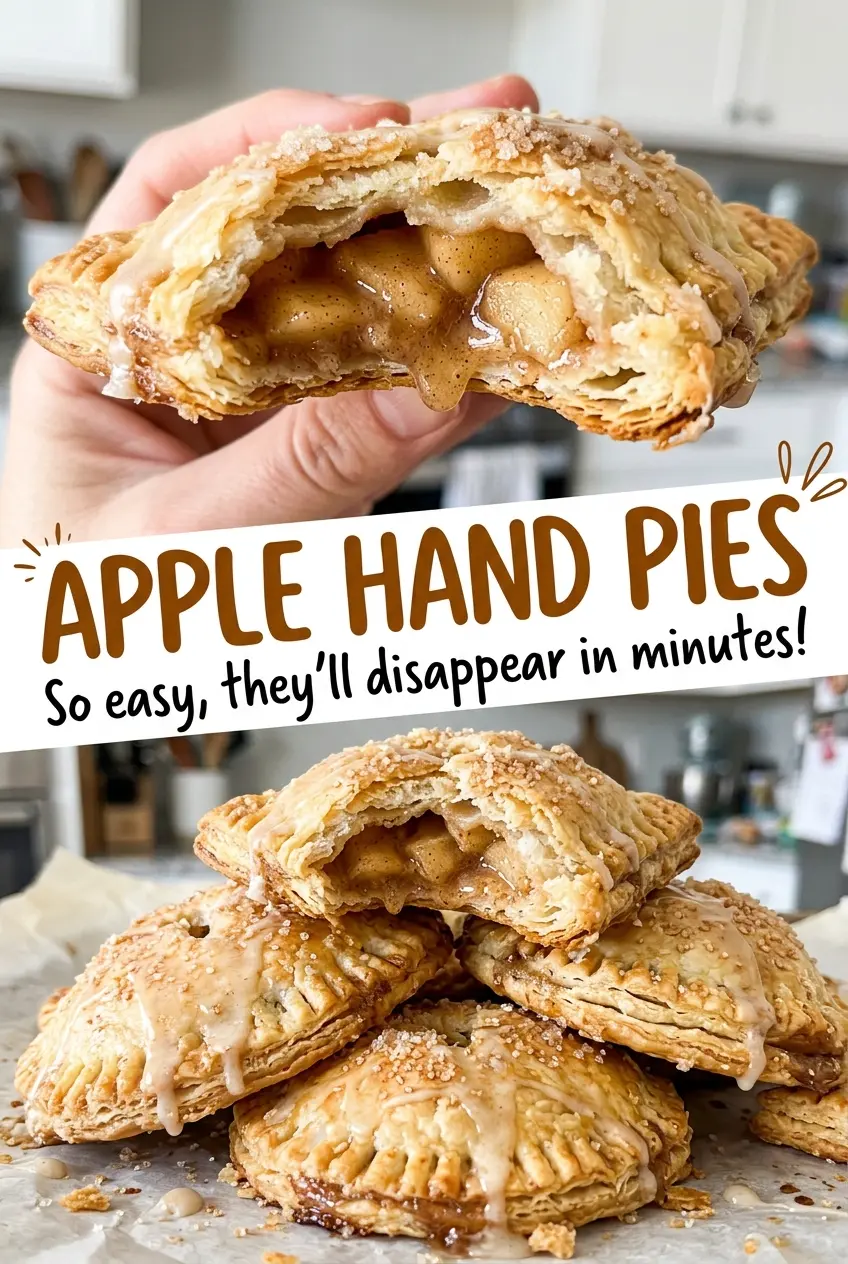
- All-purpose flour — It gives the pastry enough structure to roll, fold, and crimp without making the shell bready. Spoon it into the measuring cup and level it rather than packing it down; too much flour makes the dough harder to bring together.
- Cold unsalted butter — The small, cold pieces create the flaky layers as the pastry bakes. Keep the butter cold while you work, and choose a firm stick rather than a soft spread. Unsalted butter also lets the measured fine salt do its job without making the crust too salty.
- The apple — A firm apple that holds its shape after cooking gives the filling distinct little bites instead of a loose puree. Granny Smith makes a tangier pie, while a sweeter firm apple gives a gentler, more mellow filling. Peel and core it before cutting it into even dice so the pieces soften consistently.
- Light brown sugar and cinnamon — Brown sugar adds a soft caramel note and helps make the apple juices glossy; cinnamon rounds out the fruit without taking it over. Pack the sugar when measuring, and use fresh-smelling cinnamon for the clearest flavor.
- Lemon juice — A little acidity keeps the sweet filling from tasting flat. Fresh or bottled lemon juice both work here; measure it rather than pouring by eye, since extra liquid is the last thing this compact filling needs.
- Egg and coarse sugar — The beaten egg helps the tops bake golden and gives the coarse sugar something to cling to. Coarse sugar adds a light crunch on the outside, while regular granulated sugar won’t give quite the same finish.
From Pea-Size Butter to a Golden, Sealed Crust
Bring the pastry together without warming it
Whisk the flour and fine salt in a large bowl, then cut in the cold butter with a pastry blender until the pieces are about pea-size. Stir in the first portion of ice water, then add more a little at a time only until the dough holds when squeezed. Divide it in half, shape each portion into a disk, wrap, and refrigerate for 1 hour. If the dough feels sticky or the butter starts to soften, the chill gives it time to firm up before rolling.
Cook the apples until the juices turn syrupy
Combine the diced apple, brown sugar, cinnamon, and lemon juice in a 10-inch skillet. Cover and cook over medium-low heat for 4 to 6 minutes, stirring occasionally, until the apple softens but keeps its shape. Uncover and cook for another 2 to 3 minutes, stirring, until the juices are syrupy and no watery liquid remains. Spread the filling on a plate and let it cool completely before assembling; warm filling can soften the butter in the pastry.
Roll, fill, and crimp each round
Heat the oven to 400°F and line a rimmed baking sheet with parchment paper. Roll each dough disk between sheets of parchment to about 1/8 inch thick, then cut three 5-inch rounds from each disk; reroll the scraps once if needed. Divide the cooled filling among the rounds on one side, leaving a 1/2-inch border, then fold the dough over and press the edges together. Crimp with a fork and cut a small vent in every pie so steam has a way out.
Bake until the vents bubble
Arrange the pies on the prepared baking sheet, brush the tops with beaten egg, and sprinkle with coarse sugar. Bake for 20 to 25 minutes, until the pastry is golden brown and filling bubbles at the vents. If the edges brown before the centers look baked, use the bubbling filling and golden surface as your cues rather than waiting for a darker crust. Let the pies cool on the baking sheet for 10 minutes before serving; the hot filling needs a moment to settle.
Three Small Changes That Give These Pies a Different Feel
Choose a tangier apple
Use a firm, tart apple such as Granny Smith in place of a sweeter variety. The filling will taste brighter against the buttery crust, while the apple still holds its shape through the skillet cooking.
Trade light brown sugar for dark
Use dark brown sugar in the same quantity for a deeper molasses note. It makes the filling taste a little richer, though the apple and cinnamon will come through less brightly.
Make the pastry dairy-free
Replace the butter with the same quantity of a firm dairy-free baking stick, not a soft tub spread. The pastry may be a little less rich and flaky, so keep the replacement cold and handle the dough gently.
Storage and Reheating
- Refrigerator: Store cooled pies in an airtight container for up to 3 days. The crust softens a little as it sits.
- Freezer: Freeze the baked pies once completely cool, wrapped individually and placed in a freezer-safe container, for up to 2 months.
- Reheating: Warm them in the oven until heated through and the pastry crisps again. A microwave warms the filling quickly but leaves the crust soft.
Questions That Come Up When Baking Apple Hand Pies
Apple Hand Pies
Ingredients
Equipment
Method
- Whisk the flour and salt in a large bowl.
- Cut in the butter with a pastry blender until the pieces are pea-size.
- Stir in 6 tablespoons ice water; add up to 2 more tablespoons, a little at a time, just until the dough holds together when squeezed.
- Divide the dough in half and shape each half into a disk.
- Wrap the disks and refrigerate for 1 hour.
- Combine the apple, brown sugar, cinnamon, and lemon juice in a 10-inch skillet.
- Cover and cook over medium-low heat for 4-6 minutes, stirring occasionally, until the apple softens but still holds its shape.
- Uncover and cook for 2-3 minutes, stirring, until the juices are syrupy and no watery liquid remains.
- Spread the filling on a plate and cool completely.
- Heat the oven to 400°F and line a rimmed baking sheet with parchment paper.
- Roll each dough disk between sheets of parchment to about 1/8 inch thick.
- Cut three 5-inch rounds from each disk, rerolling scraps once if needed.
- Divide the cooled filling evenly among the rounds on one side of each, leaving a 1/2-inch border.
- Fold the dough over, press the edges together, and crimp with a fork.
- Cut a small vent in each pie.
- Arrange the pies on the baking sheet, brush the tops with the beaten egg, and sprinkle with coarse sugar.
- Bake for 20-25 minutes, until golden brown and bubbling at the vents.
- Cool on the baking sheet for 10 minutes before serving.


