The apples start to soften around the edges before the cheesecake centers are set, which is the moment I used to wonder whether I’d left them in too long. A little give is right; the goal is tender fruit that still holds its shape around the filling. Cheesecake Stuffed Baked Apples bring that creamy, tangy center to a simple baked apple, with no crust or springform pan to fuss over.
Softened cream cheese and a room-temperature egg blend more smoothly than cold ingredients, so the filling stays even instead of lumpy. I core each apple from the stem end and leave the bottom intact to make a sturdy little cup. The water goes into the baking dish around the apples, not into the filling.
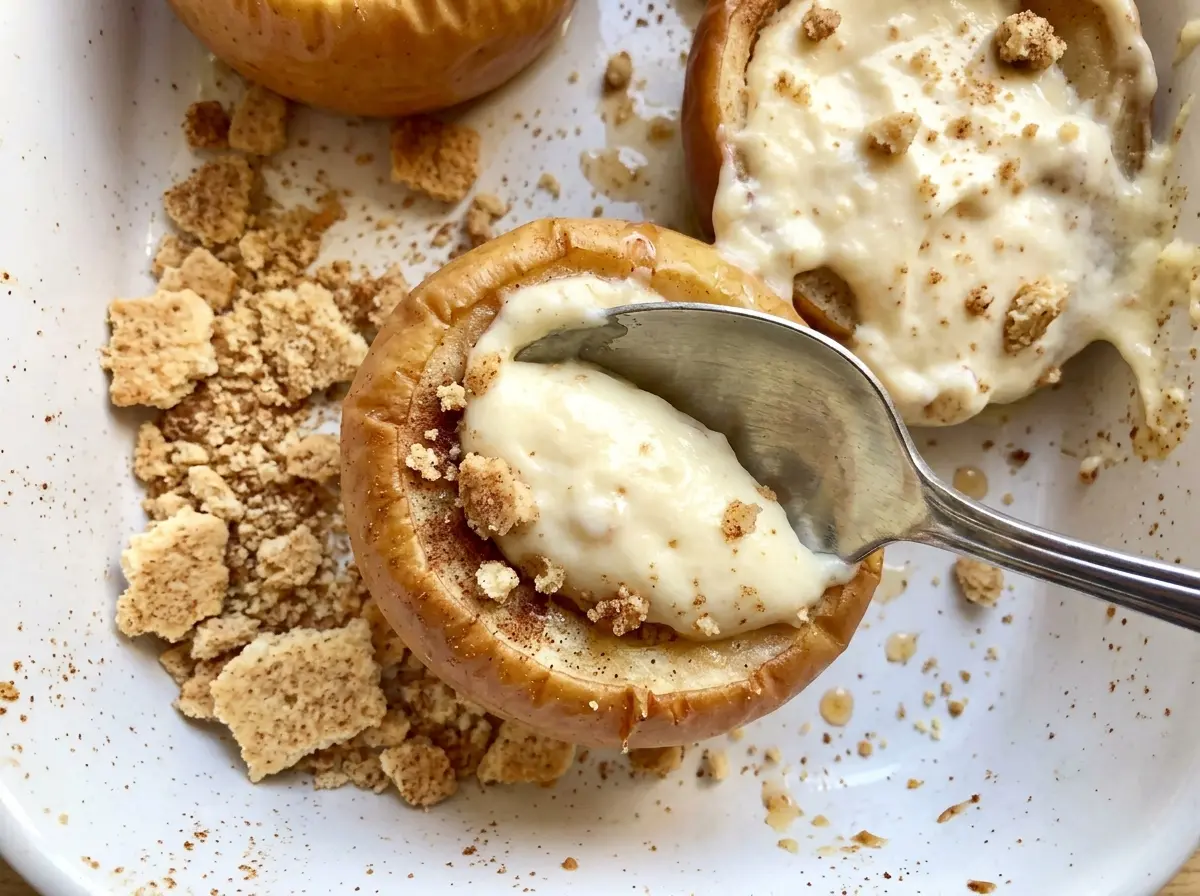
After baking, I leave the apples right in the dish to rest. That short pause helps the hot filling settle before you serve it, and the result is a tender apple with a creamy center that holds together on the spoon.
Kitchen Note
Don’t rush the 20-minute rest in the baking dish. The apples are fragile straight out of the oven, and the filling is at its softest while hot; that pause makes them easier to serve intact.
Save these Cheesecake Stuffed Baked Apples for a cozy dessert with tender fruit and a creamy cinnamon filling.
Why the Water Goes Around the Apples, Not Into Them
The water in the baking dish has a job, but it isn’t part of the cheesecake mixture. It warms alongside the fruit and adds moisture to the baking environment while the apples soften. Keep it around the apples rather than pouring it into their centers; water in the cavities would thin the filling and change how it bakes.
That distinction matters because the apples and filling have different textures and needs. You want the fruit to become tender while the cream cheese mixture stays rich and cohesive. Keeping the water in the dish gives the apples a moist baking environment without diluting the filling or washing it out of the cavities.
A 9-inch square baking dish gives the four apples room to sit upright, with the water pooled around their bases. If an apple leans, adjust its position before filling it so the mixture stays inside as it bakes. Once the dish is in the oven, let the apples bake undisturbed and use the doneness cues below rather than judging by the surface alone.
How Firm Apples and Block Cream Cheese Shape the Filling

- Large firm apples — Firm fruit holds a hollow center without collapsing as it bakes. Granny Smith apples bring a sharper tartness against the sweet filling, while Honeycrisp apples make the dessert taste sweeter and more apple-forward. Choose apples that feel firm, not soft or bruised.
- Block cream cheese — Use it softened so it beats smoothly with the sugar. Whipped cream cheese is lighter and less dense, so it won’t give the filling the same texture. If the block is still cold and stiff, let it soften before mixing rather than trying to beat out lumps.
- Egg — The room-temperature egg helps the filling set as it bakes. Cold egg can make softened cream cheese firm up in little bits, so bring it to room temperature before adding it. Keep it in the filling; leaving it out changes how the center sets.
- Sugar, cinnamon, and vanilla — Granulated sugar sweetens the cream cheese without adding extra moisture. Cinnamon brings warmth, while vanilla rounds out the tang of the cheese. I stick with the granulated sugar here; liquid sweeteners would change the filling’s balance.
Core, Fill, and Bake Without Losing the Apple Shape
Make a sturdy apple cup
Heat the oven to 350°F, then core each apple from the stem end. Stop before cutting through the bottom, and leave about 1/2 inch at the bottom and sides so the filling has a solid shell. Arrange the apples in a 9-inch square baking dish and pour the water around them. If you core too deeply, filling can escape through the base as the apples soften.
Beat the filling until smooth
In a medium bowl, beat the softened cream cheese with the sugar, cinnamon, and salt until the mixture looks smooth. Scrape the bowl if cream cheese is clinging to the sides, since a cold lump left behind won’t disappear once the egg is mixed in. Add the room-temperature egg and vanilla, then beat just until combined. Stop at that point rather than continuing to whip the mixture.
Fill each cavity evenly
Spoon the cheesecake filling into the apple cavities, dividing it evenly among the four apples. Keep the filling inside the hollow rather than spreading it over the outside, where it can run down the apple as it bakes. The mixture should sit neatly in each cup; if one apple is filled much higher than the others, redistribute a little before baking. Set the dish in the oven once the apples are filled.
Check the apple and filling separately
Bake for 45 to 55 minutes. The apples should feel tender when pierced near the base but still hold their shape, and the center of the filling should reach 160°F. If the apple is already losing its shape, don’t wait for the surface of the filling to look browned; use its center temperature to judge whether it is ready. Let the apples rest in the baking dish before serving.
Choosing a Tart or Sweeter Apple for Your Version
Granny Smith for a sharper contrast
Choose Granny Smith when you want the tartness of the apple to stand out against the sweet, creamy filling. Keep the apple large and firm so it holds its shape during baking.
Honeycrisp for a sweeter apple bite
Honeycrisp makes the fruit taste sweeter and a little less tart beside the cheesecake center. The filling stays the same, so this is an easy way to change the balance without changing how you prepare it.
Storage and Reheating
- Refrigerator: Refrigerate leftovers within 2 hours and keep them covered for 3 to 4 days. The apples soften as they sit.
- Freezer: I don’t recommend freezing these. The apple texture turns softer after thawing, and the cheesecake filling may lose its smooth consistency.
- Reheating: Warm an apple gently in the microwave in short intervals, checking the center until it reaches 165°F. Long, high-powered heating can make the apple collapse before the filling is warm throughout.
Questions That Come Up Before Baking These Apples
Cheesecake Stuffed Baked Apples
Ingredients
Equipment
Method
- Heat the oven to 350°F.
- Core each apple from the stem end, leaving about 1/2 inch at the bottom and sides so the filling stays inside.
- Arrange the apples in a 9-inch square baking dish and pour the water around them.
- Beat the cream cheese, sugar, cinnamon, and salt in a medium bowl until smooth.
- Add the egg and vanilla and beat just until combined.
- Spoon the filling evenly into the apple cavities.
- Bake for 45 to 55 minutes, until the apples are tender when pierced near the base but still hold their shape, and the center of the filling reaches 160°F.
- Let the apples rest in the dish for 20 minutes before serving.


