A plain 9×13-inch cake becomes a Christmas tree with two angled cuts and one small piece set beneath it for the trunk. The first time I laid out the shape, I was surprised by how much the board’s orientation mattered: turn the long edge toward you, and the triangle and trunk are much easier to place neatly. This Gold and Green Christmas Tree Cake starts with a simple vanilla cake, so the tree shape and green frosting do the decorating work.
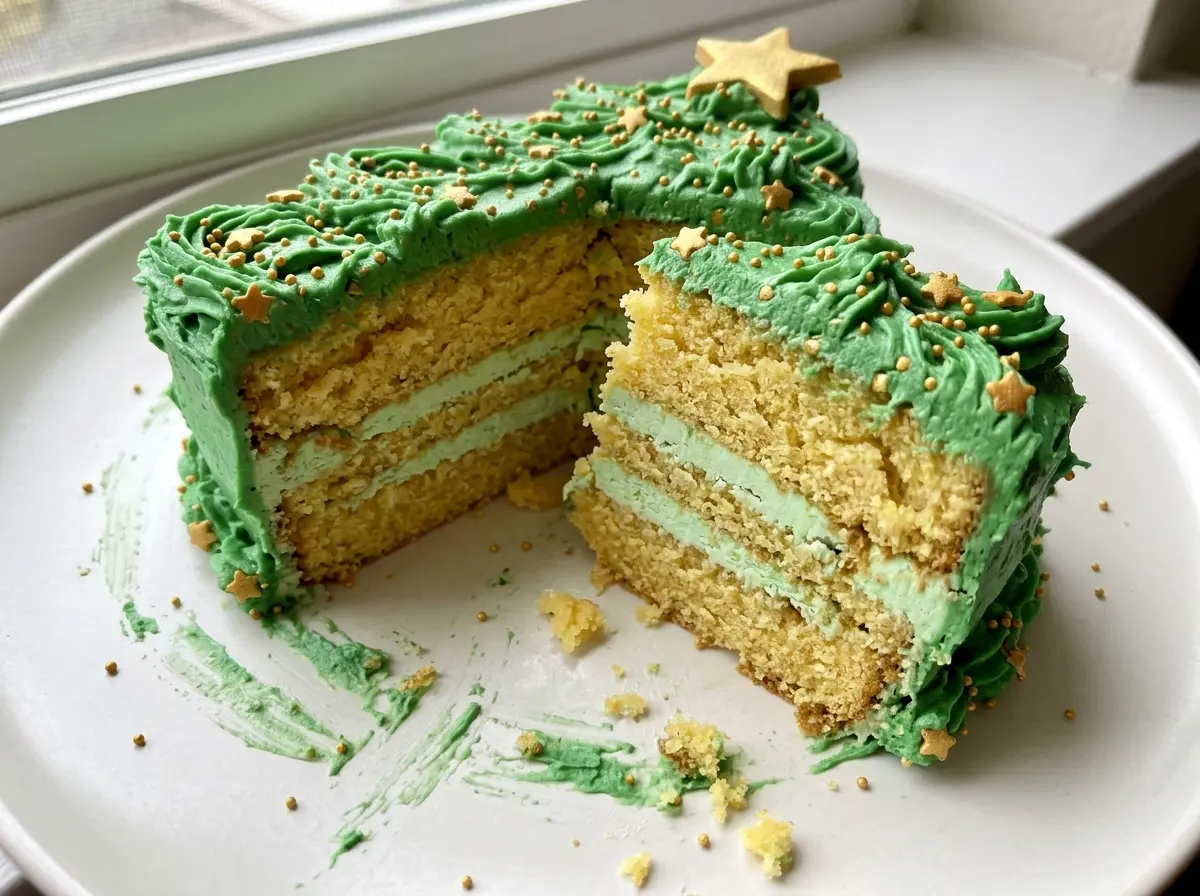
Vegetable oil keeps the crumb tender, while room-temperature eggs and milk blend into the batter without the chill slowing things down. Once the cake is completely cool, the green buttercream goes on in two layers: a thin first coat to catch crumbs, then the smooth finish and gold decorations. The result is a soft, golden cake with a clean tree silhouette, a buttercream trunk seam, and a star at the tip.
Kitchen Note
I line the bottom of the pan with parchment before adding the batter; it makes turning out the cake much cleaner. Keep the paper flat so it doesn’t leave folds in the cake’s bottom.
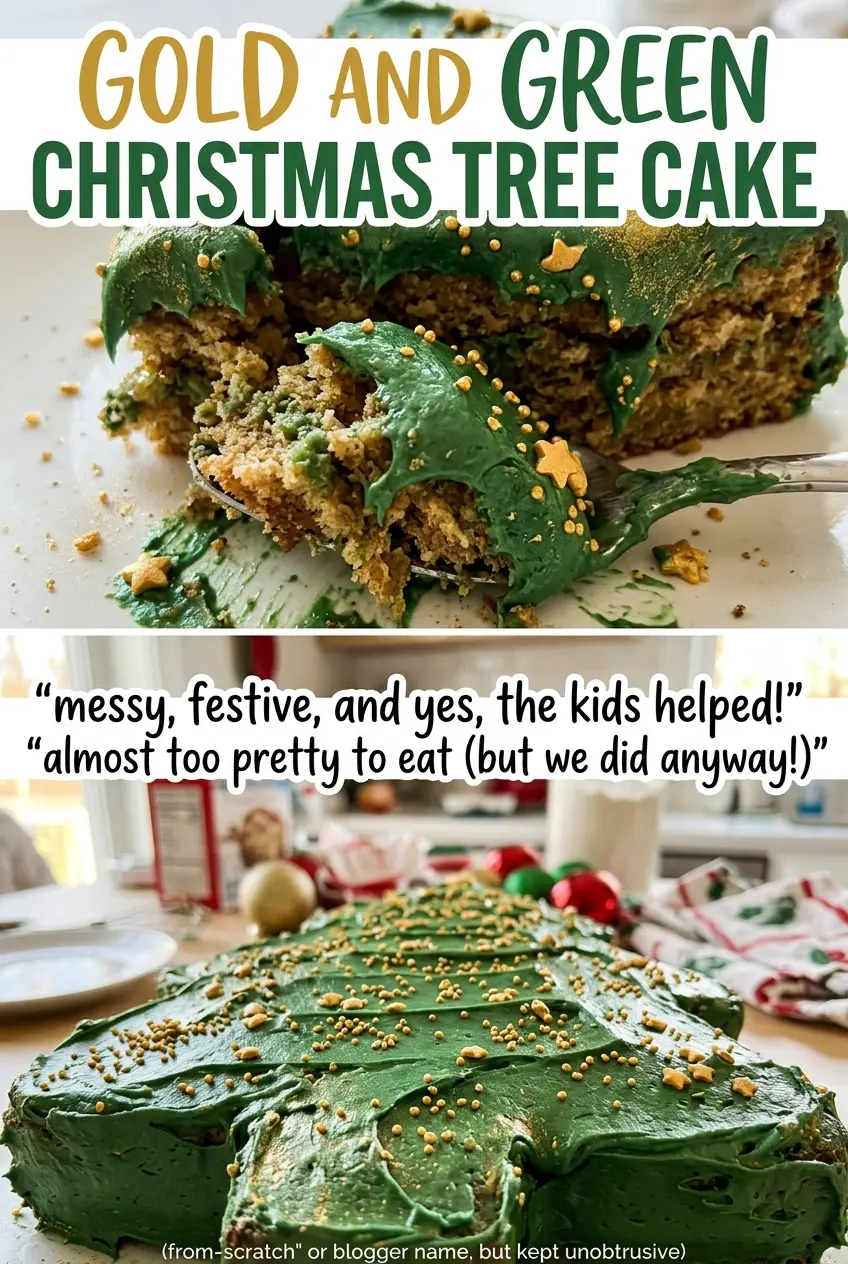
Save this Gold and Green Christmas Tree Cake for a festive centerpiece with tender vanilla cake, green buttercream, and a gold star.
The Tree Shape Comes From the Cake, Not a Special Pan
A tree-shaped pan might seem like the obvious shortcut, but a rectangular cake gives you a broad, even surface and a trunk made from the cake itself. That matters here: the trunk can sit directly beneath the triangle, so the finished tree reads as one piece instead of a separate decoration. The gold-brown top also gives the green frosting a clear contrast once the shape is cut.
Think about the silhouette before you start cutting. A centered triangle leaves a strip of cake that can supply the trunk, and placing the trunk under the triangle’s middle keeps the outline balanced. The remaining cake around the cuts is part of the layout, not a sign that something went wrong. Use a large board with room for the tree, and keep the long edge facing you while you shape it. Once frosted, the seam where the trunk meets the tree disappears under the first thin coat.
This approach also means you can use an ordinary metal baking pan rather than searching for a seasonal mold. The finished cake serves 12, and its simple outline leaves the green frosting, sanding sugar, and star easy to see.
Why Oil, Room-Temperature Dairy, and Gel Color Matter Here
- All-purpose flour and baking powder — Together they give the cake its structure and lift. Use fresh baking powder; old leavener can leave a cake dense, and baking soda isn’t a one-for-one replacement here.
- Vegetable oil — Oil keeps the crumb soft after the cake cools, which is helpful when cutting clean angles. I don’t recommend swapping in another fat without changing the cake’s texture.
- Eggs and whole milk — Bringing both to room temperature helps them blend evenly with the sugar and oil. Cold ingredients can make the wet mixture look less uniform, so give them time out of the refrigerator before mixing.
- Unsalted butter and powdered sugar — Softened butter beats into a smooth base, while powdered sugar thickens the frosting without a gritty texture. Add the sugar gradually; it’s easier to incorporate than a bowlful added all at once.
- Heavy cream — Cream loosens the buttercream until it spreads smoothly across the cake’s sides and trunk seam. The frosting should be spreadable, not runny.
- Almond extract — A small amount gives the frosting a distinct almond note alongside the vanilla cake. If you don’t want that flavor, leave it out rather than replacing it with more extract.
- Green gel food coloring — Gel gives the frosting a strong green shade without adding much liquid. Add enough to reach the color you want; liquid coloring can loosen the buttercream before it becomes deeply green.
- Gold sanding sugar and the gold star — These are the simple finishing touches that make the tree read as a holiday centerpiece. Keep the star for the tip and scatter the sanding sugar over the green frosting.
From a Flat Cake to a Frosted Tree with Clean Edges
Mix a Smooth, Even Batter
Heat the oven to 350°F and coat a 9×13-inch metal baking pan with baking spray. Whisk the flour, baking powder, and salt in a medium bowl. In a large bowl, whisk the sugar and oil, then add the eggs one at a time before whisking in the vanilla and room-temperature milk. Stir the dry mixture into the wet mixture just until no dry streaks remain; overmixing can make the crumb tougher.
Bake Until the Center Tests Clean
Spread the batter evenly in the prepared pan so the cake bakes to a consistent thickness. Bake for 30 to 35 minutes, until the top is golden and a toothpick inserted in the center comes out clean. If the top looks ready but the tester still has wet batter on it, give the cake more time rather than cutting into the center early. Cool it in the pan for 15 minutes, then turn it onto a rack, peel away the parchment, and let it cool completely, about 1 hour.
Cut the Triangle and Set the Trunk
Place the cooled cake on a large serving board with a 13-inch edge facing you. From the midpoint of the far 13-inch edge, cut to both ends of a line 7 inches toward you; those two cuts form the triangle. From the remaining strip, cut a trunk measuring 2 by 2 1/2 inches and center it beneath the triangle. Take a moment to align the pieces before frosting, because the straight edges make the tree’s outline easy to read.
Beat the Green Buttercream
Beat the softened butter in a large bowl until smooth. Beat in the powdered sugar a cup at a time until it’s combined, then add the heavy cream and almond extract and beat until the frosting is smooth and spreadable. Beat in green gel food coloring until the frosting reaches the shade you want. If the frosting looks streaky, keep beating until the color is evenly distributed.
Coat, Chill, and Add the Gold
Spread a thin layer of frosting over the top and sides of the cake, covering the trunk seam too. Chill the cake for 20 minutes, until that first coat is set; this thin layer helps hold crumbs in place beneath the finish. Spread the remaining frosting over the cake, then sprinkle on the gold sanding sugar and place the gold star at the tree’s tip. The finished frosting should cover the cake without bare patches along the angled sides.
Three Ways to Change the Look Without Changing the Cake
Make the frosting almond-free
Leave out the almond extract and keep the rest of the frosting the same. The buttercream will taste more simply sweet, letting the vanilla cake come through without the almond note.
Turn it into a gold-and-white tree
Skip the green gel coloring and frost the cut tree with the plain buttercream. The gold sanding sugar and star still stand out, but the look is softer and less traditional than the green version.
Keep the cake as a rectangle
For a simpler presentation, leave the baked cake whole instead of cutting out the triangle and trunk. Frost the top and sides, then use the same green color and gold decorations; you’ll have a frosted sheet cake rather than a tree-shaped centerpiece.
Storage and Reheating
- Refrigerator: Cover the frosted cake and refrigerate it for 3 to 4 days. The buttercream firms up when cold, and the cake crumb feels denser straight from the refrigerator.
- Freezer: Freeze individual pieces in airtight wrapping for up to 2 months for best quality. Thaw them in the refrigerator, still wrapped, so condensation forms on the wrapping rather than the frosting.
- Reheating: Don’t microwave the frosted cake; the buttercream can melt before the cake warms evenly. Let refrigerated pieces sit at room temperature until the frosting softens before serving.
Questions That Come Up When Making This Tree Cake
Gold and Green Christmas Tree Cake
Ingredients
Equipment
Method
- Heat the oven to 350°F.
- Coat a 9x13-inch metal baking pan with baking spray and line the bottom with parchment.
- Whisk the flour, baking powder, and salt together in a medium bowl.
- In a large bowl, whisk the sugar and oil.
- Whisk in the eggs one at a time, followed by the vanilla and milk.
- Add the flour mixture to the wet ingredients and stir just until no dry streaks remain.
- Spread the batter evenly in the pan.
- Bake for 30 to 35 minutes, until the top is golden and a toothpick inserted in the center comes out clean.
- Cool the cake in the pan for 15 minutes.
- Turn the cake out onto a rack and peel off the parchment.
- Cool completely, about 1 hour.
- Set the cake on a large serving board with a 13-inch edge facing you.
- Cut from the midpoint of the far 13-inch edge to both ends of a line 7 inches toward you to make a triangle.
- Cut a 2x2 1/2-inch trunk from the remaining strip and center it under the triangle.
- Beat the butter in a large bowl until smooth.
- Beat in the powdered sugar a cup at a time until combined.
- Beat in the heavy cream and almond extract until smooth and spreadable.
- Beat in green gel food coloring until the frosting is the shade you want.
- Spread a thin layer of frosting over the top and sides of the cake, including the trunk seam.
- Chill for 20 minutes until the frosting is set.
- Spread the remaining frosting over the cake.
- Sprinkle with the gold sanding sugar and place the gold star at the tree’s tip.


