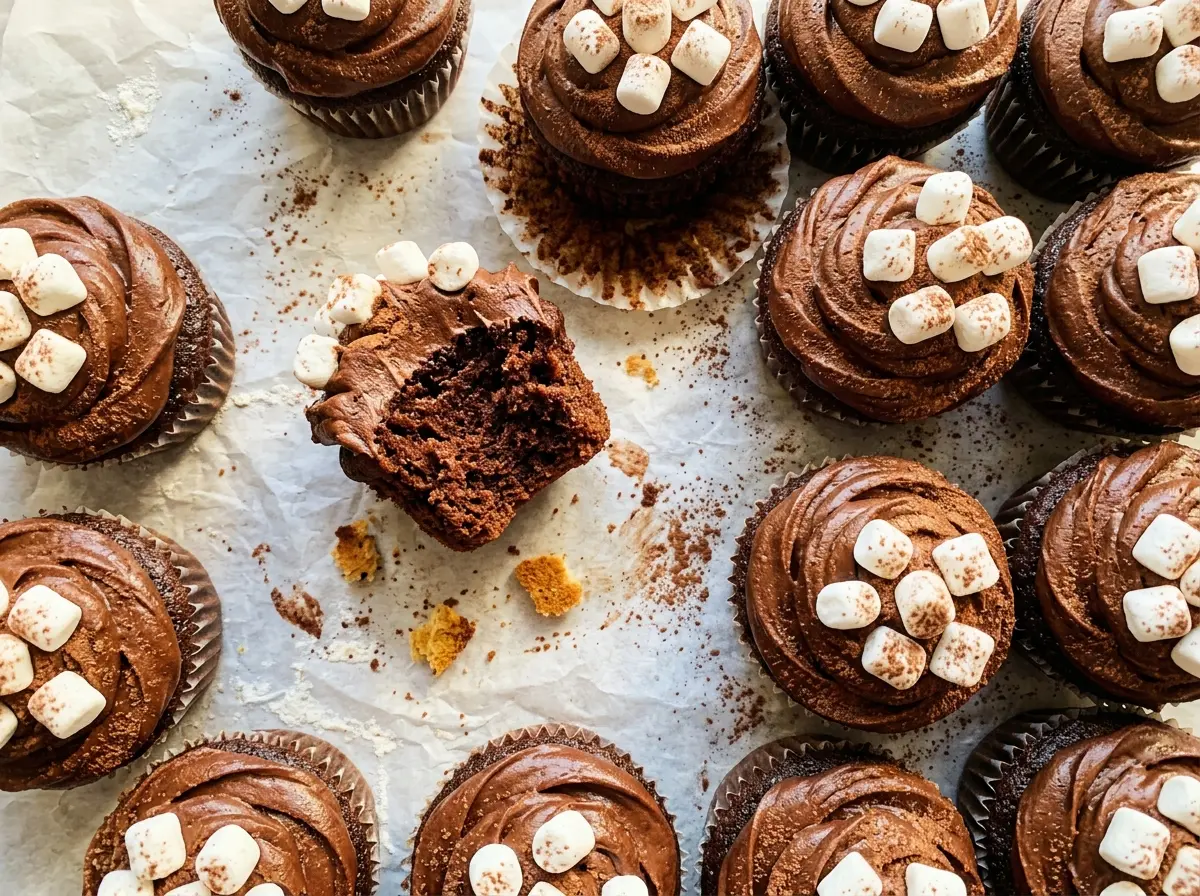
The batter looks almost pourable when the hot water goes in, and that’s the moment I used to wonder if I’d measured something wrong. It’s meant to be thin. Once baked, these Hot Chocolate Cupcakes have a soft cocoa crumb that stays tender under a generous swirl of frosting.
I whisk the egg, milk, oil, and vanilla separately before bringing them together with the dry ingredients. That keeps the mixing simple: stop as soon as the dry streaks disappear, then whisk in the hot water until the batter is smooth. No extra flour needed.
The cocoa frosting gets its marshmallow note from marshmallow creme, while mini marshmallows on top make the finish unmistakably hot chocolate. Each bite is soft, chocolatey, and topped with a little cloud of sweetness.
Kitchen Note
For fluffy frosting, the butter should be soft enough to press but still hold its shape. If it’s melted or greasy, it won’t beat up light in the mixer.
Save these Hot Chocolate Cupcakes for a cocoa-rich treat with fluffy marshmallow frosting and mini marshmallows on top.
Why Hot Water Makes This Cocoa Batter Look So Thin
Hot water is the last liquid to go into the bowl, and it changes the batter’s appearance fast. Cocoa can be stubborn when it’s mixed into cool ingredients; the hot water helps disperse it smoothly and brings out its chocolate aroma. The result is a fluid batter, not the thick mixture you might expect from a cupcake recipe.
Don’t try to fix that texture with extra flour. The batter is supposed to pour easily into the liners, and adding flour would throw off the balance of the cupcakes. Whisk the hot water in until there are no cocoa streaks, then portion the batter while it’s smooth. That simple order gives the cocoa a chance to blend in without prolonged mixing.
What Gives These Cupcakes Their Cocoa-and-Marshmallow Character
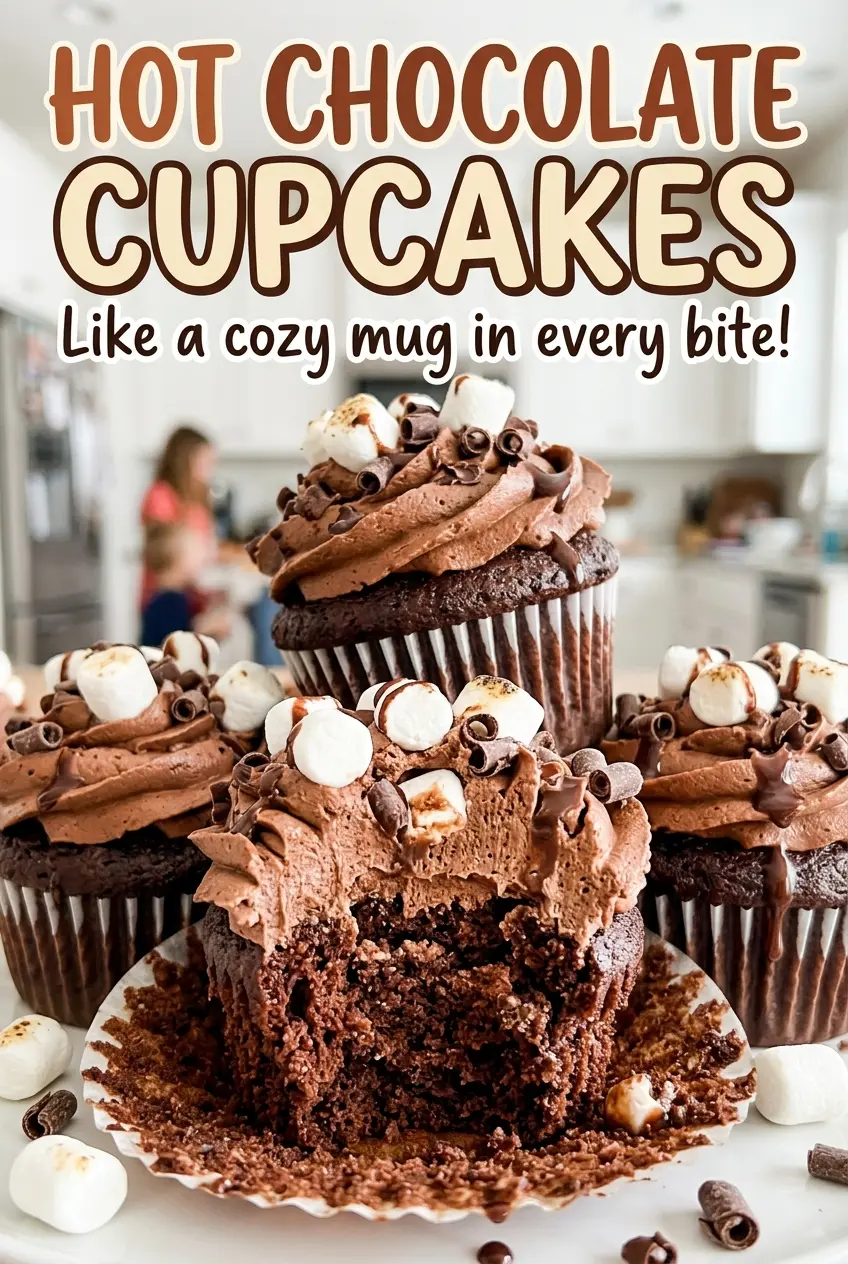
- Unsweetened cocoa powder — It gives both the cupcake crumb and frosting their chocolate flavor without adding sugar. Use cocoa that smells fragrant rather than dusty or stale; freshness matters more here than buying an expensive brand.
- Whole milk and egg — Room-temperature ingredients blend more evenly into the batter than cold ones. If you only have 2% milk, it works, though the cupcakes will be a little less rich.
- Vegetable oil — Oil helps keep the crumb tender after the cupcakes cool. Neutral canola oil is an easy one-for-one swap; strongly flavored oils will show through the cocoa.
- Marshmallow creme — This is what gives the frosting its soft marshmallow flavor and smooth texture. Mini marshmallows aren’t a substitute in the frosting; they’re best saved for the topping.
- Powdered sugar — Its fine texture helps the frosting beat smooth. If yours has hard lumps, break them up before measuring so they don’t carry through into the finished frosting.
- Mini marshmallows — The small size makes them easy to arrange on each cupcake and keeps the topping in proportion to the frosting. Regular marshmallows are much bulkier unless cut into smaller pieces.
Mixing, Baking, and Frosting Without Losing the Tender Crumb
Whisk the Dry and Wet Mixtures Separately
Heat the oven to 350°F and line a 12-cup muffin pan with paper liners. Whisk the flour, sugar, cocoa, baking powder, baking soda, and salt together in a large bowl so the leaveners are distributed through the flour. In a medium bowl, whisk the room-temperature egg, milk, oil, and vanilla until combined. Add the wet mixture to the dry ingredients and whisk just until no dry streaks remain; stop there rather than beating the batter smooth for longer.
Finish the Batter with Hot Water
Whisk in the hot water until the batter is smooth and thin. Scrape the bottom and sides of the bowl once, where dry cocoa or flour can hide, then divide the batter evenly among the paper liners. Because the batter is fluid, pour steadily and avoid filling one liner all the way before moving on to the next. The goal is an even portion in every cup.
Bake Until the Centers Spring Back
Bake for 18–22 minutes. The cupcakes are ready when they spring back under a light touch and a toothpick inserted in the center comes out with a few moist crumbs. A toothpick covered in wet batter means they need more time; don’t wait for it to come out completely dry, or the crumb can lose its tenderness. Cool them in the pan for 5 minutes, then move them to a wire rack to cool completely.
Beat the Frosting Until Fluffy
Beat the softened butter with an electric mixer on medium speed for about 2 minutes, until fluffy. Add the powdered sugar and cocoa in two additions, beating on low until combined so the dry ingredients don’t puff out of the bowl. Beat in the marshmallow creme, vanilla, salt, and heavy cream until the frosting looks smooth and fluffy. Spread or pipe it onto the completely cooled cupcakes, then top each with mini marshmallows.
Two Easy Ways to Adapt the Cupcakes
Make a Gluten-Free Batch
Replace the all-purpose flour with a cup-for-cup gluten-free baking blend designed for cakes. The crumb may be a little more delicate, so let the cupcakes cool fully before lifting them from the rack or frosting them.
Leave Some Without the Marshmallow Topping
Keep a few cupcakes topped only with the cocoa-marshmallow frosting, or leave the mini marshmallows off altogether. You’ll get a less-sweet finish and a clearer taste of the chocolate frosting without changing the batter.
Storage and Reheating
- Refrigerator: Store covered for 3–4 days. The frosting firms up when cold, and the cupcake crumb feels less soft straight from the refrigerator.
- Freezer: Freeze unfrosted cupcakes, wrapped individually, for up to 2 months. Thaw them before adding the frosting and mini marshmallows.
- Reheating: These are best served at room temperature rather than reheated. Let refrigerated cupcakes sit out briefly before serving; microwaving can melt the butter frosting and make the marshmallows sticky.
Questions That Come Up While Making Hot Chocolate Cupcakes
Hot Chocolate Cupcakes
Ingredients
Equipment
Method
- Heat the oven to 350°F.
- Line a 12-cup muffin pan with paper liners.
- Whisk the flour, granulated sugar, cocoa powder, baking powder, baking soda, and salt together in a large bowl.
- In a medium bowl, whisk the egg, milk, oil, and vanilla until combined.
- Whisk the egg mixture into the dry ingredients just until no dry streaks remain.
- Whisk in the hot water until the batter is smooth and thin.
- Divide the batter evenly among the liners.
- Bake for 18–22 minutes, until the cupcakes spring back when lightly pressed and a toothpick inserted in the center comes out with a few moist crumbs.
- Cool the cupcakes in the pan for 5 minutes.
- Transfer the cupcakes to a wire rack and cool completely.
- Beat the butter in a large bowl with an electric mixer on medium speed for about 2 minutes, until fluffy.
- Add the powdered sugar and cocoa powder in two additions, beating on low until combined.
- Beat in the marshmallow creme, vanilla, salt, and heavy cream until smooth and fluffy.
- Spread or pipe the frosting onto the completely cooled cupcakes.
- Top each cupcake with mini marshmallows.


