The dough for these little cookies should feel soft enough to roll, but not greasy or sticky in your hands. A short rest in the refrigerator makes that difference, and it gives the butter time to firm up before the cookies go into the oven. I make Mini Chip Snowball Cookies when I want a tender, buttery cookie with a bit of chocolate in every bite, without having to shape or decorate anything complicated.
The coating happens in two passes, and each one has a job. The first roll goes on while the cookies are still warm, so the sugar clings; the second goes on only after they’ve cooled, leaving that familiar snowy finish. Keep the mini chips in the dough, rather than switching to larger pieces, and the little rounds are easier to shape evenly.
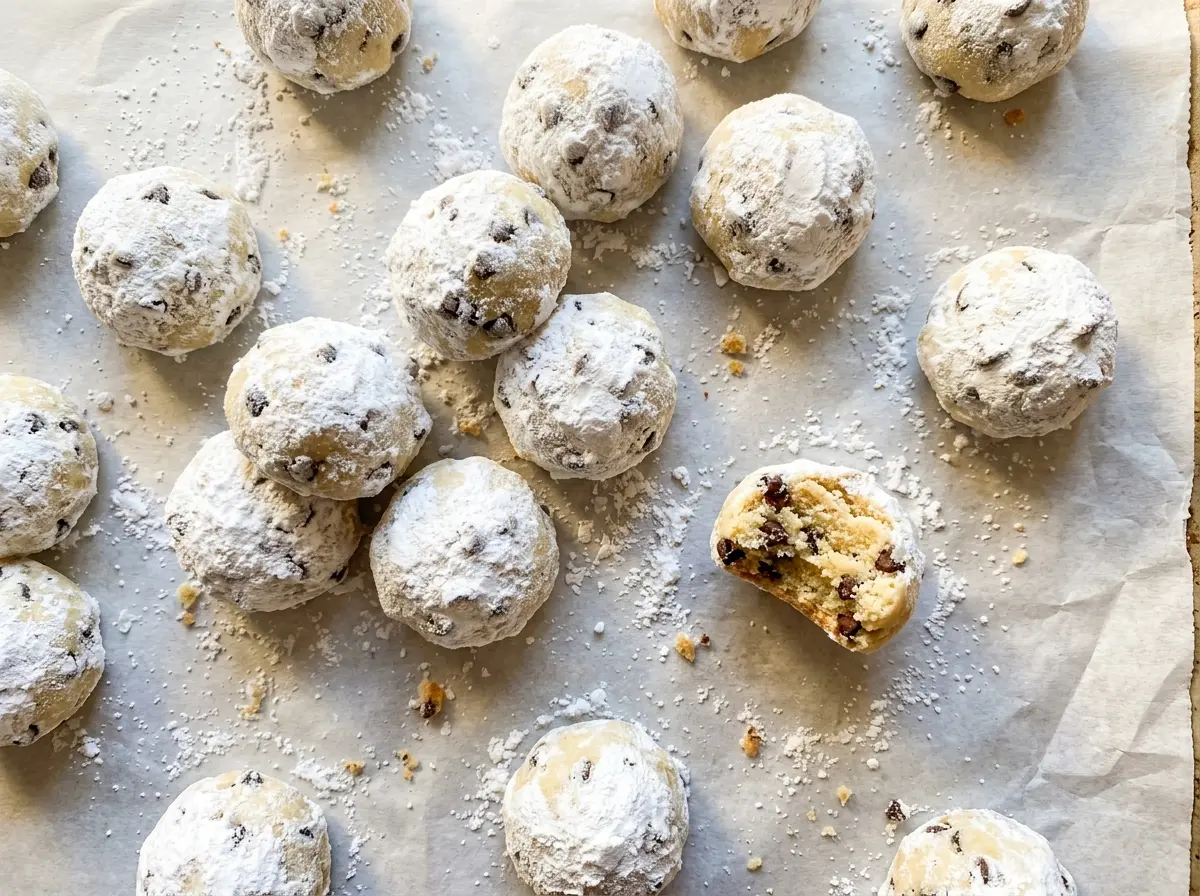
Each batch makes 36 cookies, just right for a cookie tin or a plate to share. Their edges bake lightly golden while the tops stay pale and set, and the double coating gives every bite a soft, sweet finish.
Kitchen Note
Spoon the flour into your measuring cup and level the top instead of scooping straight from the bag. Packed flour can leave this dough dry and crumbly, which makes rolling neat little balls harder.
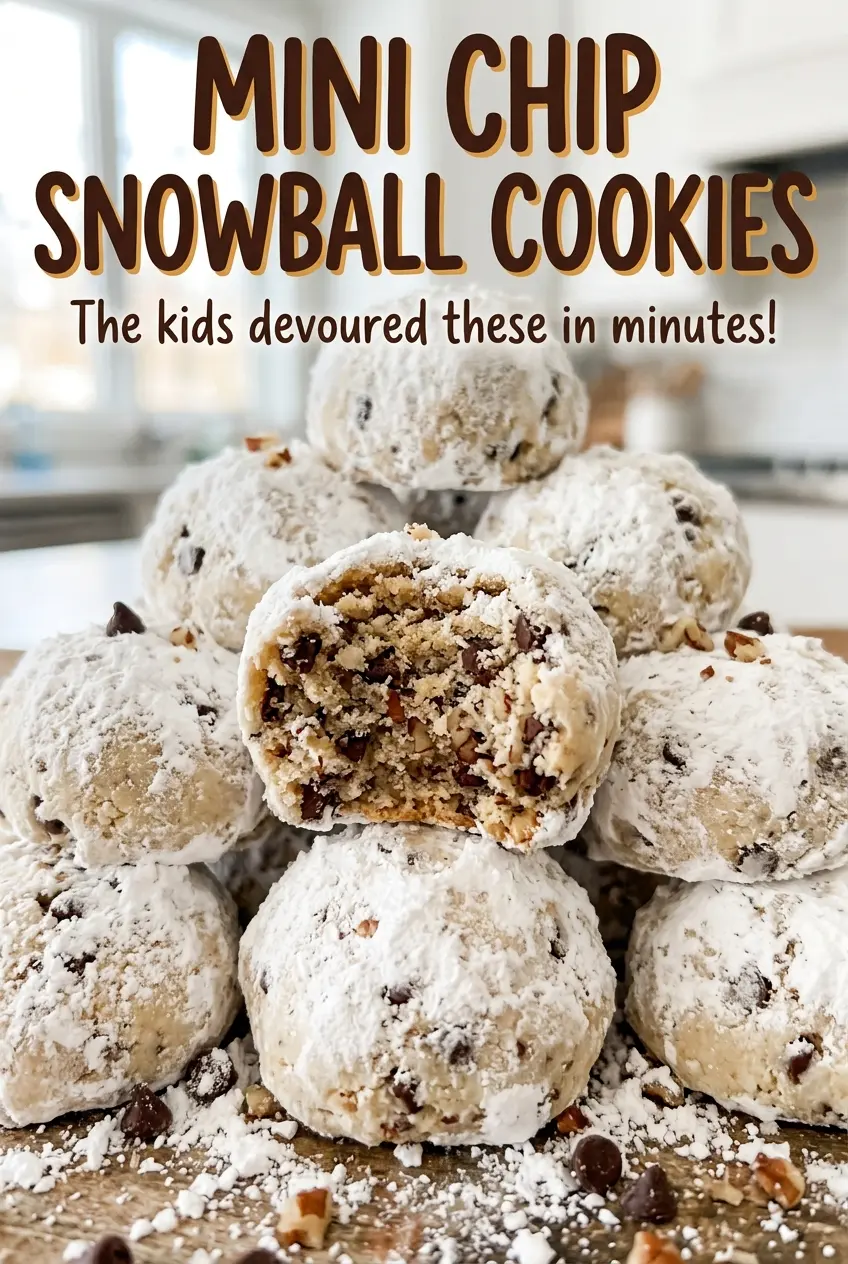
Save these Mini Chip Snowball Cookies for a batch of tender, chocolate-speckled bites with a double layer of snowy sugar.
Why These Snowballs Get Two Coats of Sugar
One roll in confectioners’ sugar gives you a light coating, but it doesn’t create the opaque white finish that makes a snowball look like a snowball. The warm-cookie roll is the first layer: a little of the sugar clings to the surface as the cookies cool. It may look patchy at this point, and that’s fine. The second roll adds a fresh, even layer over the cooled cookies.
That order matters more than adding extra sugar all at once. If you wait until the cookies are completely cool for the first roll, less sugar will stick. If you add the final coating while they’re still warm, it can melt into the surface rather than staying powdery. Give the first coating time to settle, then roll each cookie again for the soft white finish. The result is a tender cookie that looks snowy without burying the mini chocolate chips under a thick, clumpy layer.
Use a light touch with both rolls. These cookies are delicate while warm, so turn them gently in the sugar rather than pressing down on them or squeezing them between your fingers.
What Butter, Flour, and Mini Chips Contribute
- Unsalted butter — Butter gives the cookies their rich, tender crumb and helps the dough hold its shape once chilled. Softened butter creams smoothly with the confectioners’ sugar; melted butter won’t give you the same starting texture. Unsalted butter also lets the measured salt stay in balance. There isn’t a like-for-like substitute I’d recommend for this particular dough.
- Confectioners’ sugar — Its fine texture blends smoothly into the butter and makes a delicate coating. For the outside, fresh, dry sugar gives the cleanest snowy look; sugar that has clumped in a damp cupboard can leave uneven patches. Break up any lumps before rolling the cookies.
- All-purpose flour — This flour gives the dough enough structure to form into balls while keeping the baked cookies tender. A familiar store brand works well here; specialty flour isn’t needed. Changing to a lower- or higher-protein flour can shift the texture, so all-purpose is the dependable choice.
- Vanilla extract — Vanilla rounds out the buttery dough without competing with the chocolate. Use the extract you keep for baking; imitation vanilla works in a pinch, though its aroma may come through less softly.
- Mini semisweet chocolate chips — Their small size spreads chocolate through the dough without making the balls difficult to shape. A good everyday bag is fine, since the chips are mixed into a buttery cookie rather than used as a standalone garnish. If you switch to regular-size chips, the chocolate pieces will be more prominent and the dough a little less uniform.
From Creamy Dough to Snowy Cookies
Cream the Butter, Then Stop Mixing When the Dough Comes Together
Beat the softened butter with the confectioners’ sugar until the mixture looks smooth and creamy, about 2 minutes. Mix in the vanilla, then add the flour and salt and mix only until combined. Stir in the mini chips so they’re distributed through the dough. Mixing beyond that point can make the dough tougher than these tender cookies need.
Chill Until the Dough Is Easy to Shape
Cover the bowl and refrigerate the dough for 30 minutes, until it feels firm enough to roll. The dough should still be workable, not hard like a block of butter. If it sticks to your hands while you’re shaping, pause and let it chill a little longer. This is easier than adding extra flour, which can make the baked cookies dry.
Portion the Cookies Evenly
Heat the oven to 350°F with racks in the upper and lower thirds, and line two 18×13-inch rimmed baking sheets with parchment. Scoop the dough into 1-tablespoon portions and roll each one into a ball. Arrange 18 cookies on each sheet, leaving about 1 inch between them. Keeping the portions close in size helps the batch bake at the same pace.
Bake, Coat Warm, Then Coat Again
Bake for 10–12 minutes, switching the baking sheets between racks halfway through. The tops should look set and the bottoms just lightly golden; don’t wait for the tops to turn brown. Let the cookies cool on the sheets for 5 minutes, then gently roll each warm cookie in half of the coating sugar and transfer it to a wire rack. Once every cookie is completely cool, roll them in the remaining sugar for an even finish.
Small Changes That Give These Snowballs a Different Finish
A Lighter, Less-Sweet Coating
For a less powdery finish, roll the warm cookies in the first half of the coating sugar and skip the final roll. You’ll still get sugar on the surface, but the cookies won’t have the same bright, even snowball look.
A Gluten-Free Batch
Replace the all-purpose flour with a measure-for-measure gluten-free baking blend designed for cookies. The dough may feel more delicate, so keep it chilled until firm enough to shape and handle the balls gently. The texture can be a little more crumbly than the all-purpose version.
More Noticeable Chocolate Pieces
Use regular-size semisweet chocolate chips in place of the mini chips for larger pockets of chocolate. The cookies will still bake as tender rounds, but the dough won’t shape quite as smoothly around the bigger pieces.
Storage and Reheating
- Refrigerator: These cookies don’t need refrigeration. Keep them in an airtight container at room temperature for up to 1 week; refrigeration can make the butter-rich cookies firm.
- Freezer: Freeze fully cooled cookies in an airtight container, with parchment between layers, for up to 2 months. The sugar coating may look less powdery after thawing.
- Reheating: No reheating is needed. Let frozen cookies thaw at room temperature; microwaving can soften them and make the coating damp.
Questions That Come Up While Baking Snowball Cookies
Mini Chip Snowball Cookies
Ingredients
Equipment
Method
- Heat the oven to 350°F with racks in the upper and lower thirds.
- Line two 18x13-inch rimmed baking sheets with parchment paper.
- In a large bowl, beat the butter and 1/2 cup confectioners' sugar with a hand mixer until smooth and creamy, about 2 minutes.
- Beat in the vanilla.
- Mix in the flour and salt just until combined, then stir in the chocolate chips.
- Cover and refrigerate the dough for 30 minutes, until firm enough to shape.
- Scoop the dough into 1-tablespoon portions, roll into balls, and arrange 18 on each prepared baking sheet, about 1 inch apart.
- Bake for 10–12 minutes, switching the sheets between racks halfway through, until the tops are set and the bottoms are just lightly golden.
- Let the cookies cool on the sheets for 5 minutes.
- Gently roll each warm cookie in 1/2 cup of the coating sugar.
- Transfer the cookies to wire racks and cool completely.
- Roll the cooled cookies in the remaining 1/2 cup coating sugar until evenly coated.


