The dough for these little trees is much softer when it first comes together than it will be after a rest in the refrigerator. I learned not to chase a firmer texture by adding more powdered sugar; that can make the centers overly sweet and dry. For these Salted Peanut Butter No Bake Christmas Trees, the chill does the work and leaves the dough sturdy enough to shape and dip.
Fine graham cracker crumbs give the peanut butter mixture structure without making it gritty, and the flaky salt on top keeps the candy coating from tasting one-note sweet. I shape each portion into a small, even triangle, then let the refrigerator firm it up before dipping. The finished trees have a soft, salty peanut butter center beneath a crisp candy shell, with little bursts of sprinkles on top.
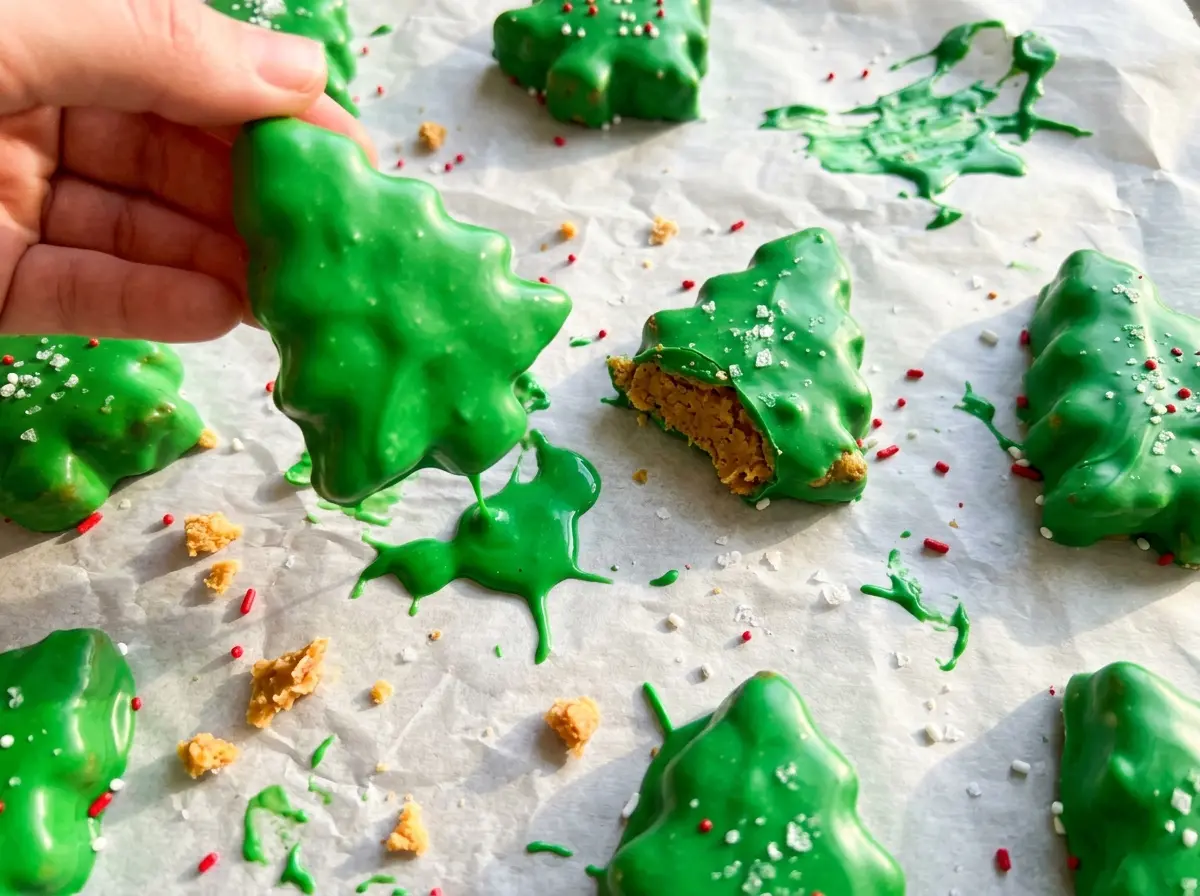
Kitchen Note
The mixture can feel soft before it’s chilled, but resist adding extra powdered sugar. Once the shaped trees have had their full time in the refrigerator, they’ll be much easier to dip without changing the balance of the center.
Save these Salted Peanut Butter No Bake Christmas Trees for a festive treat with a soft peanut butter center, green candy coating, and flaky salt.
Why Even Thickness Matters More Than a Perfect Tree Point
It’s easy to spend time sharpening every triangle into a perfect little evergreen, but the thickness matters more than the outline. These pieces are dipped on all sides, so a thick center takes longer to firm and gives the coating a different proportion than a thinner one. Keeping each tree close to the same half-inch thickness helps the batch chill and coat consistently.
Think of the shape as a simple triangle with a flat base, not a delicate cutout with narrow branches. A slightly rounded point is fine; the candy coating will soften tiny imperfections, and the sprinkles give the surface its holiday look. Dividing the dough into equal portions before shaping also helps avoid a tray with a few oversized trees and several that are too small to handle comfortably. Put your effort into keeping the pieces alike, and the finished batch will look tidy together even if no two tips are identical.
What Gives the Peanut Butter Center Its Shape and Salted Finish
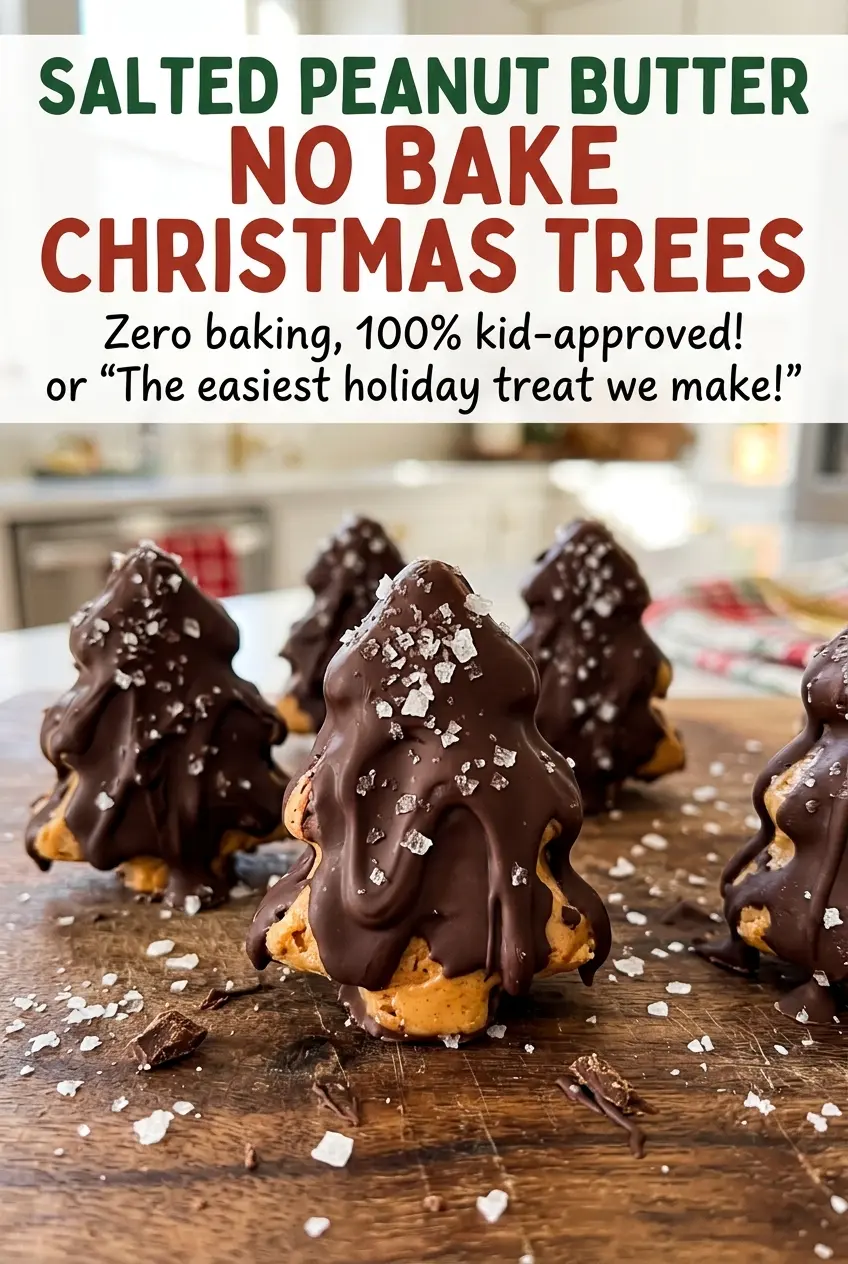
- Creamy peanut butter — It supplies the unmistakable peanut flavor and much of the mixture’s richness. A well-stirred, conventional creamy style gives a predictable, smooth dough; oil-separated natural peanut butter can leave the mixture softer and harder to shape. Crunchy peanut butter works, but the pieces make the triangle edges less smooth.
- Unsalted butter — Butter rounds out the peanut butter and helps the center firm when chilled. A standard grocery-store butter is fine here; skip whipped or spreadable butter, which can change the mixture’s texture. Unsalted butter also lets the two kinds of salt play distinct roles.
- Powdered sugar — Its fine texture blends into the dough without the grit granulated sugar would leave behind. Use ordinary powdered sugar rather than trying to grind another sugar yourself; the consistency is part of what makes the center easy to mix and shape.
- Fine graham cracker crumbs — These absorb moisture and give the peanut butter mixture body. Ready-made fine crumbs are convenient, while coarsely crushed pieces can leave rough spots in the triangles. For a gluten-free version, use gluten-free graham cracker crumbs in the same amount.
- Green candy melts — Candy melts are made to create a smooth coating that sets around the chilled centers. Their color and coating texture matter more than choosing a premium brand, so a different color of candy melts is an easy visual change. Chocolate chips aren’t a direct replacement for this coating.
- Holiday sprinkles and flaky sea salt — Sprinkles add the festive finish, while larger flakes give a distinct salty crunch on top. The kosher salt mixed into the dough seasons the center; the flaky salt is a finishing touch, so one doesn’t replace the other.
Shape, Chill, and Coat Without Losing the Tree Edges
Mix a Dough That Holds Together
Line a rimmed 13×18-inch baking sheet with parchment paper before you start shaping. Stir the creamy peanut butter and softened butter in a large bowl until smooth, then mix in the powdered sugar, fine graham cracker crumbs, and kosher salt. Keep mixing until the ingredients come together into a thick dough with no loose dry pockets; it should hold when pressed rather than flow like a spread.
Portion and Firm the Triangles
Divide the dough into 18 equal portions, then shape each portion into a triangle about 2 1/2 inches tall and 1/2 inch thick. Press the sides gently into a clean outline, keeping the base flat so each tree sits securely on the parchment. Arrange them on the lined sheet and refrigerate for 45 to 60 minutes, until firm enough to lift and dip without bending.
Melt the Candy Gently
Put the green candy melts in a medium microwave-safe bowl and heat them at 50% power in 30-second intervals. Stir after every interval, even when the pieces still look partly solid, because the warmth in the bowl helps finish melting them. Stop when the mixture is smooth; overheating can make candy melts thick and difficult to spread over the trees.
Dip, Decorate, and Let the Coating Set
Dip each chilled tree in the melted candy, turning it to coat all sides, then let the excess drip back into the bowl before returning it to the parchment-lined sheet. Add the holiday sprinkles and flaky sea salt right away, while the coating is still wet, so they stay attached. Refrigerate the coated trees for 15 to 20 minutes, until the candy shell has set.
Easy Ways to Change the Look Without Changing the Center
Make a Gluten-Free Batch
Replace the regular graham cracker crumbs with gluten-free graham cracker crumbs in the same amount. The peanut butter center stays close in texture when the crumbs are finely ground; choose gluten-free candy melts and sprinkles as well if the whole batch needs to avoid gluten.
Use a Different Candy-Melt Color
Swap the green candy melts for another color of candy melts, keeping the coating quantity the same. You’ll get the same candy-shell finish with a different look, while the peanut butter and graham cracker center remains unchanged.
Shape Smaller Tree Bites
Divide the dough into smaller portions and form petite triangles instead of full-size trees. You’ll get more pieces with a higher coating-to-center ratio, so keep the triangles thick enough to handle and chill them until firm before dipping.
Storage and Serving
- Refrigerator: Keep the finished trees in an airtight container for up to 1 week. The centers stay firm when chilled.
- Freezer: Freeze the set trees in a single layer, then transfer them to an airtight container with parchment between layers for up to 2 months. Thaw them in the refrigerator while covered to limit condensation on the coating.
- Serving: These are best served chilled or after a brief rest at room temperature. There’s no reheating needed; warming can soften the candy shell.
Questions That Come Up When Making Peanut Butter Christmas Trees
Salted Peanut Butter No Bake Christmas Trees
Ingredients
Equipment
Method
- Line a rimmed 13x18-inch baking sheet with parchment paper.
- Stir the peanut butter and softened butter until smooth.
- Mix in the powdered sugar, graham cracker crumbs, and kosher salt until a thick dough forms.
- Divide the dough into 18 equal portions and shape each into a triangle about 2 1/2 inches tall and 1/2 inch thick, then arrange them on the baking sheet.
- Refrigerate for 45-60 minutes, until firm.
- Put the green candy melts in a medium microwave-safe bowl and microwave at 50% power in 30-second intervals, stirring after each, until smooth.
- Dip each tree in the melted candy, turning to coat, let the excess drip off, then return the trees to the lined baking sheet.
- Immediately sprinkle the trees with the holiday sprinkles and flaky sea salt while the coating is still wet.
- Refrigerate for 15-20 minutes, until the coating is set.


