When the crumble turns golden, the apples underneath still need their own check. A knife should slide into the pieces easily, and the filling should be bubbling around the edges. That little distinction is what makes these caramel apple dessert cups more than warm fruit under a crunchy lid: every ramekin gets tender cinnamon apples, a proper oat crumble, and caramel added just before serving.
I like the individual portions because the apple-to-crumble ratio stays good from the first spoonful to the last. Granny Smith apples bring a tart edge that keeps the caramel from making the dessert taste too sweet, while cornstarch thickens the juices as the cups bake. Let the ramekins rest before the drizzle, then bring them to the table warm, with crisp golden crumbs over soft apples and caramel pooling into the cinnamon-scented filling.
Kitchen Note
Grease the ramekins and set all six on the rimmed baking sheet before you fill them. It’s much easier to move the full batch together than to juggle filled ramekins one at a time.
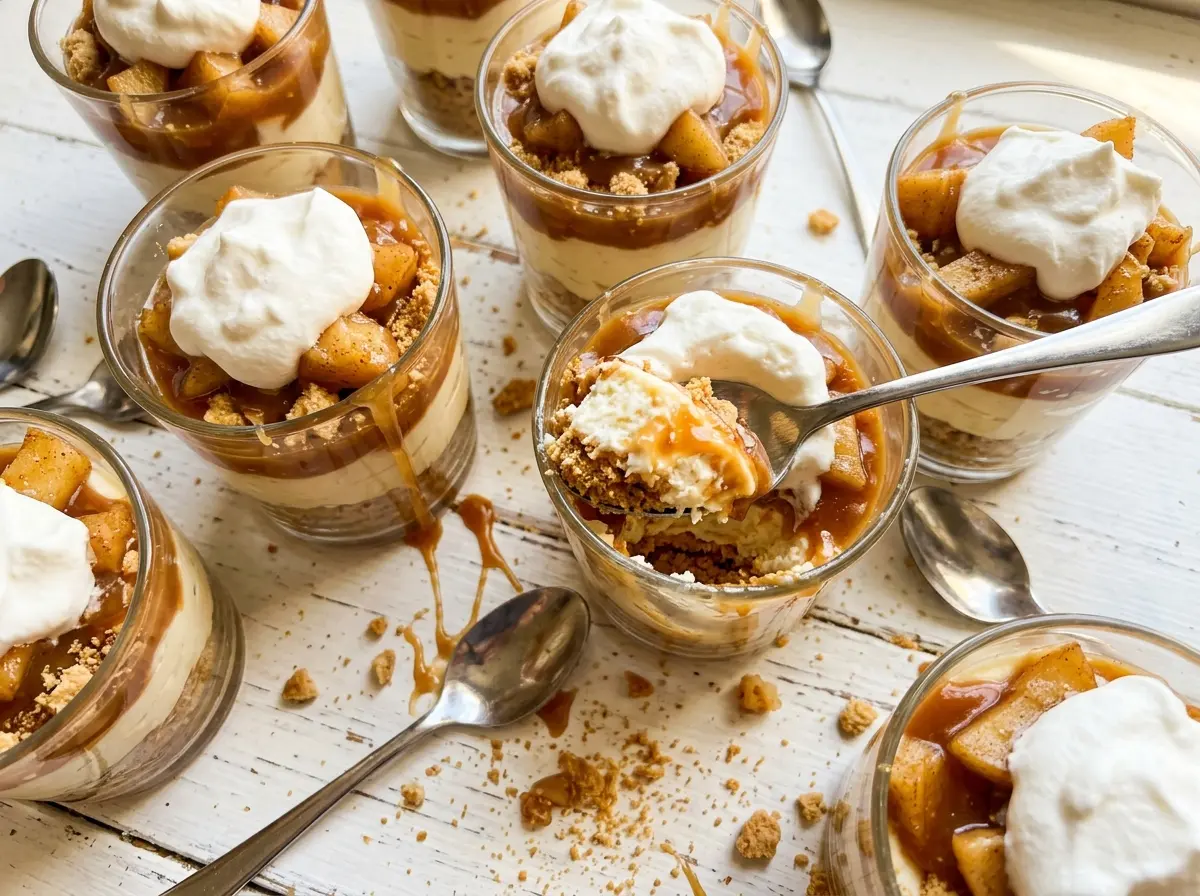
Save these caramel apple dessert cups for a warm, individual dessert with tart apples, golden oat crumble, and a caramel finish.
Why the Filling Has to Bubble Before You Call the Apples Done
Apple juices start flowing as the ramekins heat, and the cornstarch needs that hot, bubbling filling to thicken them. Before it reaches a simmer, the fruit can look as if it’s sitting in thin liquid. That doesn’t mean the cups are ruined; it means the filling hasn’t finished baking.
Watch for both parts of the doneness cue: a golden crumble on top and bubbling fruit underneath. The apples should also be tender when you pierce them with a knife. A browned topping by itself isn’t enough, because the apples can still have a firm bite while the surface looks ready. The individual ramekins let you serve the filling while it’s hot, after the juices have had a chance to thicken around the pieces.
That’s also why the lemon juice and cornstarch go right in with the apples before they’re portioned. The lemon keeps the fruit bright as you work, and the starch is already distributed through the filling instead of clumping in one cup. You get tender apple pieces and a spoonable sauce beneath the crumble, not a dry layer of topping over watery fruit.
What the Granny Smiths and Crumble Ingredients Bring to Each Cup

- Granny Smith apples — Their tartness balances the sweet crumble and caramel, and the pieces hold their shape through baking. Choose firm apples; if you use a sweeter baking apple such as Honeycrisp, expect a less tart, sweeter cup. Peel, core, and cut the fruit into even pieces so they soften at the same pace.
- Lemon juice, sugar, cornstarch, and cinnamon — Lemon brightens the apple flavor and slows browning while you prepare the filling. Cornstarch thickens the fruit juices, while granulated sugar sweetens and cinnamon gives the apples their familiar warmth. The lemon doesn’t need to be a specialty product; fresh or bottled juice works here.
- Old-fashioned rolled oats and all-purpose flour — Rolled oats give the topping its distinct nubby texture, while flour helps the butter and sugar form crumbs. Store-brand rolled oats and flour are fine. Quick oats won’t give quite the same chewy, defined crumble. For a gluten-free version, use the replacement in the variation below.
- Light brown sugar, kosher salt, and unsalted butter — Brown sugar brings a deeper sweetness than granulated sugar, and salt keeps the topping from tasting one-note. Unsalted butter lets you control the salt in the crumble. Keep the butter cold and cut it into small pieces; its texture helps the topping form coarse crumbs instead of a smooth paste.
- Prepared caramel sauce and vegetable oil — The caramel is a finishing drizzle, so a prepared sauce you enjoy eating by the spoonful is a good choice. Neutral vegetable oil greases the ramekins without adding a noticeable flavor; spread a thin coating over the inside of each cup.
Build the Cups So the Apples and Crumble Finish Together
Season and Portion the Apples
Heat the oven to 375°F, grease six 8-ounce ramekins with vegetable oil, and set them on an 18×13-inch rimmed baking sheet. Peel, core, and cut the Granny Smith apples into 1/2-inch pieces. Toss them in a bowl with the granulated sugar, lemon juice, cornstarch, and cinnamon until the pieces are evenly coated. Divide the mixture among the ramekins, including any cinnamon-sugar mixture left in the bowl.
Make Coarse Crumble Pieces
In a second bowl, stir together the rolled oats, flour, brown sugar, and kosher salt. Add the cold butter pieces and work them into the dry ingredients with your fingertips. Stop when you have coarse crumbs throughout, with no large pieces of butter remaining. If you rub the mixture too long, the butter softens and the topping loses its crumbly texture.
Cover the Filling and Bake
Divide the crumble evenly over the apples, spreading it across each ramekin rather than piling it all in the center. Bake for 30 to 35 minutes. Look for a golden-brown surface and bubbling filling, then pierce an apple piece with a knife to check that it’s tender. If one cue arrives before the others, use the apples as your final check rather than judging by color alone.
Rest, Then Add the Caramel
Take the cups out of the oven and let them rest for 10 minutes. The filling will be extremely hot straight from the oven, so give it that pause before serving. Drizzle the prepared caramel sauce over the cups after the rest, then serve them warm while the fruit is soft beneath the crisp-topped crumble.
Two Easy Ways to Adapt These Apple Dessert Cups
Choose a Sweeter Baking Apple
Swap the Granny Smiths for firm Honeycrisp apples if you prefer a milder tart edge. The apples will still bake into tender pieces, but the filling will taste sweeter alongside the caramel. Keep the pieces the same size so they soften evenly.
Make the Crumble Gluten-Free
Replace the all-purpose flour with an equal amount of a cup-for-cup gluten-free baking flour, and use certified gluten-free rolled oats. The topping may have a slightly more delicate crumb, but it will still bake into a golden oat layer over the apples.
Storage and Reheating
- Refrigerator: Cool and refrigerate the cups within 2 hours. Cover and keep them for 3 to 4 days; the crumble softens and the filling becomes more firmly set.
- Freezer: For the best topping texture, freeze the baked cups before adding caramel. Once cool, wrap each ramekin tightly and freeze for up to 2 months; thaw overnight in the refrigerator before warming and adding the caramel.
- Reheating: Let chilled oven-safe ramekins lose some of their chill while the oven heats, then warm at 325°F until hot in the center. The oven helps the topping regain some crispness; microwaving makes it softer.
Questions That Come Up Before the First Spoonful
Caramel Apple Dessert Cups
Ingredients
Equipment
Method
- Heat the oven to 375°F.
- Grease six 8-ounce ramekins with the vegetable oil.
- Set the ramekins on an 18x13-inch rimmed baking sheet.
- In a medium bowl, toss the apples with the granulated sugar, lemon juice, cornstarch, and cinnamon.
- Divide the apple mixture evenly among the ramekins.
- In a second medium bowl, combine the oats, flour, brown sugar, and salt.
- Work in the butter with your fingertips until coarse crumbs form.
- Divide the crumble evenly over the apples.
- Bake for 30 to 35 minutes, until the topping is golden brown, the filling is bubbling, and the apples are tender when pierced with a knife.
- Let the cups rest for 10 minutes.
- Drizzle the caramel sauce over the cups.
- Serve warm.


