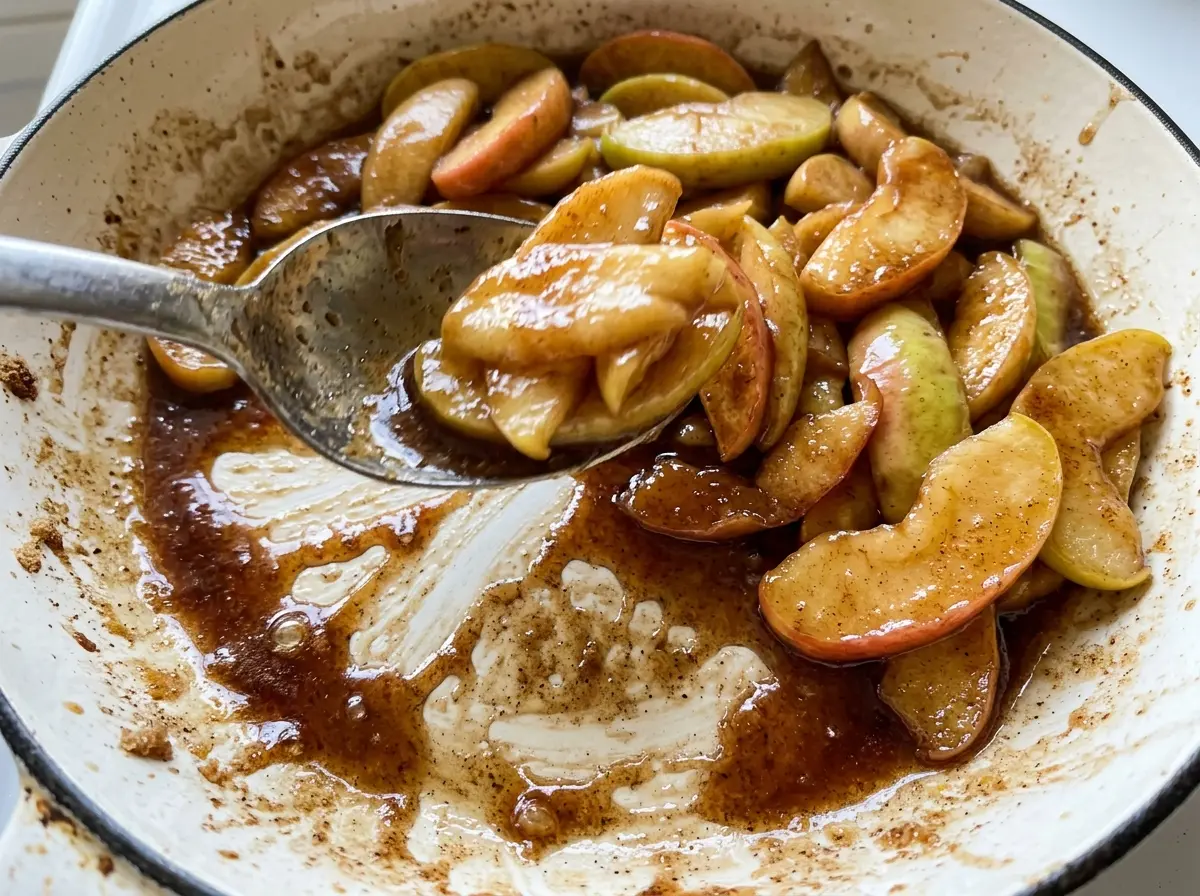
As the apple slices soften in the skillet, the butter and brown sugar turn the cooking liquid glossy and cinnamon-scented. That’s the point where these cinnamon fried apples start to look like more than fruit in a pan: each slice is tender, but it should still hold its shape when you lift it.
I use a 12-inch skillet so the apples have room to cook without being piled too deeply. They soften gently under a lid, then finish uncovered as the liquid thickens into a light syrup. The contrast matters: a quick blast of heat can break down the edges before the centers are tender, while patient cooking gives you soft slices instead of applesauce.
There’s no need to chase a thick, sticky caramel here. The finished syrup should lightly coat the apples and collect at the bottom of the skillet, ready to spoon over every warm slice.
Kitchen Note
During the covered cook, give the apples just one gentle stir. More stirring than that can knock the softened slices apart before they’re ready.
Save these cinnamon fried apples for a cozy side or a warm spoonful over breakfast—the slices stay tender beneath a light brown-sugar syrup.
Why a Wide Skillet Matters More Than a Hot One
“Fried” can make you expect browned, crisp edges, but these apples cook more gently than that name suggests. The goal is a soft slice with enough structure to serve, plus a light syrup that gathers around it. A 12-inch skillet gives the apples a broad cooking surface; once the lid comes off, more of the liquid is exposed to the air and can thicken in the short finishing stage.
A smaller, deeper pan tends to stack the slices higher. The apples can still cook, but the liquid has less surface area to reduce, so the syrup may take longer to reach that lightly thickened texture. High heat isn’t a shortcut worth taking: the outside of a slice can soften too far while the center is still catching up. Keep the pieces close to the same thickness and let the skillet do its work at a steady pace. The result should be supple slices—not crisp apple chips and not a pan of purée.
What the Apples, Butter, and Brown Sugar Each Bring
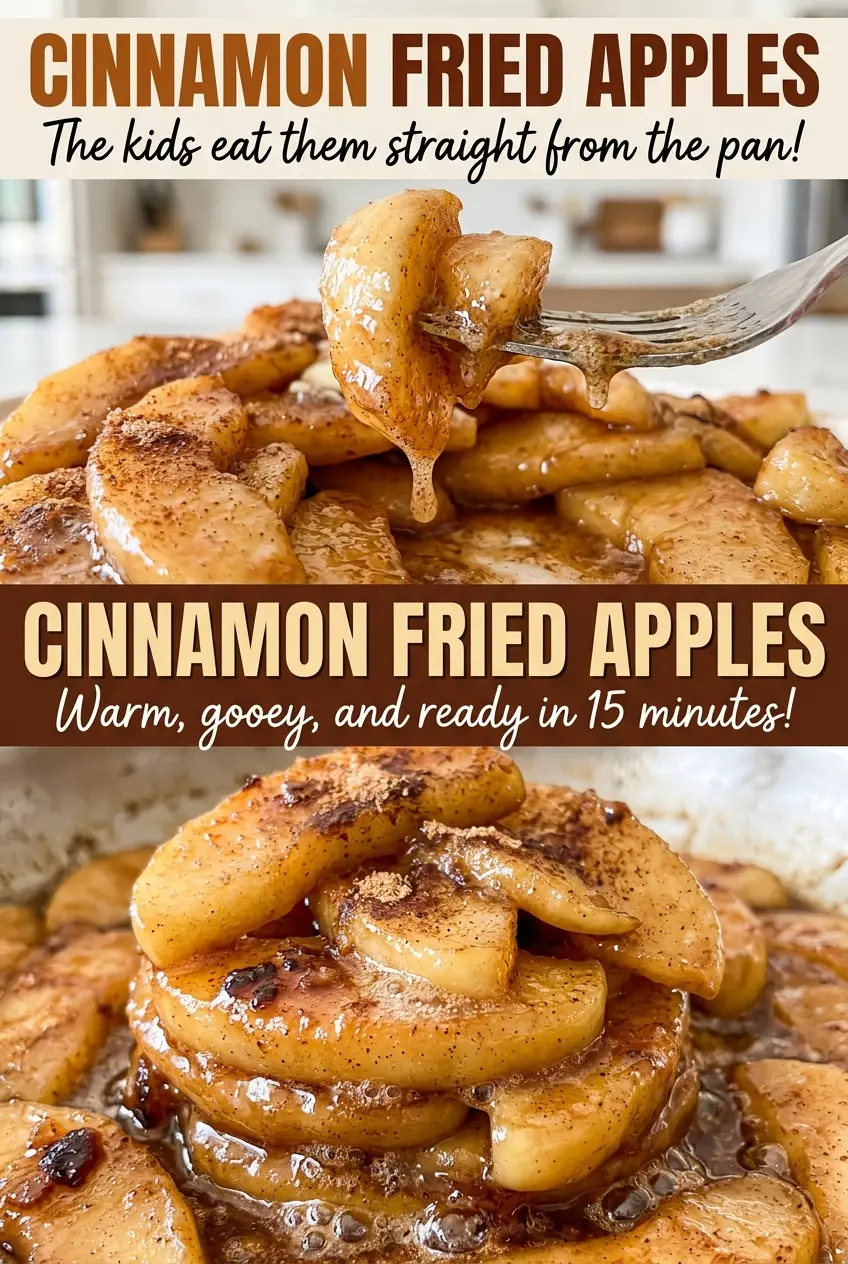
- Apples — Firm apples are easier to keep in intact slices through the covered cook. Granny Smith brings a tart edge that balances the sugar, while sweeter varieties make the syrup taste rounder; choose fruit that feels firm rather than bruised or mealy. Peeling gives each bite a soft, even texture, which is why I peel, core, and cut the apples into even slices before they go into the pan.
- Unsalted butter — Butter gives the syrup a mellow, rounded richness that water alone can’t provide. Unsalted butter lets the small amount of kosher salt stay in balance, and there’s no need to buy a specialty brand for this dish; fresh, standard butter works well.
- Light brown sugar — Its mild molasses flavor gives the cooking liquid a warm sweetness without turning it into a dark, heavy caramel. A well-sealed bag is a better buy than a premium brand; if the sugar has hardened into a solid lump, break it up before it hits the skillet so it coats the apples evenly.
- Ground cinnamon — Cinnamon gives the syrup its familiar warmth, so freshness matters more than price. If your jar smells faint or dusty when you open it, the finished apples will have less fragrance; there isn’t a direct spice substitute that tastes quite the same.
- Water — The water creates steam beneath the lid and helps the sugar dissolve into a sauce around the apples. Apple juice adds extra sweetness and can make the finished syrup taste heavier, so plain water keeps the balance where it belongs.
From Buttered Skillet to Light Cinnamon Syrup
Start the Butter in a Broad Pan
Set a 12-inch skillet over medium heat and melt the butter. Let it melt fully, but don’t wait for it to brown; browned butter would add a toasted flavor that isn’t the aim here. A broad skillet gives you room to coat the apples without pressing them down into a tight stack. Once the butter has melted, add the fruit and the remaining ingredients.
Coat the Slices Without Breaking Them
Add the apples, brown sugar, cinnamon, kosher salt, and water to the skillet. Stir gently until the slices are coated, taking care to bring the sugar and cinnamon through the whole pan rather than piling them in one spot. The mixture will look wet at this stage, and that’s expected. Don’t wait for a syrup to form before covering the skillet.
Let the Apples Soften Under the Lid
Cover the skillet and cook over medium-low heat for 10 to 15 minutes. Stir gently once during this time, then let the covered cook continue until the slices are tender but still hold their shape. The lid traps steam, helping the apples soften without needing a hard boil. If they’re still firm at the end of the range, use the tenderness of the slices—not the clock alone—to judge whether they need a little longer.
Reduce the Liquid Until It Lightly Coats
Uncover the skillet and cook for 3 to 5 minutes, stirring gently. As the steam escapes, the liquid should thicken into a light syrup rather than a sticky candy-like coating. Watch the edges of the pan and the way the liquid moves when you stir; it should look less watery and cling lightly to the apples. Stop when the slices are glossy and the syrup still flows around them.
Easy Ways to Change the Cinnamon Fried Apples
Make Them Dairy-Free
Replace the unsalted butter with the same amount of unsalted plant-based butter. The apples will still soften and the syrup will still form, though the finish may taste a little less buttery depending on the brand. Choose a stick-style product rather than a soft tub spread for a closer cooking texture.
Use Dark Brown Sugar for a Deeper Syrup
Swap dark brown sugar for the light brown sugar in an equal amount. The extra molasses makes the syrup taste more robust and gives it a deeper color, while the apples still cook by the same method. This is a flavor change, not a way to make the syrup thicker.
Add a Little Nutmeg
For a warmer spice note, add a small pinch of ground nutmeg with the cinnamon. Keep it restrained so it supports the cinnamon instead of taking over. The apples will taste more rounded and warmly spiced, with no change to the cooking method.
Storage and Reheating
- Refrigerator: Cool and refrigerate leftovers within 2 hours, sealed in an airtight container. They’ll keep for 3 to 4 days; the apples soften more as they sit.
- Freezer: Freeze in an airtight, freezer-safe container for up to 2 to 3 months. The slices will be softer after thawing, so expect a less distinct shape.
- Reheating: Warm gently in a covered skillet over low heat, stirring carefully, until the apples are steaming throughout and reach 165°F. Avoid high heat, which can break the softened slices apart.
Questions That Come Up With Cinnamon Fried Apples
Cinnamon Fried Apples
Ingredients
Equipment
Method
- Melt the butter in a 12-inch skillet over medium heat.
- Add the apples, brown sugar, cinnamon, salt, and water, stirring gently to coat the apples.
- Cover and cook over medium-low heat for 10 to 15 minutes, stirring gently once, until the apples are tender but still hold their shape.
- Uncover and cook for 3 to 5 minutes, stirring gently, until the liquid has thickened into a light syrup.


