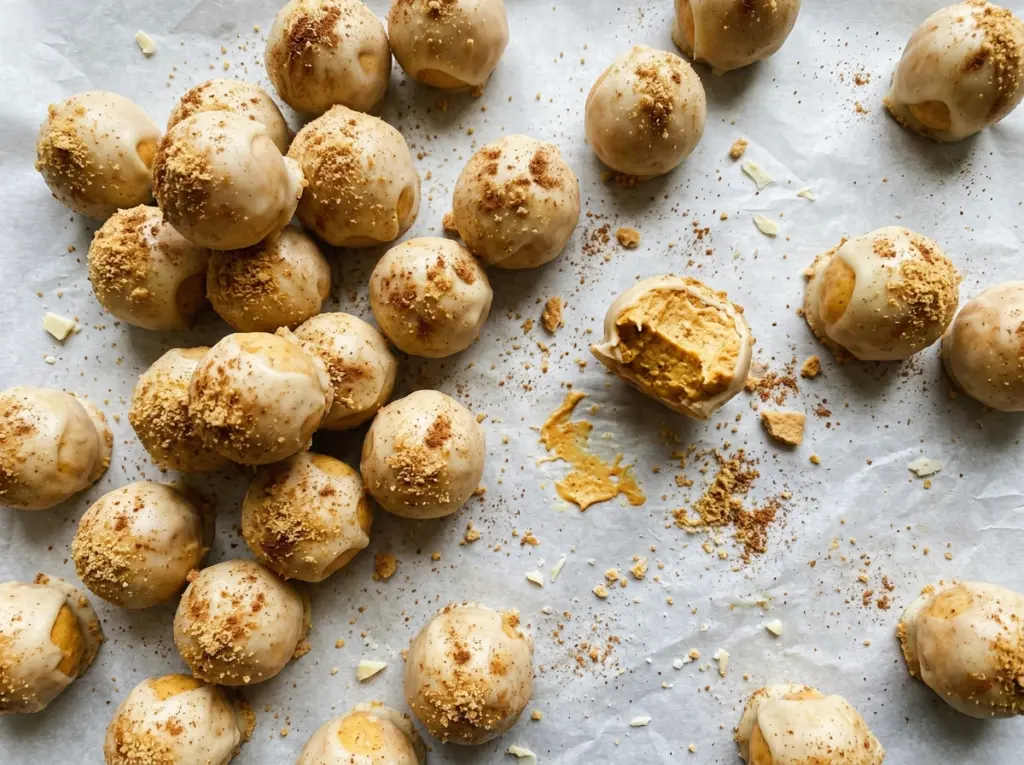

The pumpkin mixture looks like it ought to roll as soon as it leaves the mixer, but warm cream cheese makes it soft and sticky. A good chill changes everything: these No Bake Pumpkin Cheesecake Balls become easy to scoop, roll, and dip without losing their shape.
The center has the familiar tang of cheesecake with pumpkin and pumpkin pie spice, while graham cracker crumbs give it enough body to hold together. I like that the chocolate coating adds a crisp shell without turning this into a baking project. Once the balls are rolled, the refrigerator does most of the work, and the finished bites are creamy in the middle with a clean chocolate snap.
There are two separate rests in the refrigerator, and each has a job. The first firms the mixture enough to handle; the second chills the rolled centers so they stay round when they meet the warm chocolate. The result is a batch of pumpkin cheesecake bites that look tidy on a platter and keep their soft, rich center.
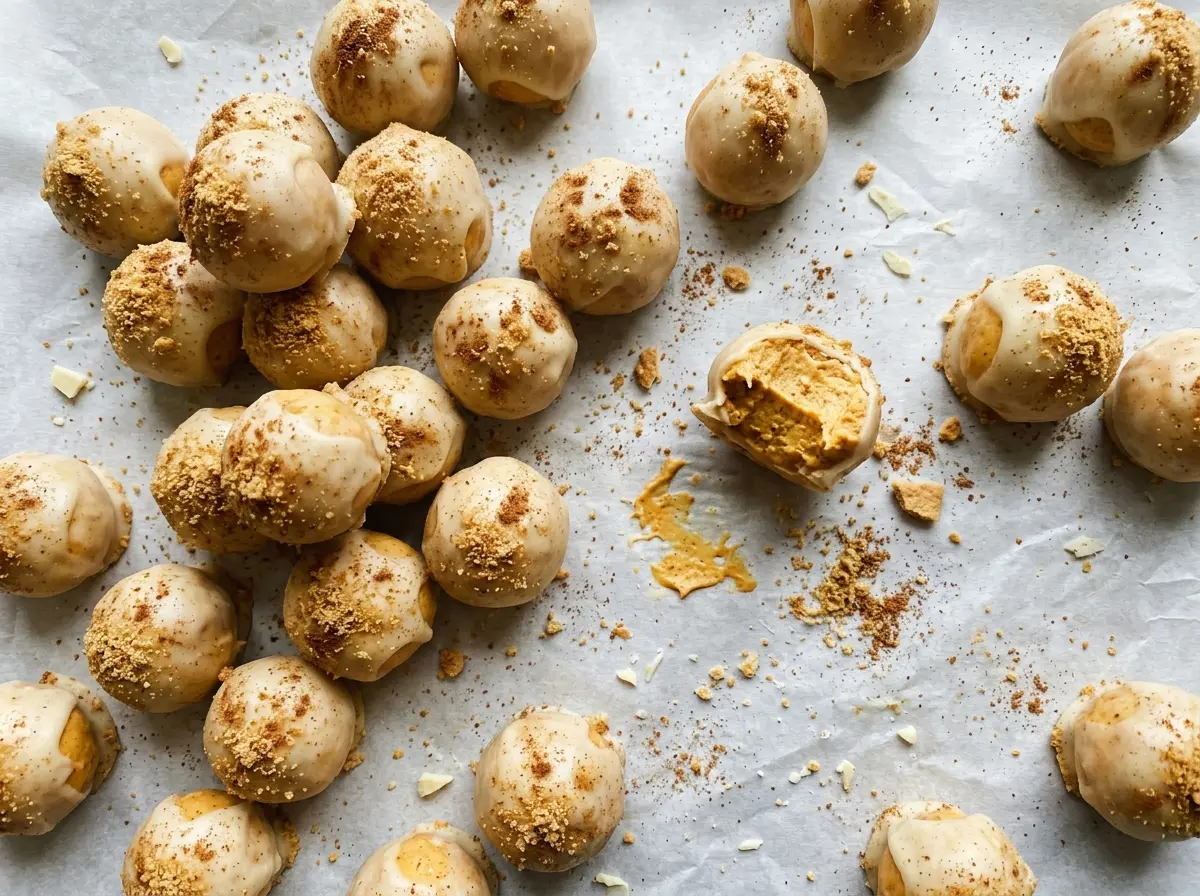
Kitchen Note
Let the extra chocolate fall back into the bowl before you set each ball down. A moment over the bowl leaves a neater shell and keeps a thick puddle of chocolate from forming at the base.
Save these No Bake Pumpkin Cheesecake Balls for a make-ahead dessert with creamy pumpkin centers and a smooth semisweet chocolate shell.
Why These Cheesecake Balls Need Two Chills
It’s easy to think one refrigerator rest should be enough, but the mixture changes as you work with it. Before shaping, the cream cheese and pumpkin mixture needs time to firm up so it can be scooped and rolled instead of smearing across your hands. After shaping, the balls need another chill because rolling warms the outside and softens the centers.
That second rest is what makes dipping less frustrating. A cold ball holds its round shape as it goes into the melted chocolate, while a soft one is more likely to flatten or leave crumbs behind in the bowl. The rests aren’t interchangeable: one gets the mixture ready to portion, and the other gets the shaped centers ready for coating. Give both stages their full time, and the centers will be much easier to handle.
What the Pumpkin, Crumbs, and Chocolate Each Bring

- Cream cheese — Plain cream cheese gives the center its tangy cheesecake character and creamy texture. Let it soften before mixing so it blends smoothly with the pumpkin. Whipped cream cheese is less dependable here because its airy texture can make the mixture looser.
- Pumpkin puree — Use plain pumpkin puree, not pumpkin pie filling, which is already sweetened and seasoned. Canned puree is convenient and consistent; fresh puree varies in moisture and can make the centers too soft. There isn’t a simple prep step that makes every fresh puree behave the same way.
- Graham cracker crumbs — Fine crumbs distribute evenly and help give the pumpkin mixture enough structure to roll. Store-bought crumbs are an easy choice, or crush graham crackers until there are no large pieces. For a gluten-free batch, use finely crushed gluten-free graham crackers in place of the regular crumbs.
- Pumpkin pie spice and vanilla — Pumpkin pie spice gives the filling its familiar warm flavor, and vanilla rounds out the tang of the cream cheese. Fresh, fragrant spice makes the difference here; vanilla extract is a good everyday choice.
- Semisweet chocolate chips and coconut oil — Semisweet chips keep the coating chocolate-forward without making each bite overly sweet. Coconut oil helps the melted chocolate flow smoothly around the chilled centers. Chocolate chips are handy because they’re already sized for melting, so there’s no chopping to do.
Mixing and Dipping Without Losing the Shape
Blend a Smooth Pumpkin Base
Beat the softened cream cheese and pumpkin puree in a large bowl until the mixture looks smooth, with no visible streaks of cream cheese. Add the powdered sugar, graham cracker crumbs, pumpkin pie spice, and vanilla, then mix until everything is evenly combined. Scrape the sides of the bowl if pockets of dry crumbs cling there. The finished mixture should look uniform rather than marbled.
Chill Until the Mixture Is Scoopable
Cover the bowl and refrigerate the mixture for 45 to 60 minutes. It’s ready when it feels firm enough to scoop and roll, rather than slumping back into the bowl. If it still seems very soft at the shorter end of that range, give it the rest of the chilling time. This makes shaping cleaner and helps each portion hold together.
Roll the Centers and Chill Again
Line a baking sheet with parchment paper, then roll the mixture into 24 balls, about 1 tablespoon each. Arrange them on the lined sheet with a little space between them so they’re easy to pick up for dipping. Refrigerate the balls for 20 minutes before coating. They should feel cold and firm when you lift one from the sheet.
Melt the Chocolate and Coat
Combine the semisweet chocolate chips and coconut oil in a microwave-safe bowl. Microwave in 30-second intervals, stirring after each, until the chocolate is smooth; stop once no chips remain. Dip each chilled ball in the coating, then return it to the parchment-lined sheet. Refrigerate for 20 to 30 minutes, until the chocolate shell is set and no longer looks wet.
Easy Ways to Change the Coating or Make Them Gluten-Free
Use gluten-free graham crackers
Replace the regular graham cracker crumbs with finely crushed gluten-free graham crackers. The pumpkin cheesecake center stays familiar, though the exact crumb texture depends on the crackers you use.
Choose dark chocolate for a less-sweet shell
Swap the semisweet chips for dark chocolate chips and melt them with the coconut oil the same way. The coating will taste more bittersweet, which gives a sharper contrast to the sweet pumpkin center.
Storage and Serving
- Refrigerator: Keep the finished balls in an airtight container for up to 4 days. The centers stay creamy, while the chocolate shell may lose a little of its crisp snap.
- Freezer: Freeze in a single layer until firm, then transfer to an airtight container with parchment between layers. For the best texture, use within 1 month and thaw in the refrigerator.
- Serving: Serve chilled. Don’t leave these cream-cheese treats at room temperature for more than 2 hours.
Questions That Come Up When Making Pumpkin Cheesecake Balls
No Bake Pumpkin Cheesecake Balls
Ingredients
Equipment
Method
- In a large bowl, beat the cream cheese and pumpkin puree until smooth.
- Mix in the powdered sugar, graham cracker crumbs, pumpkin pie spice, and vanilla until evenly combined.
- Cover and refrigerate the mixture for 45 to 60 minutes, until firm enough to scoop and roll.
- Line a baking sheet with parchment paper.
- Roll the mixture into 24 balls, about 1 tablespoon each, and arrange them on the sheet.
- Refrigerate the balls for 20 minutes.
- Combine the chocolate chips and coconut oil in a microwave-safe bowl.
- Microwave in 30-second intervals, stirring after each, until smooth.
- Dip each chilled ball in the melted chocolate, letting excess drip back into the bowl.
- Return the balls to the parchment-lined sheet and refrigerate for 20 to 30 minutes, until the coating is set.