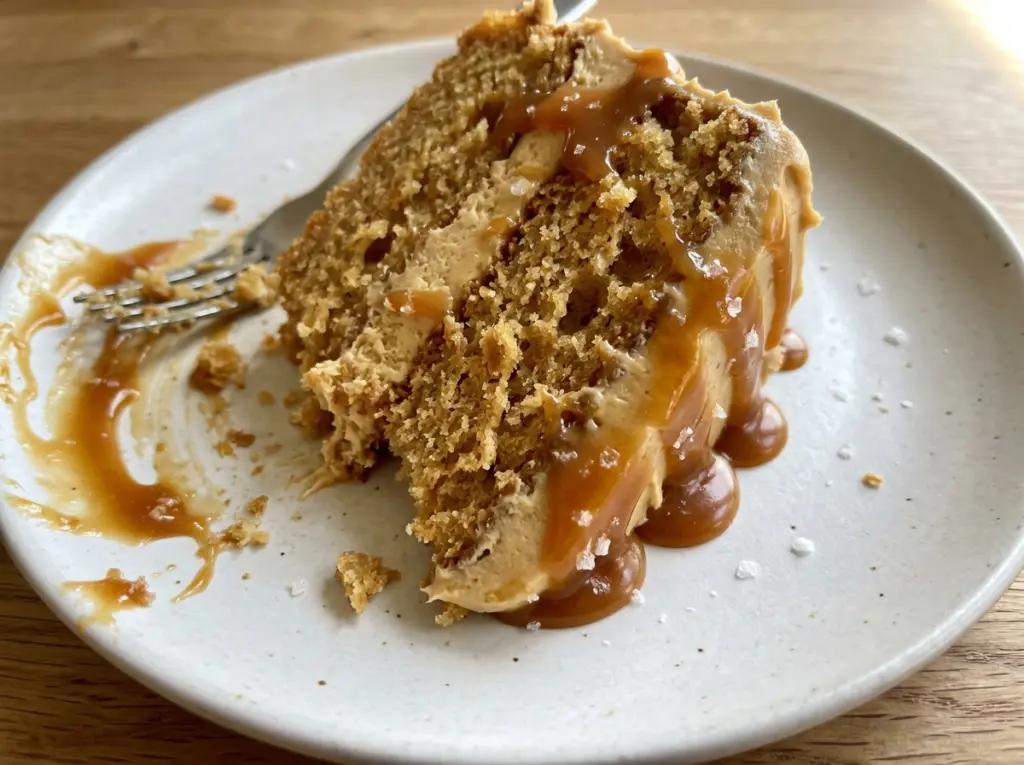

The sugar turns deep amber in the pan, then the warm cream hits it and the whole thing bubbles up like it might climb right over the sides. That moment used to make me rush; now I pull the pan off the heat and whisk slowly. The salted caramel settles into a smooth, pourable sauce, ready to tuck between the layers of this Salted Caramel Butterscotch Cake and ribbon over the top.
The cake itself has a soft crumb with a gentle butterscotch flavor, and the frosting is rich without needing extra flavorings. I build the batter by alternating the flour mixture with room-temperature buttermilk, which keeps it easy to mix and gives the layers a tender bite. Take your time cooling each component before assembly, and the frosting will spread cleanly instead of slipping over the cake.
There’s a little sweet-salty contrast in every slice: brown sugar and butterscotch in the cake and frosting, with flaky salt folded into the caramel. It’s a tall, generous layer cake with a glossy finish and a soft, buttery center.
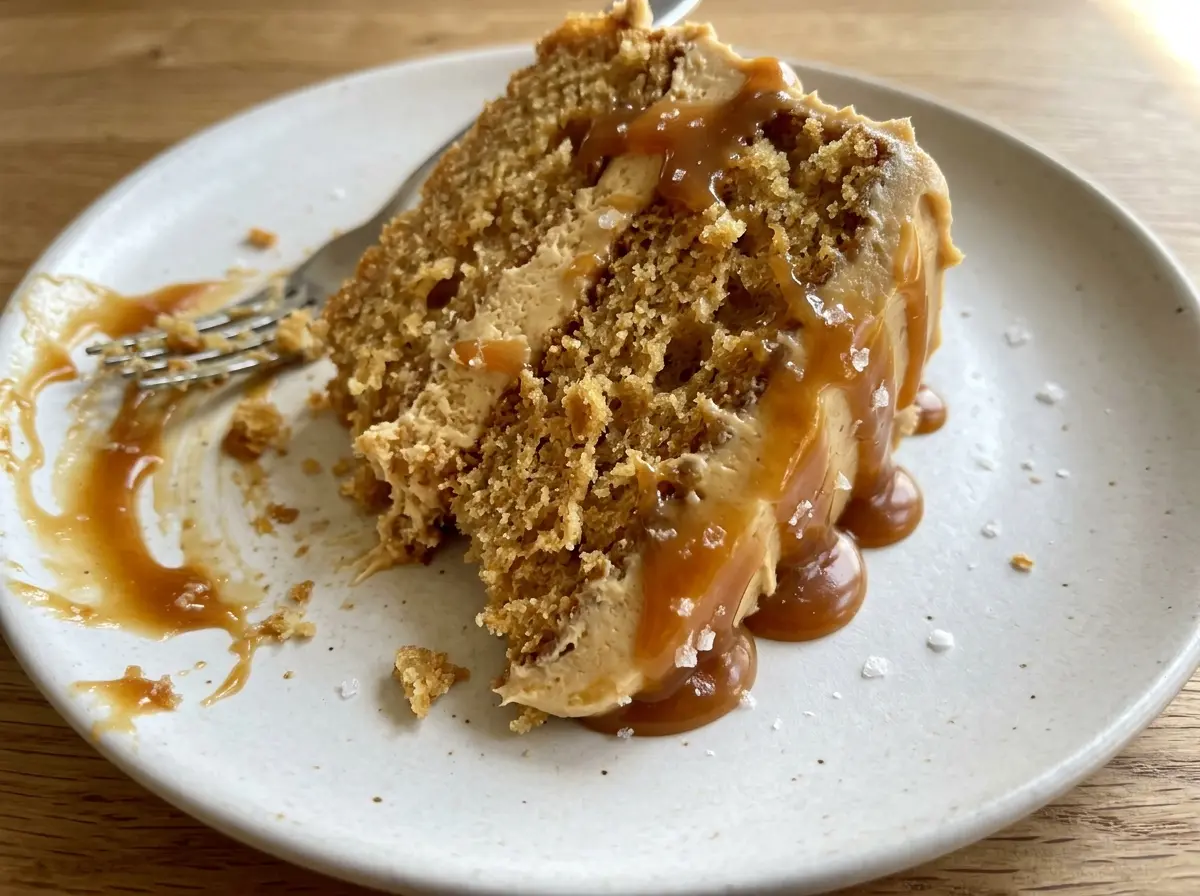
Kitchen Note
The melted butterscotch chips should feel cool rather than warm before they go into the frosting, but they still need to pour easily. If they’ve set up, warm them briefly and stir before adding them so the frosting stays smooth.
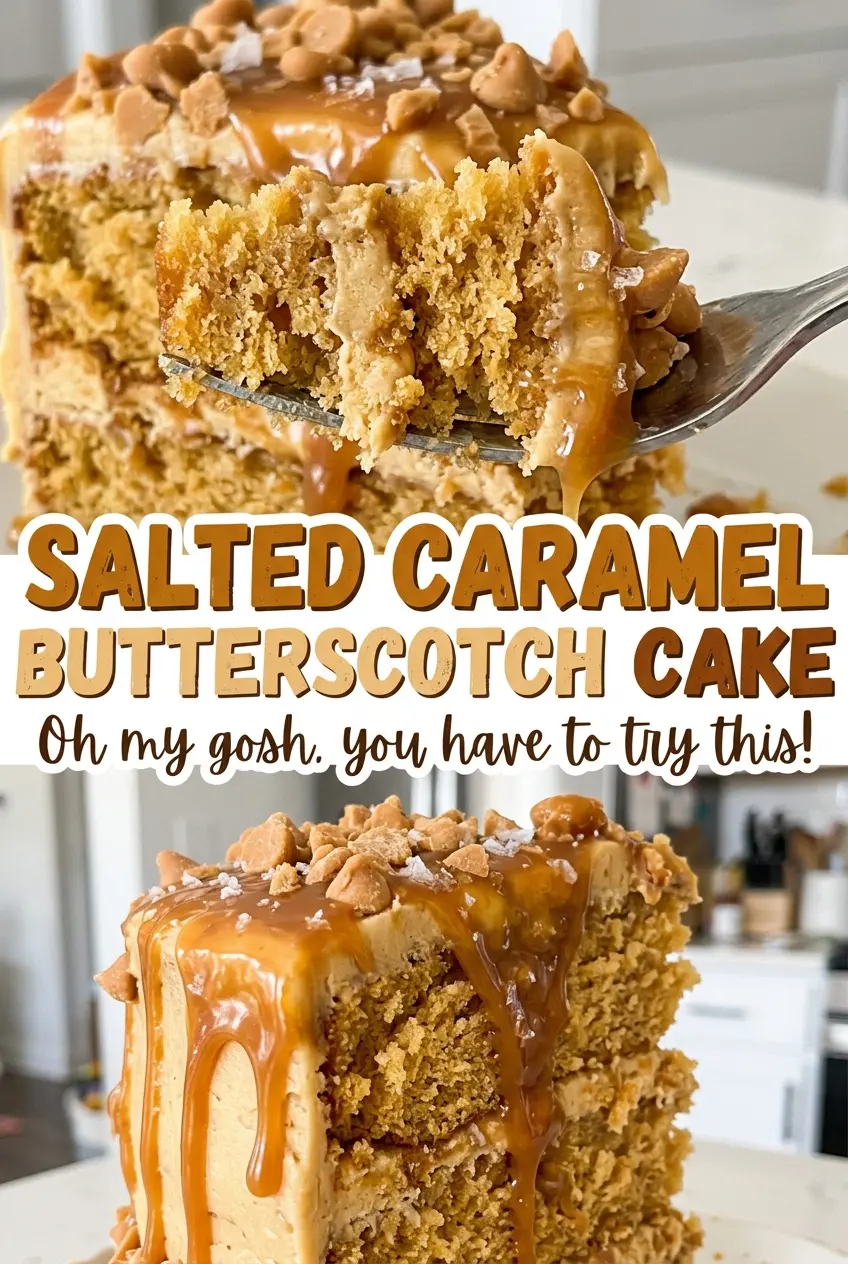
Save this Salted Caramel Butterscotch Cake for a celebration-worthy bake, with tender buttermilk layers and a deep-amber salted caramel finish.
Why Buttermilk Belongs Between Three Additions of Flour
A cake batter can turn dense if you add all the liquid at once or keep beating after the flour goes in. Here, the flour mixture is divided into three additions, with the buttermilk added in two portions between them. Starting and finishing with flour helps the batter come together evenly without asking you to mix it for too long.
Room-temperature eggs and buttermilk also matter. Cold ingredients can make softened butter firm up into little flecks, so the mixture won’t look as cohesive while you’re building the batter. Let the ingredients lose their chill before mixing, then stop once the last flour streaks disappear. The finished batter should be thick enough to divide between the pans, not beaten until it looks glossy and loose.
That careful mixing is especially useful here because the layers need to support a frosting filling and a spoonful of caramel. The cake stays soft, but it has enough structure to stack once it’s completely cool. A few moist crumbs on the toothpick are the cue to take the pans out; waiting for a perfectly dry pick can push the layers past that tender stage.
Brown Sugar, Buttermilk, and the Butterscotch That Tie It Together
- Light brown sugar — Packed brown sugar brings moisture and a mild molasses note to the cake, which works naturally with the butterscotch frosting. Pack it firmly when measuring; swapping in white sugar would make the cake less moist and change its flavor.
- Buttermilk — Its acidity and fluid texture help make a tender crumb alongside the baking soda. Use it at room temperature for an even batter. A milk-and-acid substitute changes the texture, so I stick with real buttermilk for these stacked layers.
- Unsalted butter — Softened butter creams with the brown sugar and later gives the frosting its body. Let it soften until it yields when pressed but isn’t greasy or melted. Unsalted butter also lets the measured kosher salt stay in control.
- Butterscotch chips — These melt into the frosting and provide its defining flavor, so choose chips you enjoy eating; the bargain bag is fine if its flavor is pleasant and it melts smoothly. Chocolate chips won’t give the same butterscotch taste or color.
- Powdered sugar and whole milk — Powdered sugar builds the frosting’s structure, while the milk loosens it to a spreadable consistency. Add the milk with the melted chips and beat until smooth; don’t substitute granulated sugar, which won’t dissolve into this style of frosting.
- Granulated sugar, heavy cream, and flaky sea salt — Granulated sugar caramelizes into the sauce, and heavy cream makes it rich enough to drizzle. Flaky salt gives the caramel little salty bursts rather than simply making it taste salty throughout. Heavy cream is worth using here; a thinner dairy product won’t give the same lush sauce.
Four Stages for Layers That Stack and Caramel That Drizzles
Mix a Batter That Stays Tender
Heat the oven to 350°F, grease two 8-inch round cake pans, and line their bottoms with parchment. Whisk the flour, baking powder, baking soda, and kosher salt in a medium bowl. Beat the softened cake butter with the brown sugar until light and fluffy, about 3 minutes, then add the eggs one at a time and beat in the vanilla. Add the flour mixture in three additions, alternating with the buttermilk in two additions, beginning and ending with flour; stop mixing when the batter is combined.
Bake Until the Centers Give a Few Crumbs
Divide the batter between the prepared pans and bake for 25–30 minutes. Check the center with a toothpick: a few moist crumbs are right, while wet batter means the layers need more time. Let the cakes cool in their pans for 10 minutes, then turn them out onto wire racks, remove the parchment, and cool completely. Warm layers will soften the frosting and make stacking harder, so wait until they’re fully cool.
Make the Frosting and Caramel Separately
Melt the butterscotch chips in a microwave-safe bowl at 50% power, stirring every 20 seconds, then cool them until they’re no longer warm but still pourable. Beat the remaining softened butter until creamy, gradually beat in the powdered sugar, and then add the melted chips and milk until smooth and spreadable. For the caramel, warm the heavy cream for 30–45 seconds until steaming but not boiling. Cook the granulated sugar in a small, heavy saucepan over medium heat, swirling and stirring occasionally with a heatproof spatula, until melted and deep amber, about 5–7 minutes.
Whisk in Cream, Then Stack the Cool Layers
Take the caramel pan off the heat and slowly whisk in the warm cream, then whisk in the flaky sea salt. If the caramel seizes, return the pan to low heat and whisk until smooth; cool it until thick but pourable before assembling. Set one cake layer on a serving plate, spread about 3/4 cup frosting over it, and build a ring of frosting around the edge to hold about 1/4 cup caramel in the center. Add the second layer, frost the top and sides, drizzle the remaining caramel over the top, and let the cake stand for 20 minutes before slicing.
Two Ways to Change the Finish Without Losing the Butterscotch
Bake It Gluten-Free
Replace the all-purpose flour with a cup-for-cup gluten-free baking flour formulated for cakes. The crumb may be a little more delicate, so handle the cooled layers gently when turning them out and stacking them; the brown sugar, buttermilk, frosting, and caramel keep the same flavor.
Let the Caramel Take the Spotlight
Keep the same cake and frosting, but use a thinner coat of frosting on the sides and save more of the caramel for the top. The cake looks more rustic and the salted caramel comes through more strongly in each slice; keep the frosting ring around the filling so the layers stay in place.
Storage and Reheating
- Refrigerator: Cover the assembled cake and refrigerate it for up to 4 days. The frosting firms up when cold, so the cake won’t feel as soft straight from the refrigerator.
- Freezer: The unfrosted layers freeze well. Wrap each completely cooled layer tightly and freeze for up to 2 months; thaw in the refrigerator while still wrapped, then frost once thawed.
- Reheating: Don’t microwave the assembled cake, which can melt the frosting and make the caramel run. Let slices sit at room temperature until the frosting softens before serving.
Questions That Come Up Before the First Slice
Salted Caramel Butterscotch Cake
Ingredients
Equipment
Method
- Heat the oven to 350°F.
- Grease two 8-inch round cake pans and line the bottoms with parchment paper.
- Whisk the flour, baking powder, baking soda, and kosher salt in a medium bowl.
- Beat 3/4 cup butter and the brown sugar in a large bowl until light and fluffy, about 3 minutes.
- Beat in the eggs one at a time, then beat in the vanilla.
- Add the flour mixture in three additions, alternating with the buttermilk in two additions, beginning and ending with the flour mixture.
- Divide the batter between the pans.
- Bake for 25–30 minutes, until a toothpick inserted in the center comes out with a few moist crumbs.
- Cool the cakes in their pans for 10 minutes.
- Turn the cakes out onto wire racks, remove the parchment, and cool completely.
- Melt the butterscotch chips in a microwave-safe bowl at 50% power, stirring every 20 seconds.
- Let the melted chips cool until no longer warm but still pourable.
- Beat the remaining 3/4 cup butter until creamy.
- Gradually beat in the powdered sugar.
- Beat in the melted chips and milk until smooth and spreadable.
- Warm the heavy cream in a microwave-safe measuring cup for 30–45 seconds, until steaming but not boiling.
- Cook the granulated sugar in a small, heavy saucepan over medium heat, swirling the pan and stirring occasionally with a heatproof spatula, until melted and deep amber, about 5–7 minutes.
- Remove the pan from the heat and slowly whisk in the warm cream.
- Whisk in the flaky sea salt.
- If the caramel seizes, return the pan to low heat and whisk until smooth.
- Cool the caramel until thick but pourable.
- Set one cake layer on a serving plate.
- Spread about 3/4 cup frosting over the layer, building a ring of frosting around the edge.
- Spoon about 1/4 cup caramel into the center.
- Place the second cake layer on top.
- Spread the remaining frosting over the top and sides of the cake.
- Drizzle the remaining caramel over the top.
- Let the cake stand for 20 minutes before slicing.